sorry for the huge delay in and lack of update it has been going slow in the past few month's
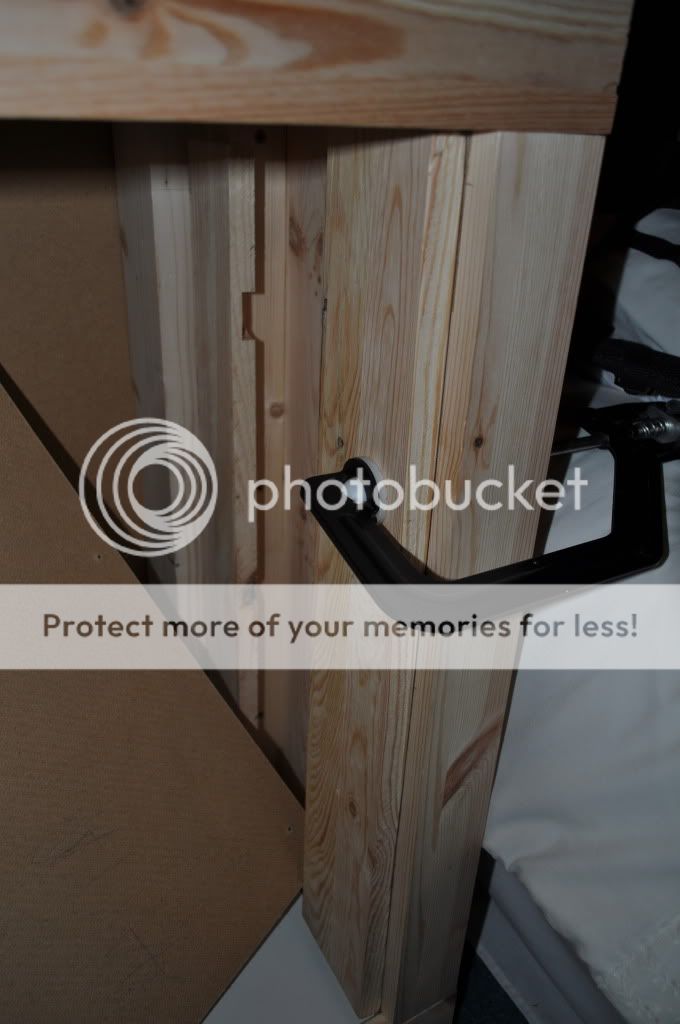
@ DrRob - no these where sold as just Laminated pine panels from B&Q i have them cut it for me in store and i drilled the holes my self, since buying the pillar drill it is so handy, if i make one of these again in the future as i am sure i will, i probably buy a few more tools for cutting the wood my self,
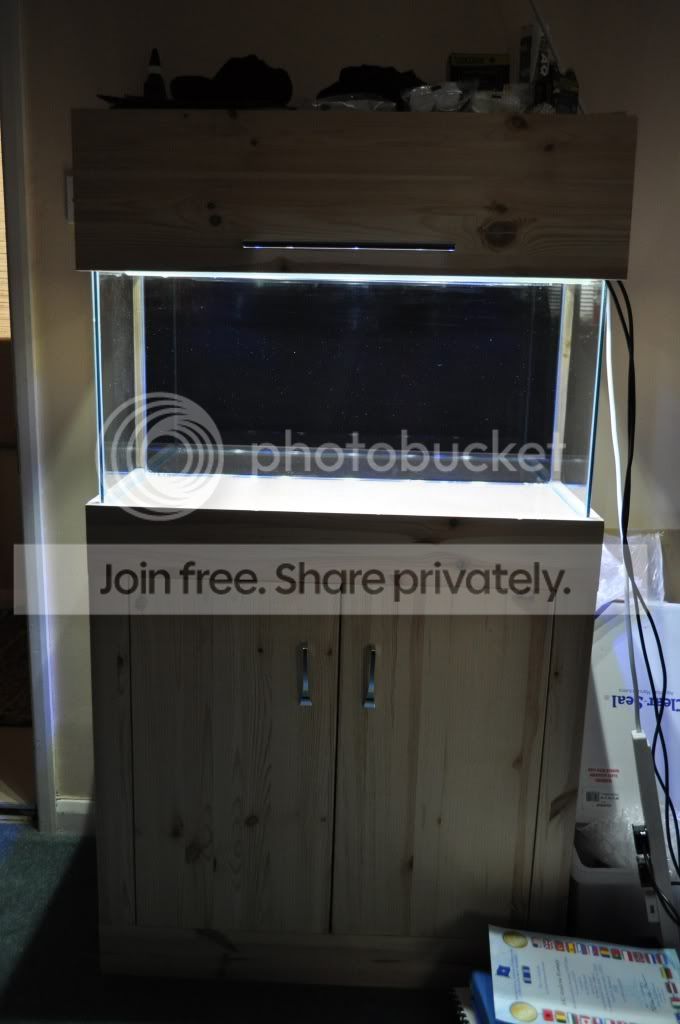
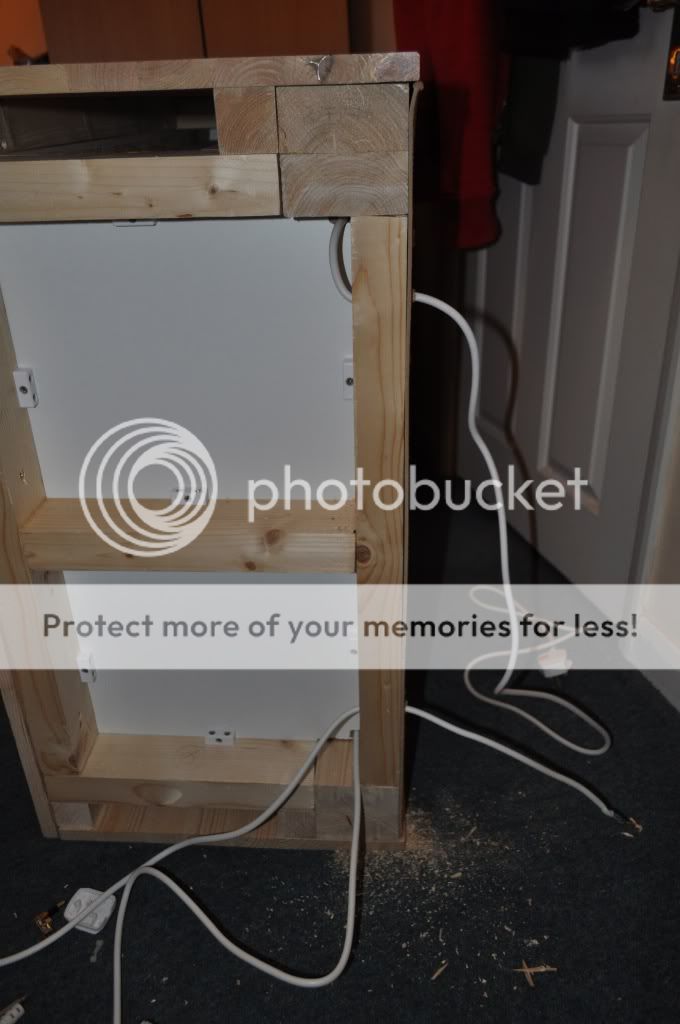
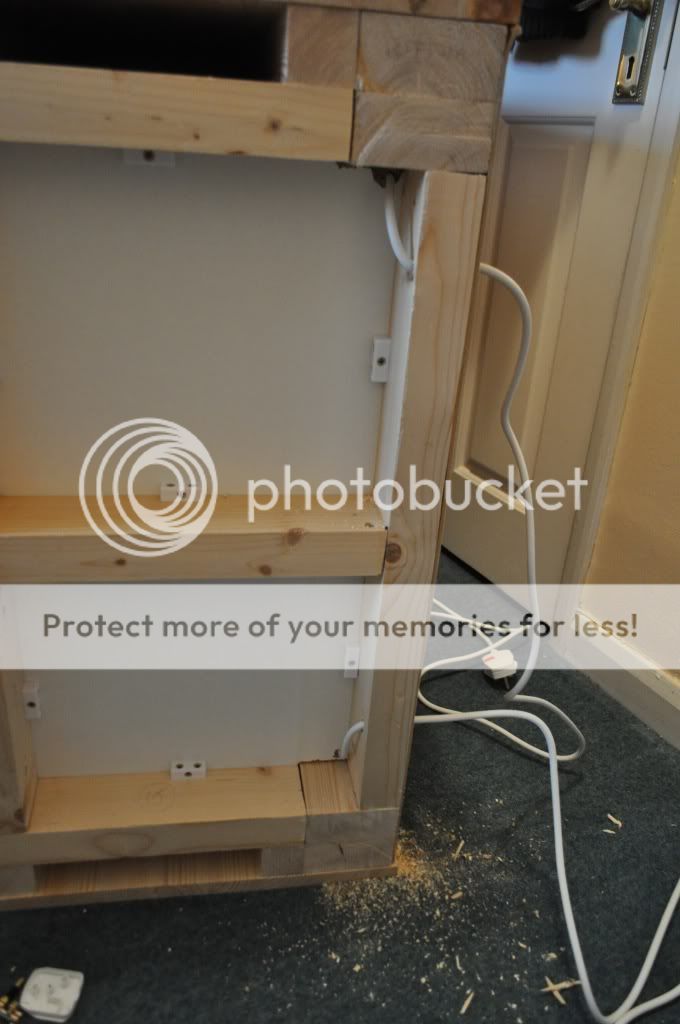
SO onto the cabinet/Tank
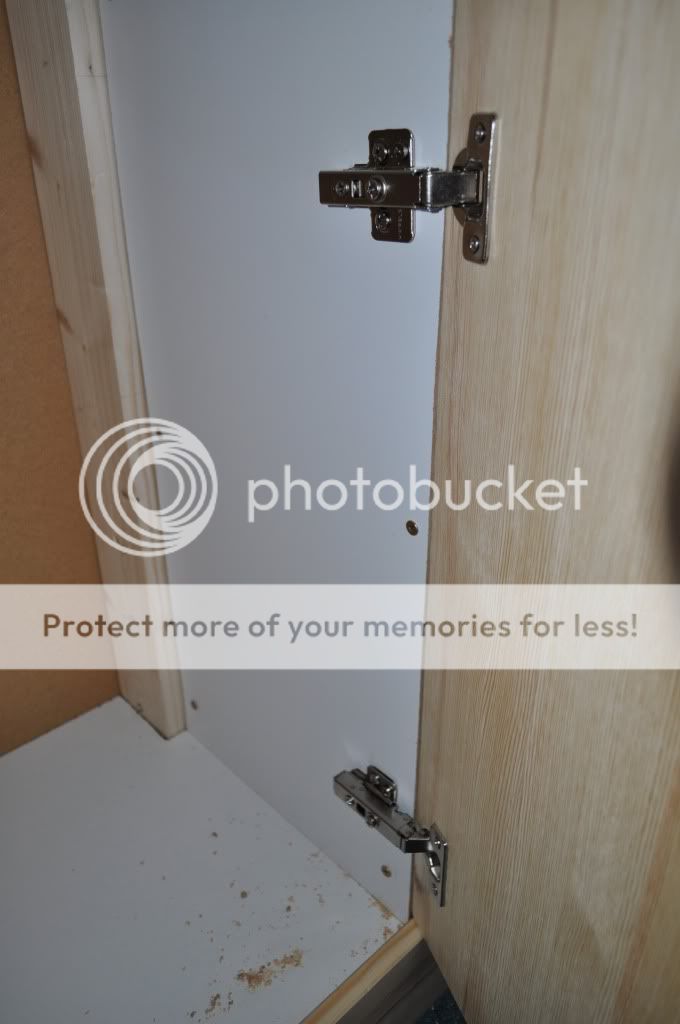
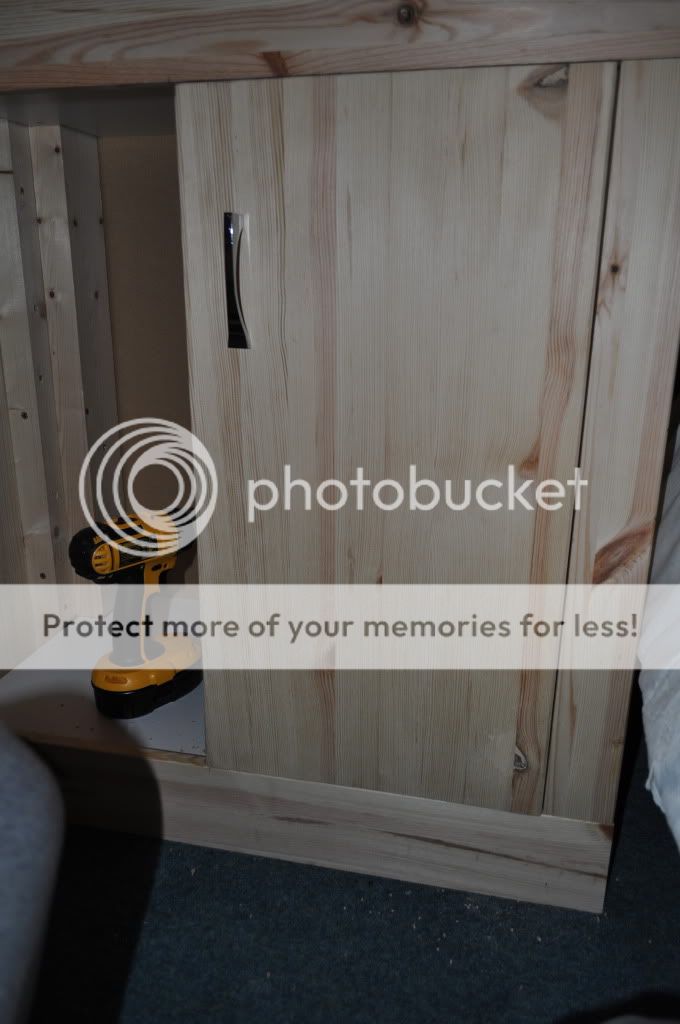
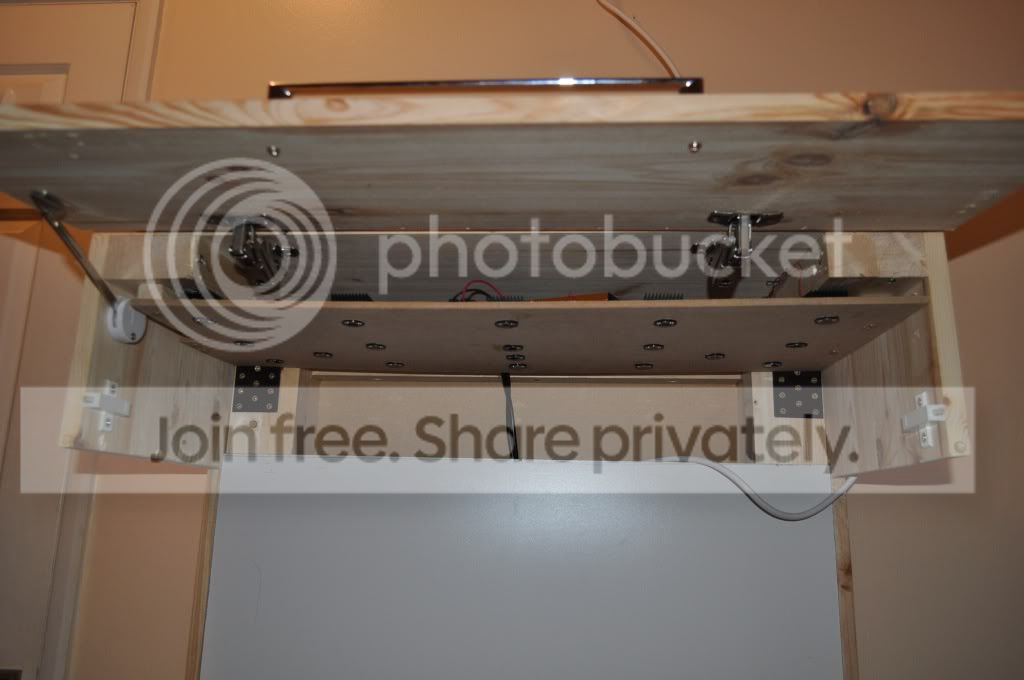
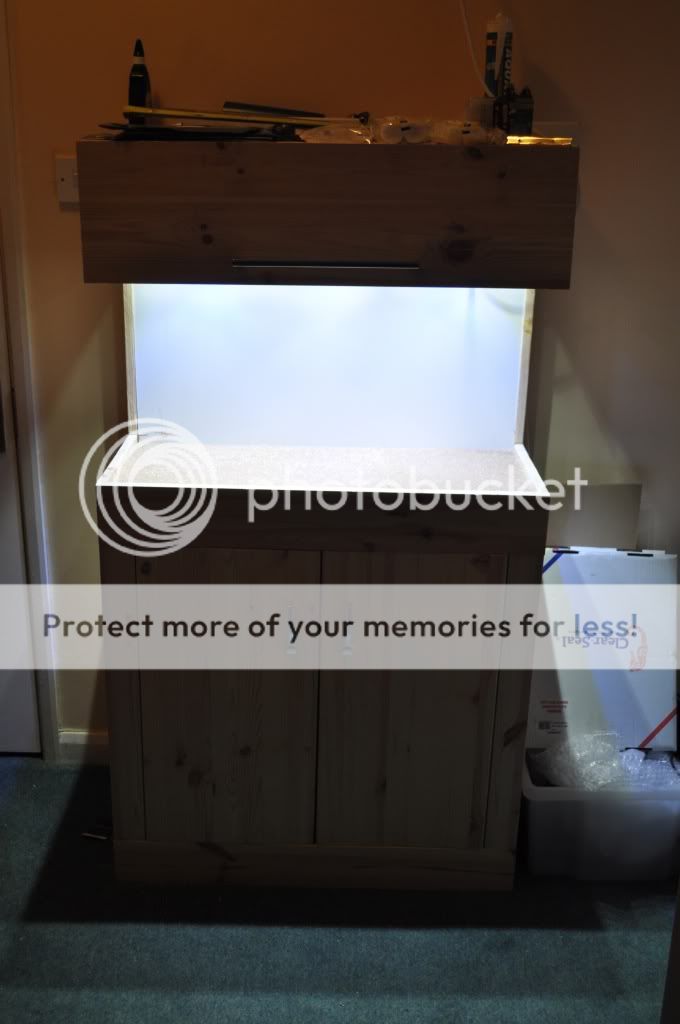
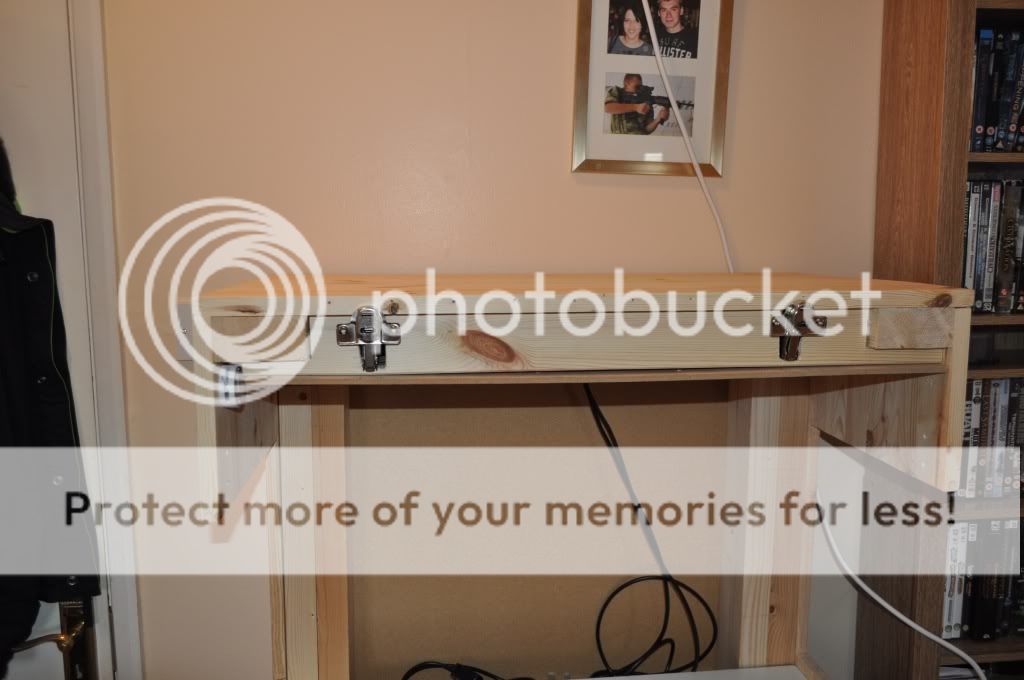
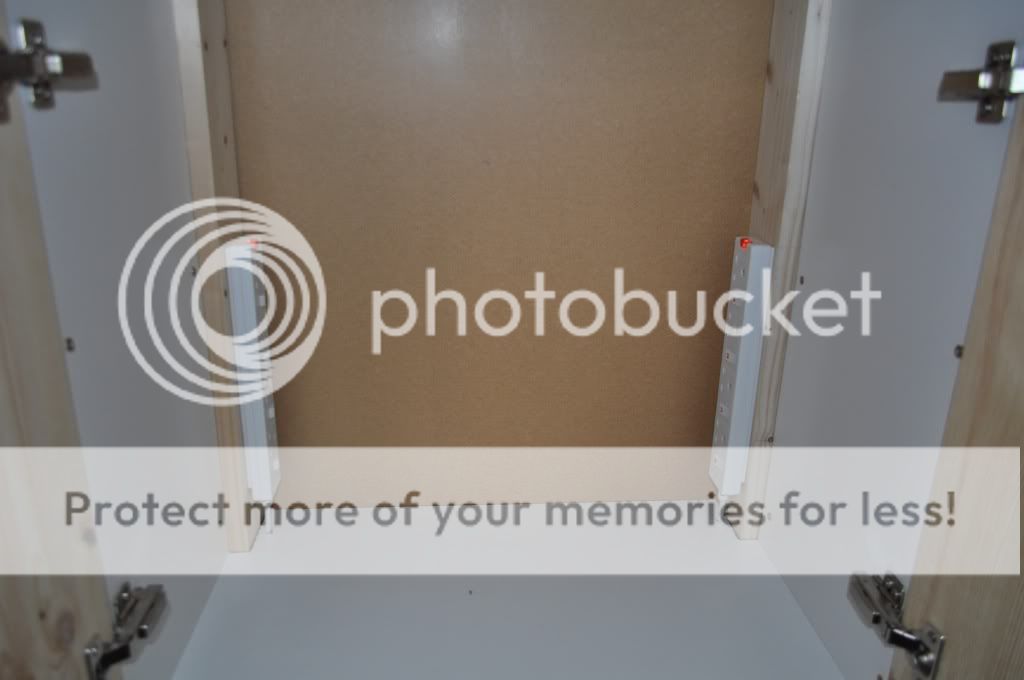
i have finished fitting the doors and they open very sweetly over time they may drop at tad and need sanding slightly but fit perfectly i also after buying several parts and getting them refunded, time and time again i have settled on the top lid now, it doesn't open up fully like i would like it to given its size (being to small) i cant get anything that will make it open backwards so to speak, but 170 Deg hinges and a Door stay work very well.
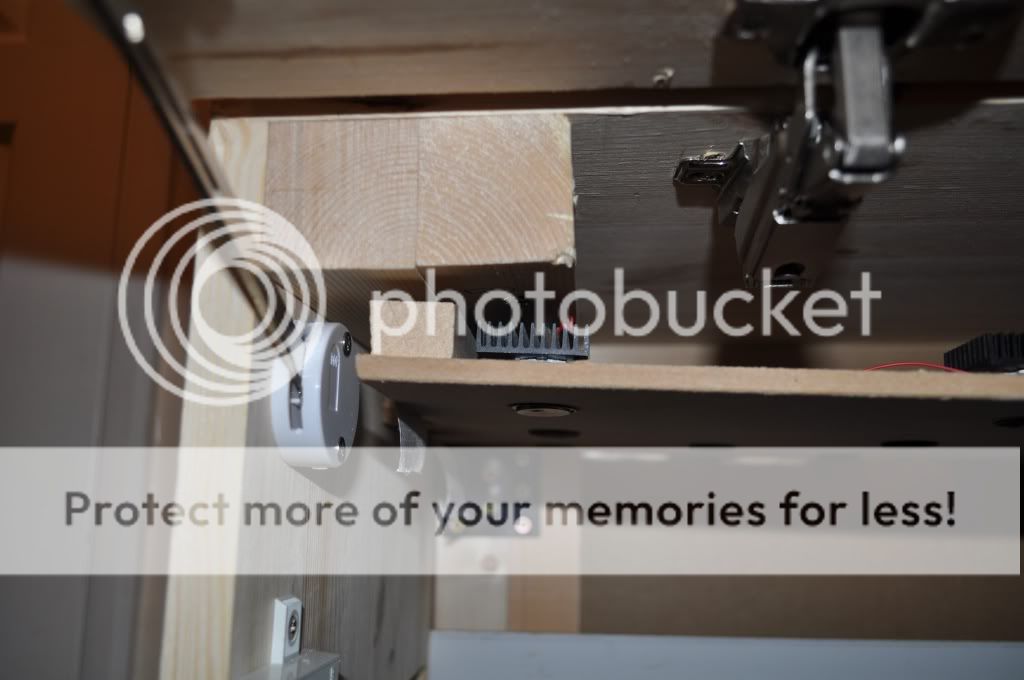
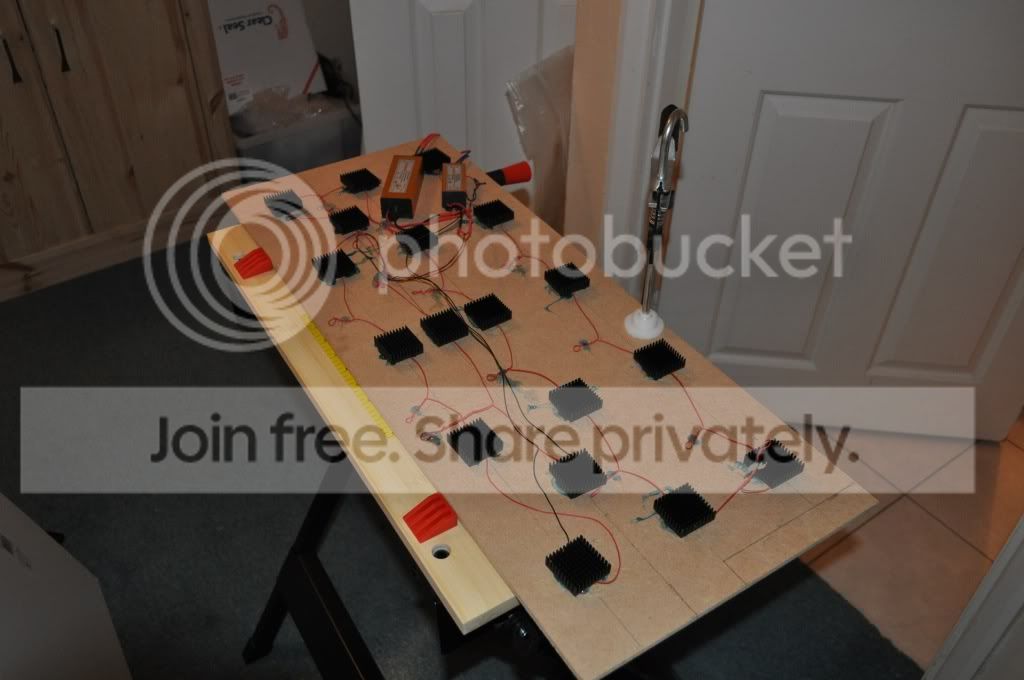
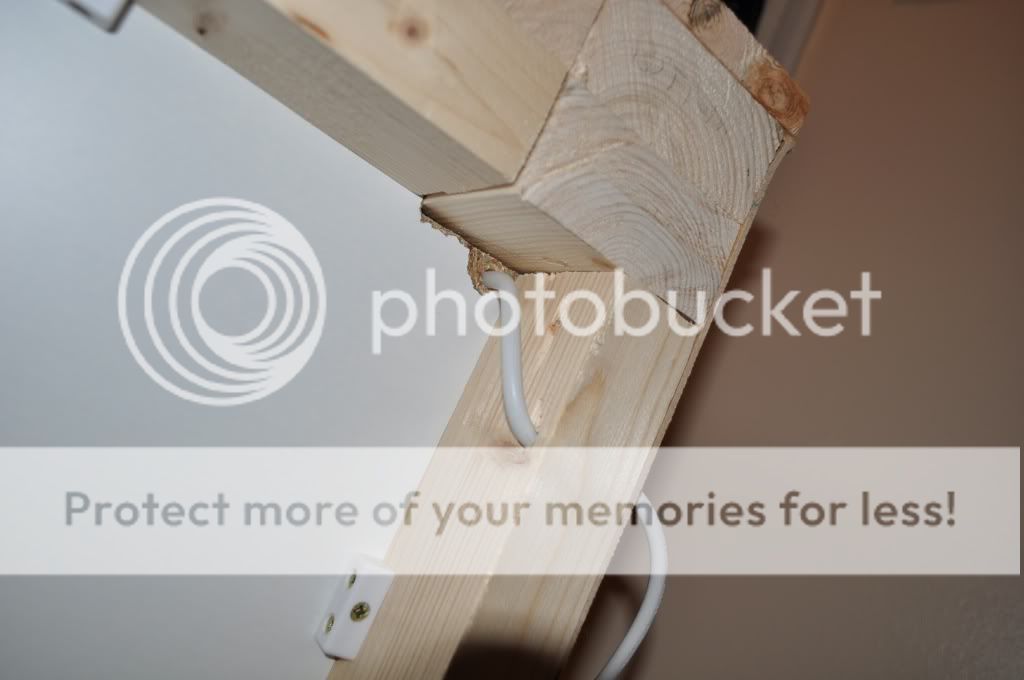
now i have also received my LED lights from PS3Steveo, Thank you again for these they are amazing again, and ye i gave him the wrong dims to make them so the lights over hang the top supports i did want it to sit within the gap but it dont so i have had to bodge it and kinda loose a few cm's from above the tank but its not big drama.
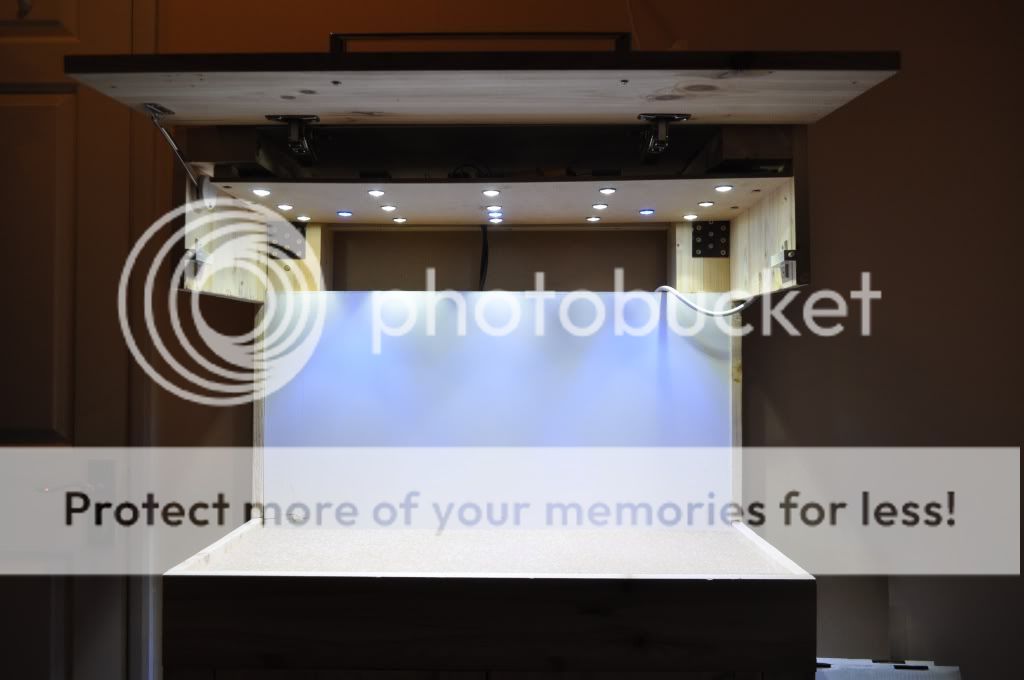
so here are the LED's
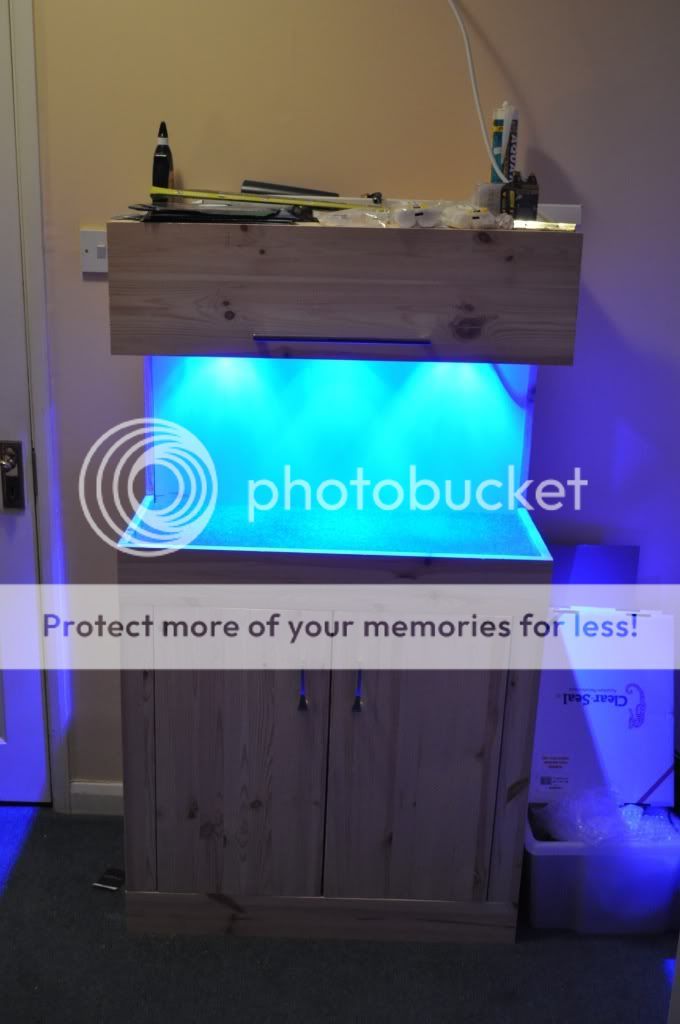
So here is a Picture Colour Comaprison with the LED's
White
Blue
Blue + White
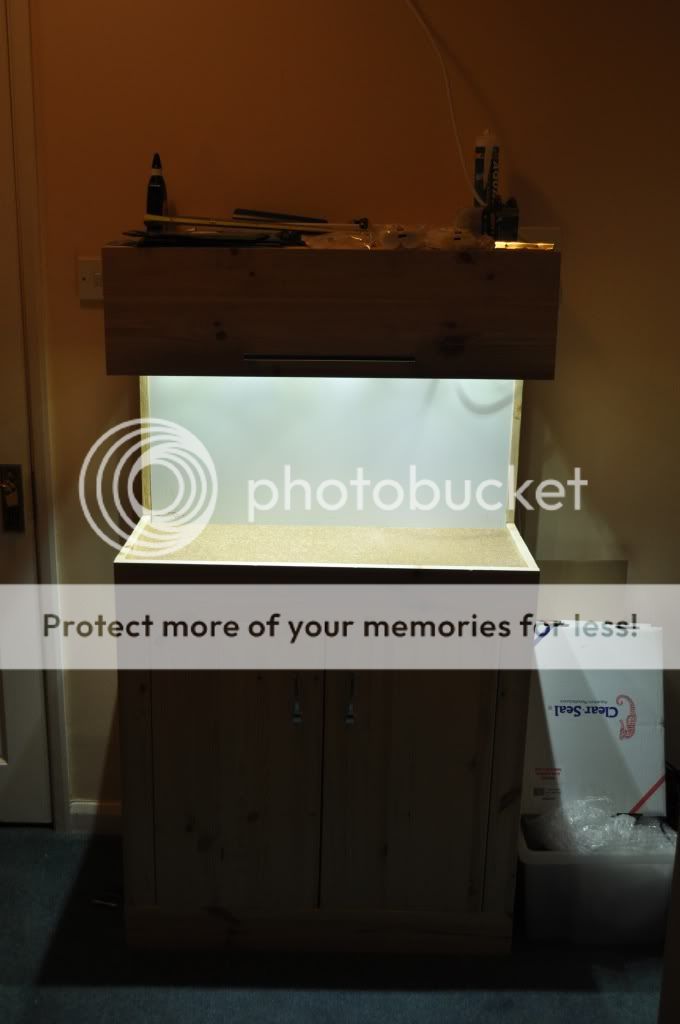
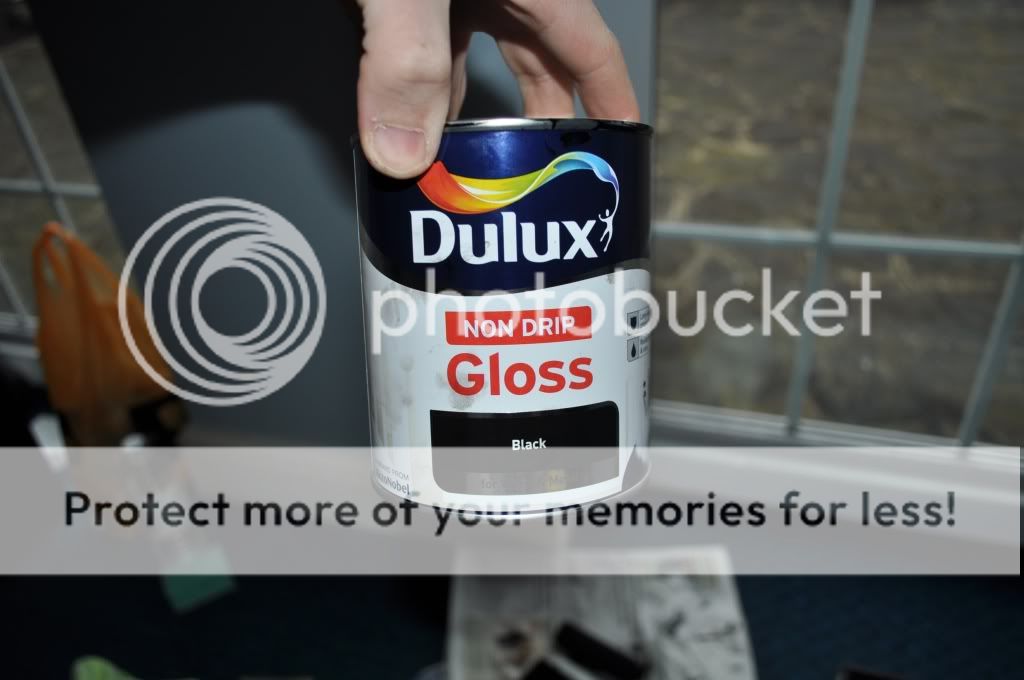
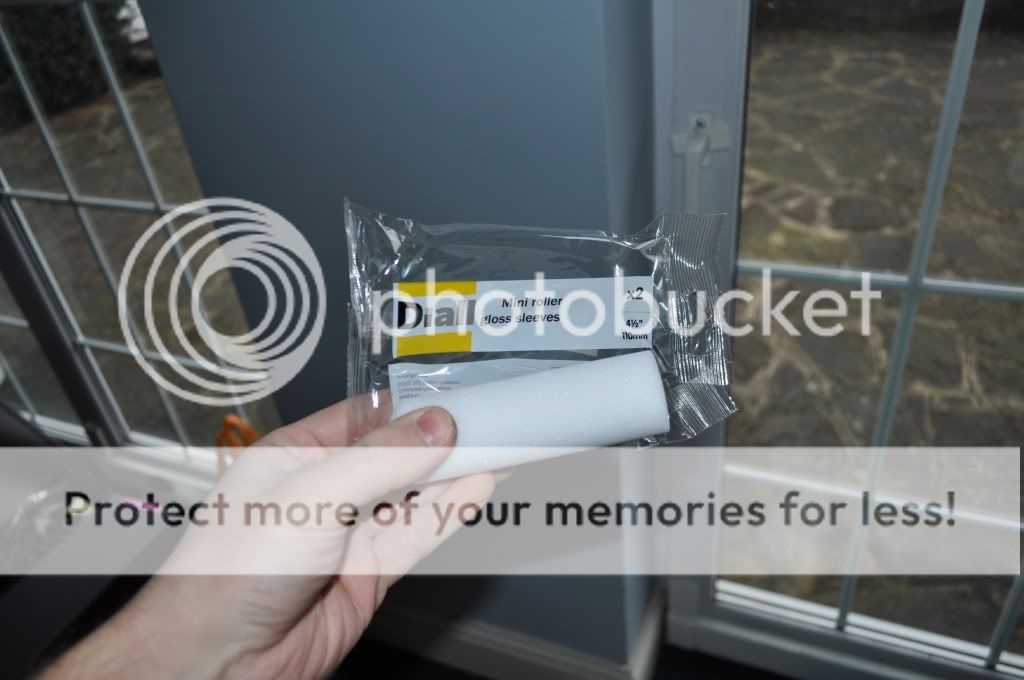
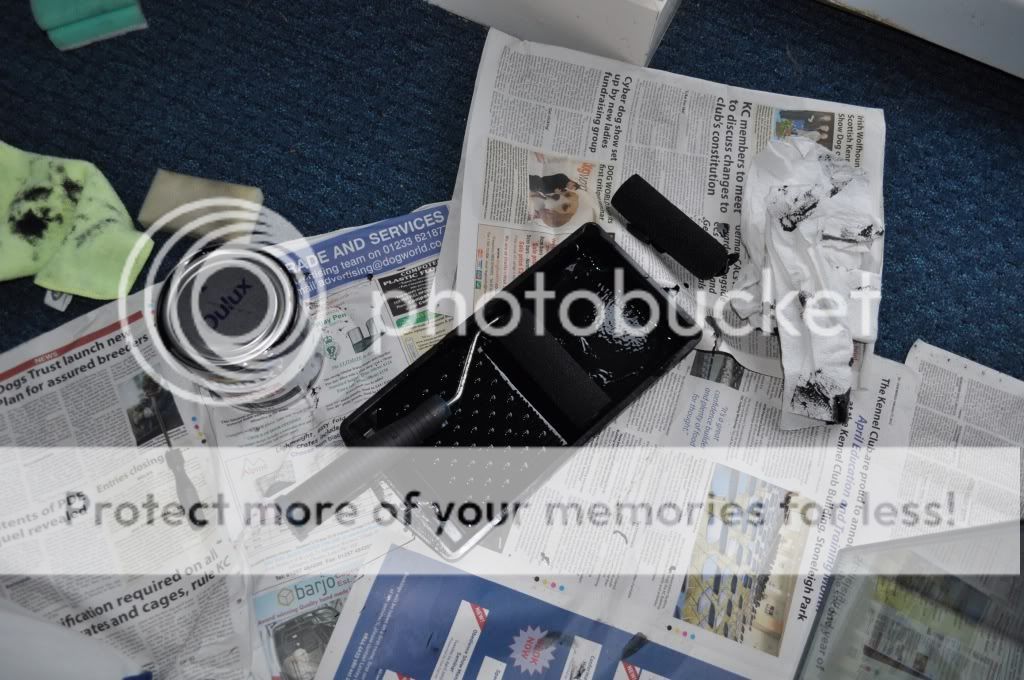
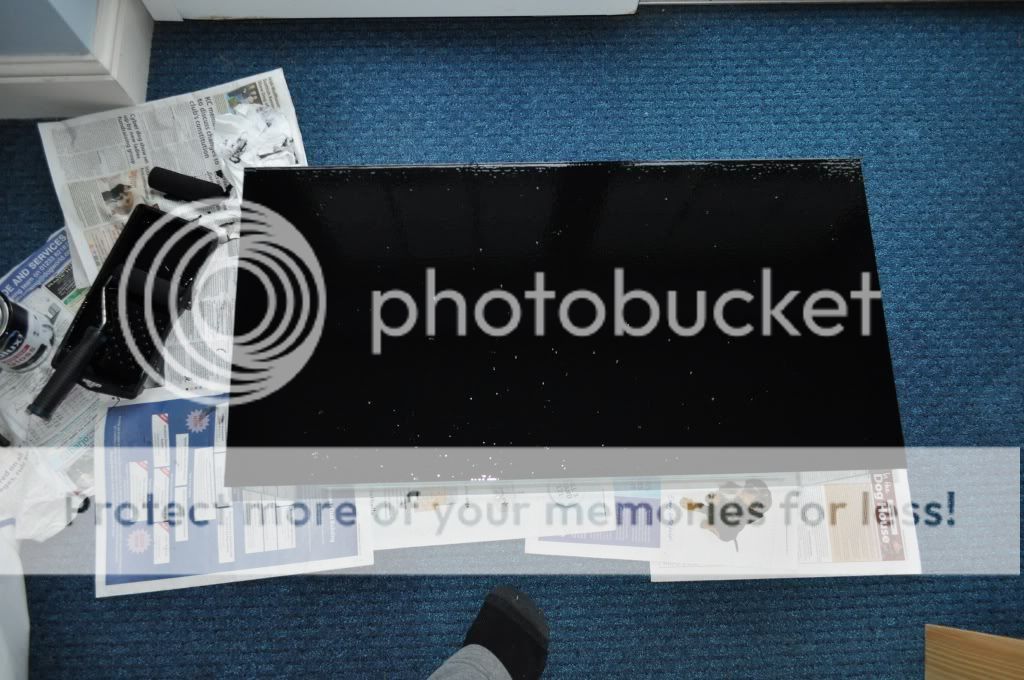
I have also painted the back of my tank black took me a while to look for a decent paint to use but B&Q don't sell anything for glass, so i just bought some Gloss pain't as it was cheap and ye it is looking amazing so far, painting indoors as its snowing outside not the best idea some dust and stuff is on it cant get it off BUT when you look from the inside it looks amazing i have done 3 coats so far and i shall do a 4th this weekend and possible 5 or 6 coats just to make it perfect, just to note the black paint, the first coat came out brown not black
second coat made it black
il get pictures of the tank on its own this weekend, but once the 2nd coat was dry i stuck into the cabinet with the lights and took 3 more pictures to see how it looks with the colours and so here it is
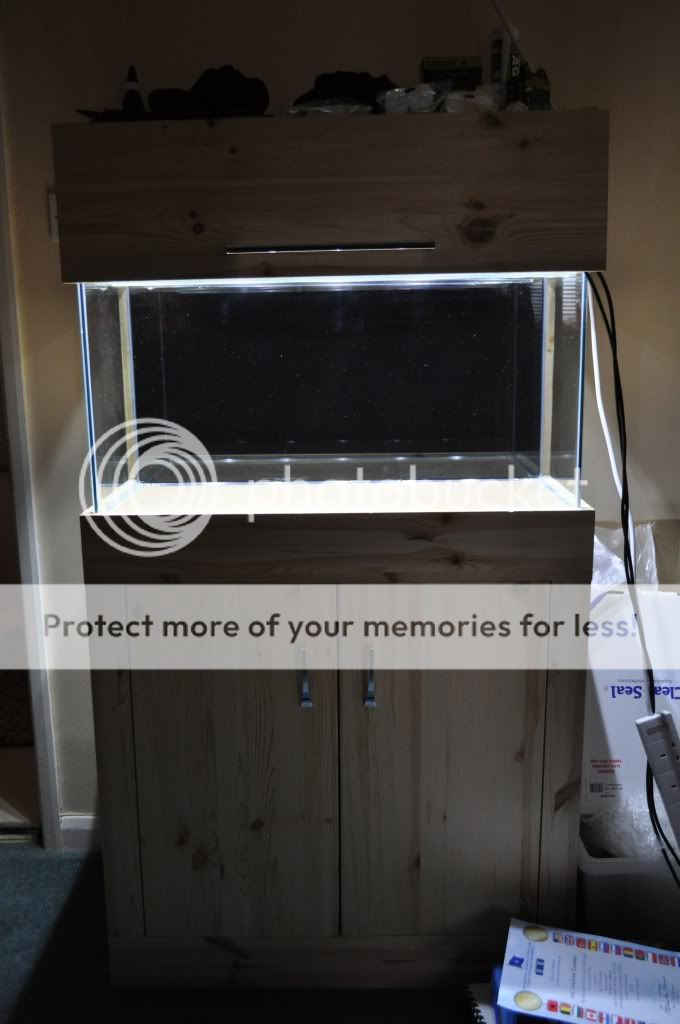
White
Blue
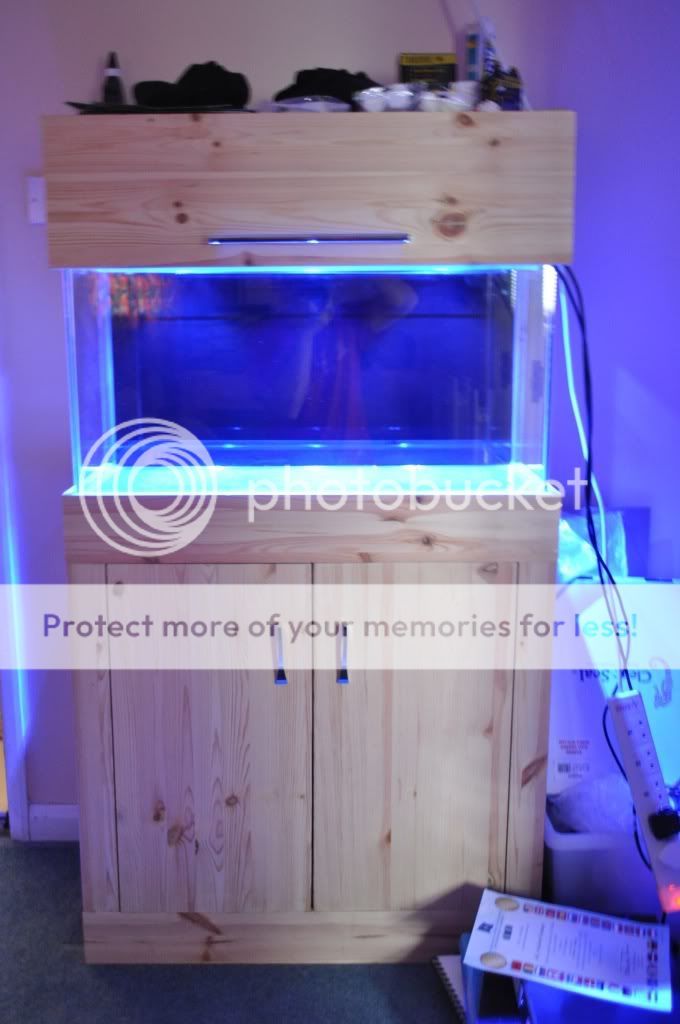
White + Blue
Well this is it for the update hope you all like it so far, ah just to note i bought some stain to cover the tank with once it has finished, i got Light Oak colour varnish
fingers are crossed it comes out okay
wont be doing this for a month or two.
EDIT - just need to mention before people say i will be covering the hole at the front and back of the LED's so it is better water proofed i will also be getting an acrylic cover for the tank
")
 /www.ikea.com/gb/en/catalog/products/00119419/