kelwoo
Fish Fanatic
So those of you who have read my other journal 130L seahorse setup will know that i had plans to strip the tank and start again adding a sump - well plans changed slightly when Chris (my other half) suggested looking in the LFS to see, if the worst should happened if i could get a replacement tank. I found a tank which was discounted and quite a bit bigger and long story short talked myself into buying it. 'Well if i'm gonna drill one tank and plumb it in properly i might as well do the upgrade at the same time right?!' 
So i thought i would start a new thread documenting how the tank is coming a long.
THE PLAN
The same as the re-do on the 130l just up scaled. The new set up will be 260L inc. sump.
Add a sump, with skimmer,uv and phosphate reactor, drill the tank and plumb it in all pretty like.
SO FAR......
The rock work is already upstairs in a tank drilled, pinned with acrylic rod and cured awaiting a tank to put it in.
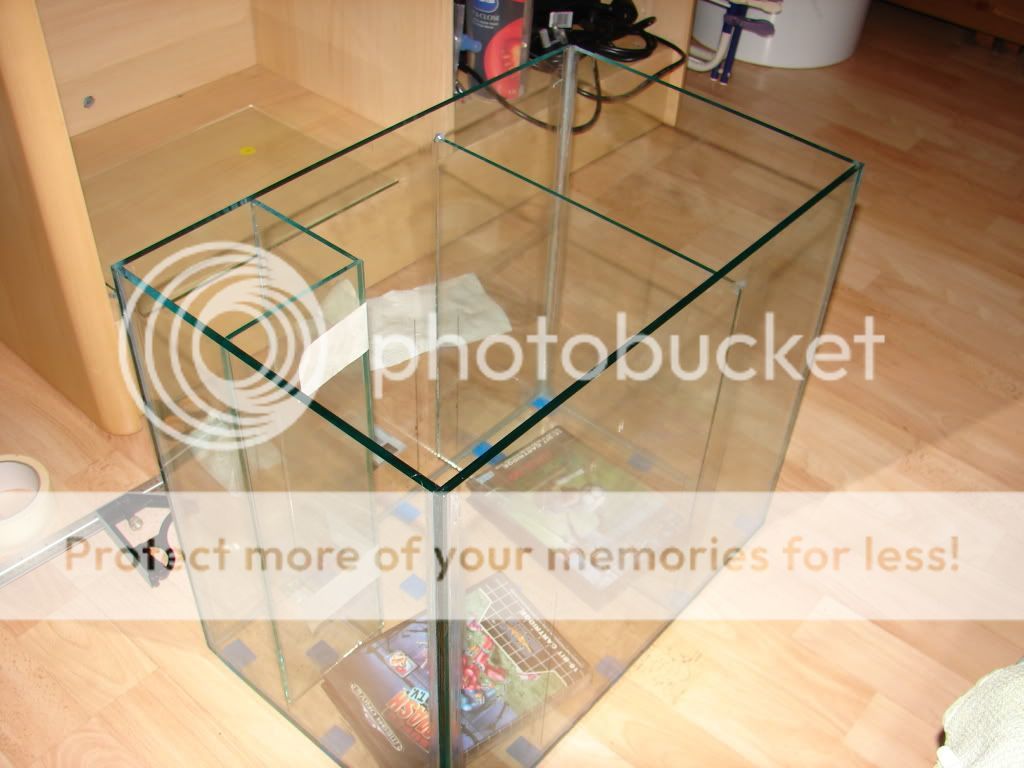
I have built the sump from scratch so it is made to measure:
I gave the measurement to the glass shop who cut it to size for me
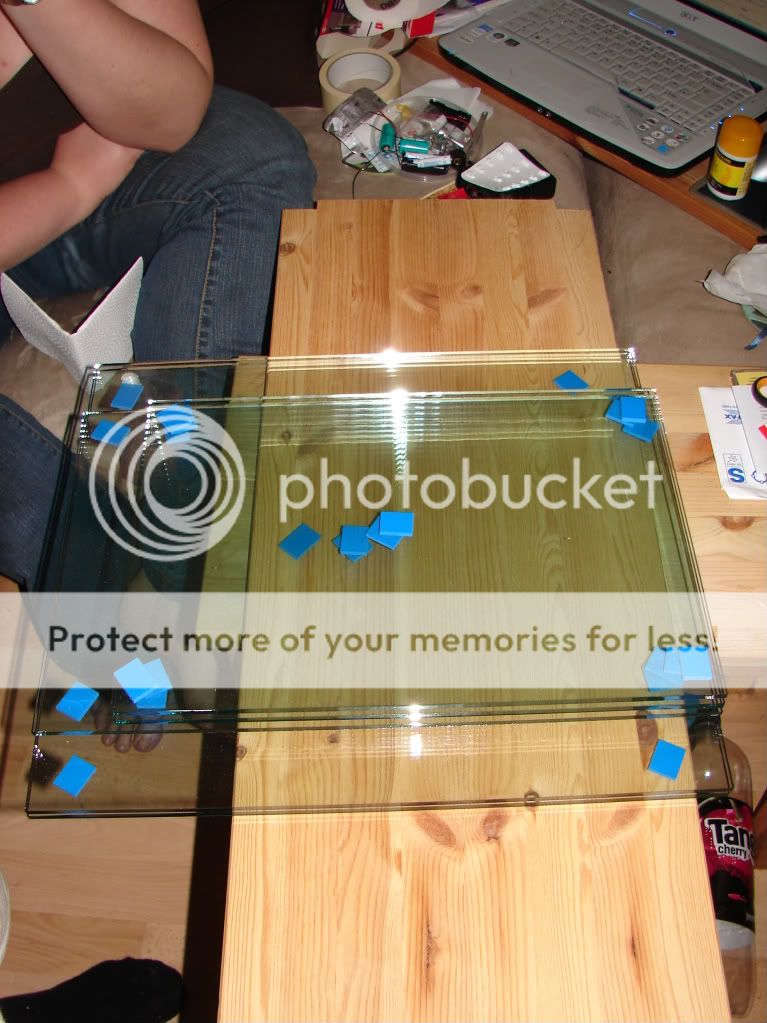
Basic tank

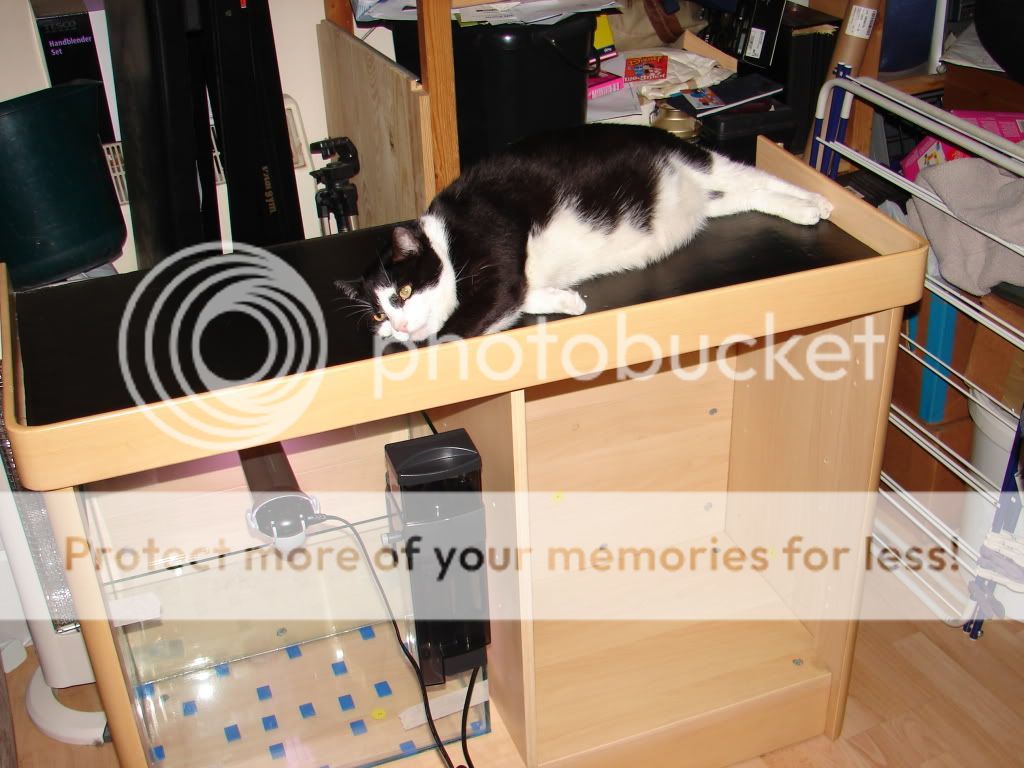
Basic tank in cabinet with light, skimmer and a fat cat (J.D)
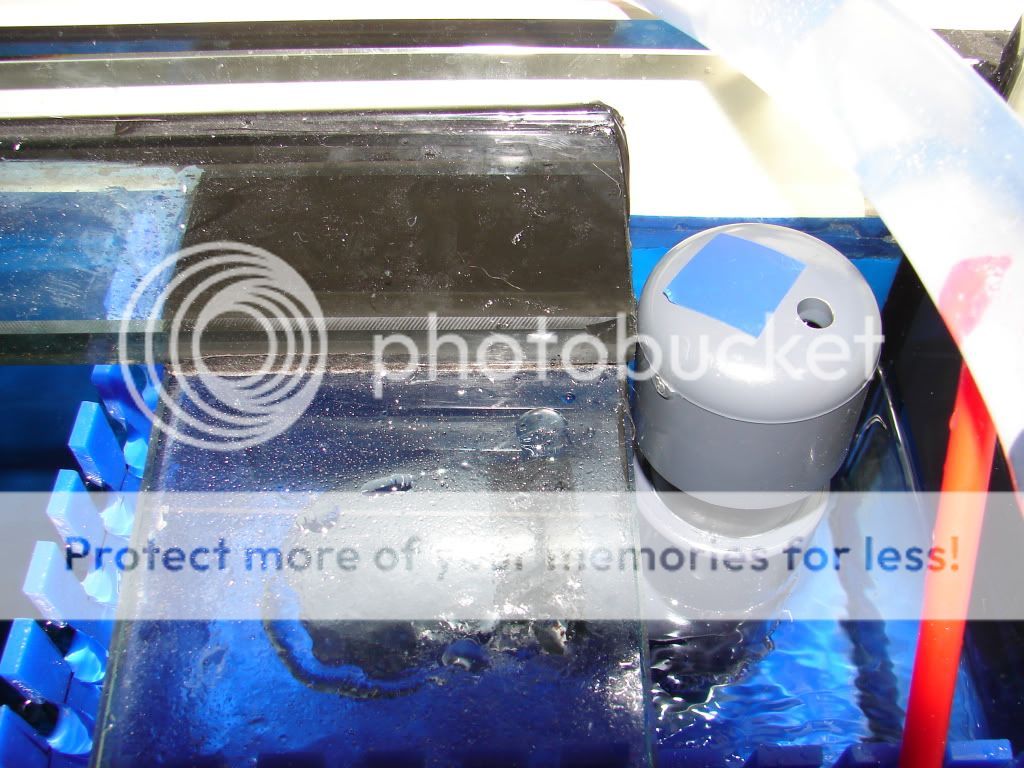
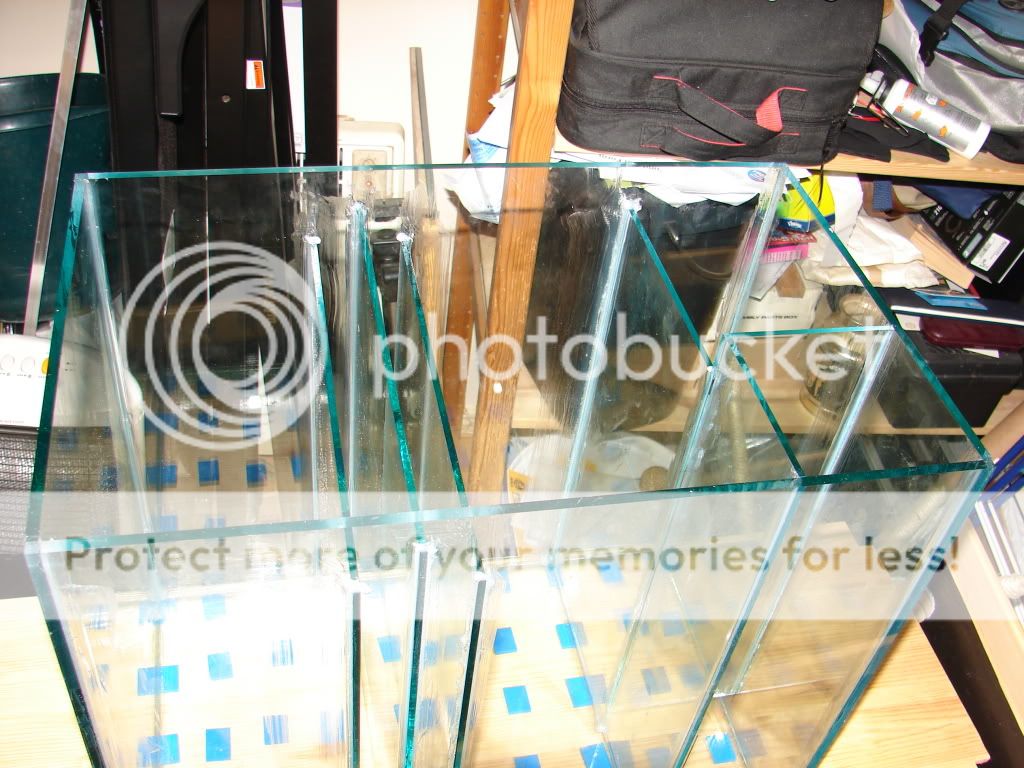
Half of the internal structures done
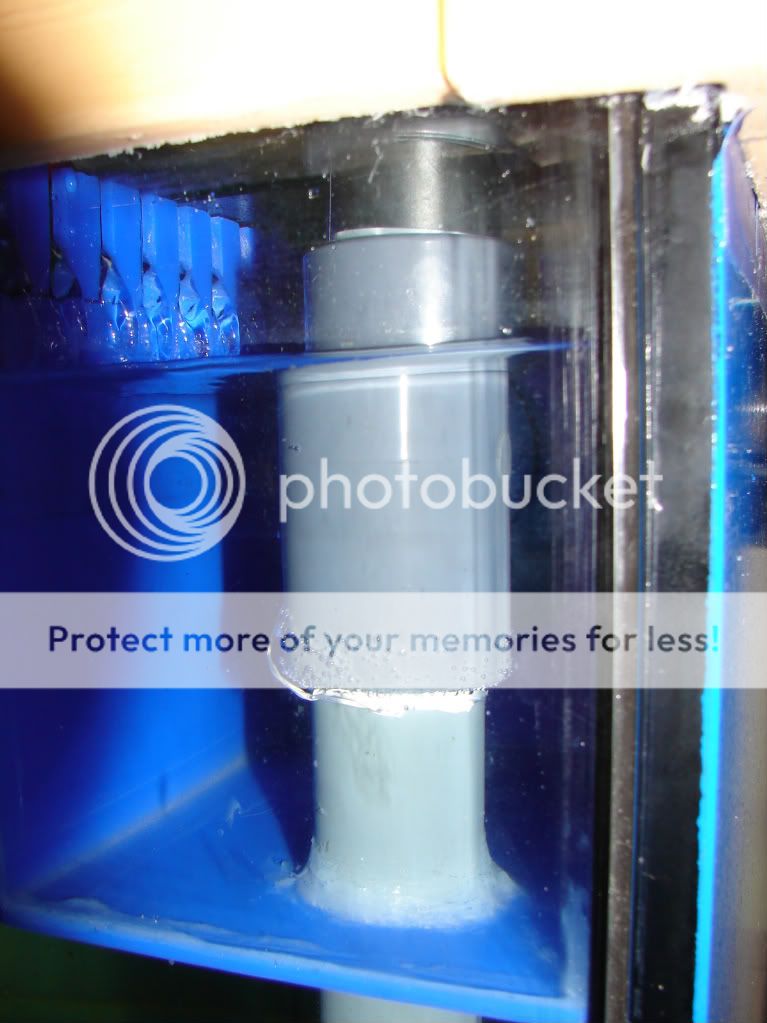
Complete sump
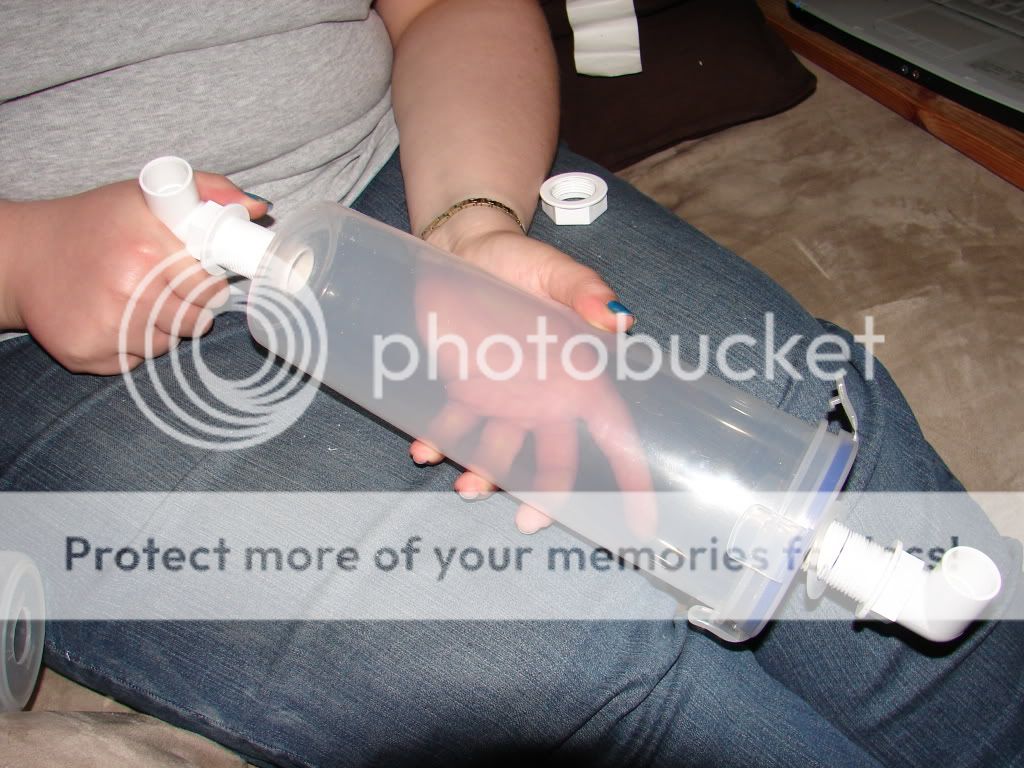
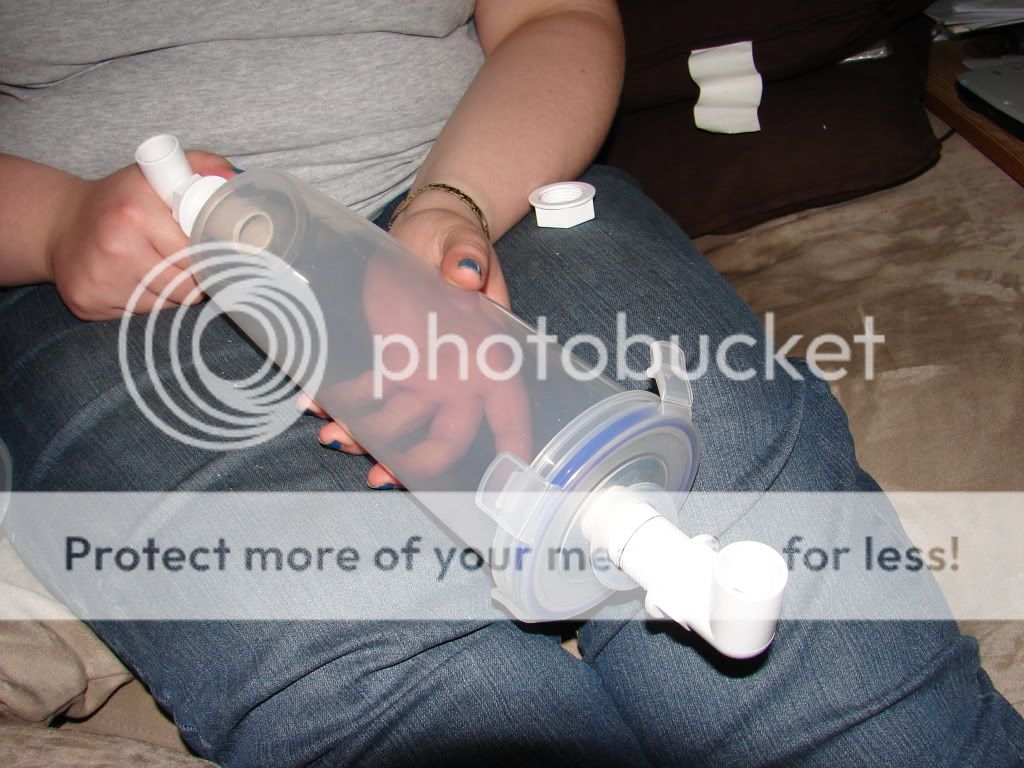
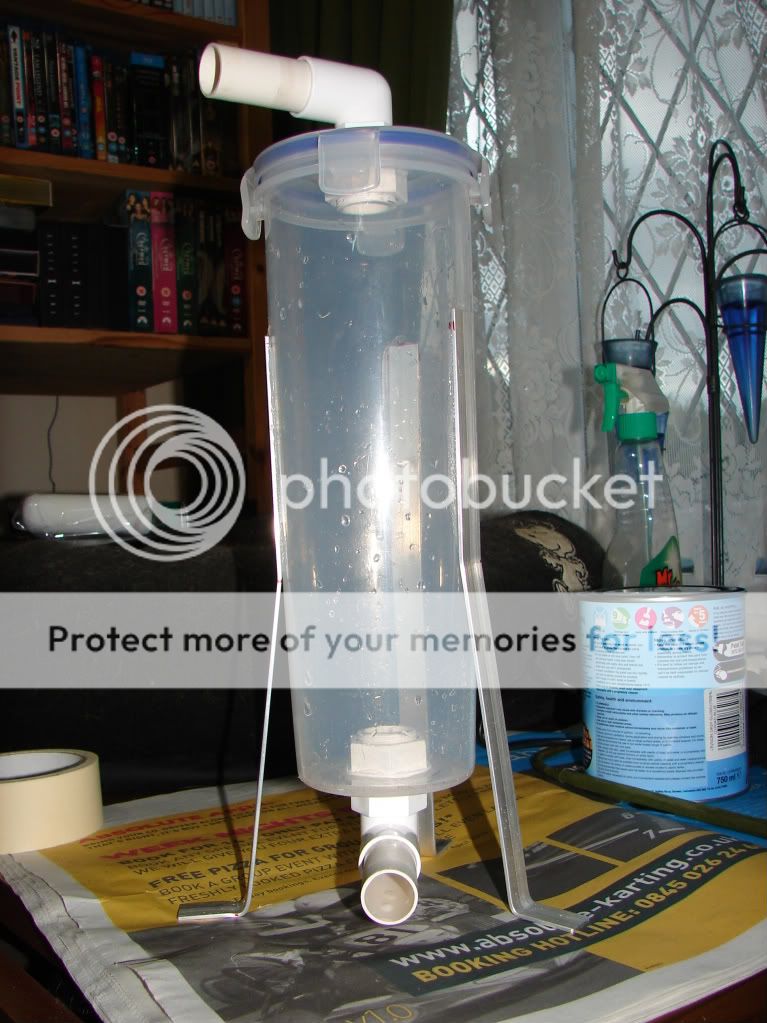
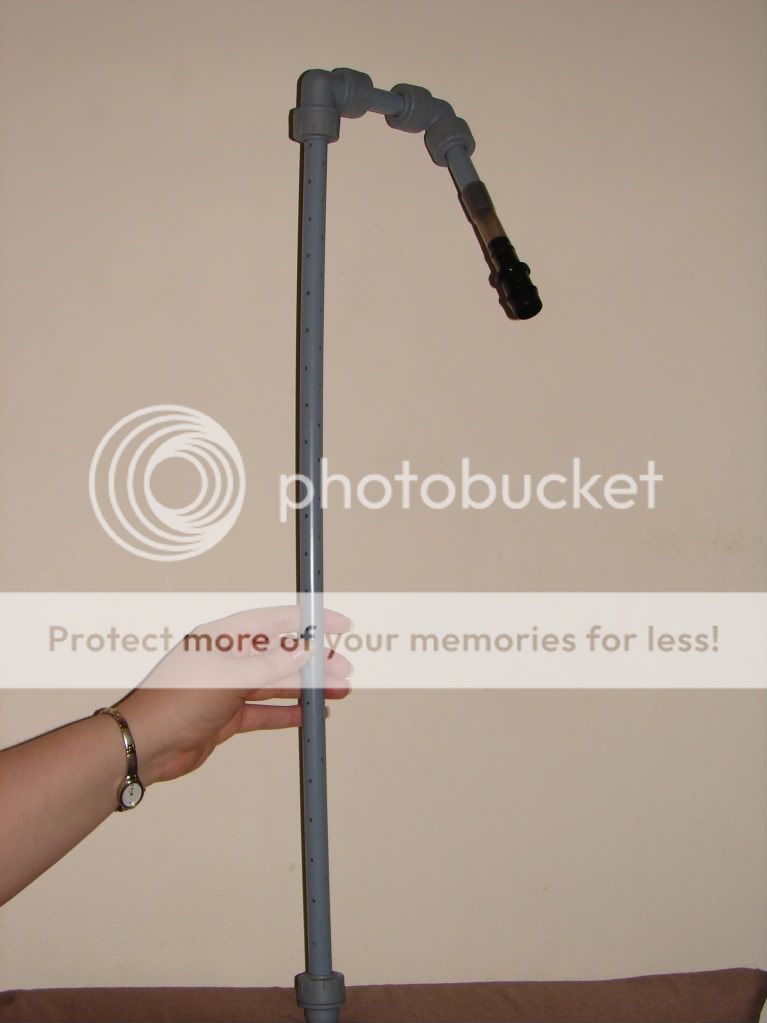
Also building my own phosphate reactor which i'm half done, will post piccys when they finished.
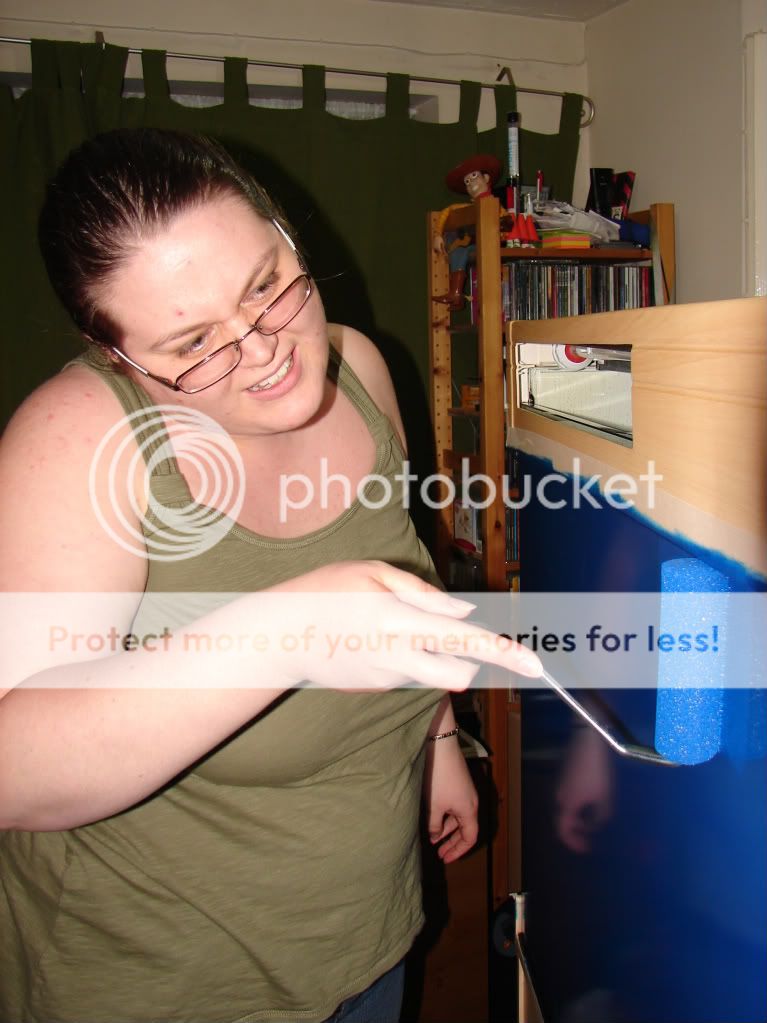
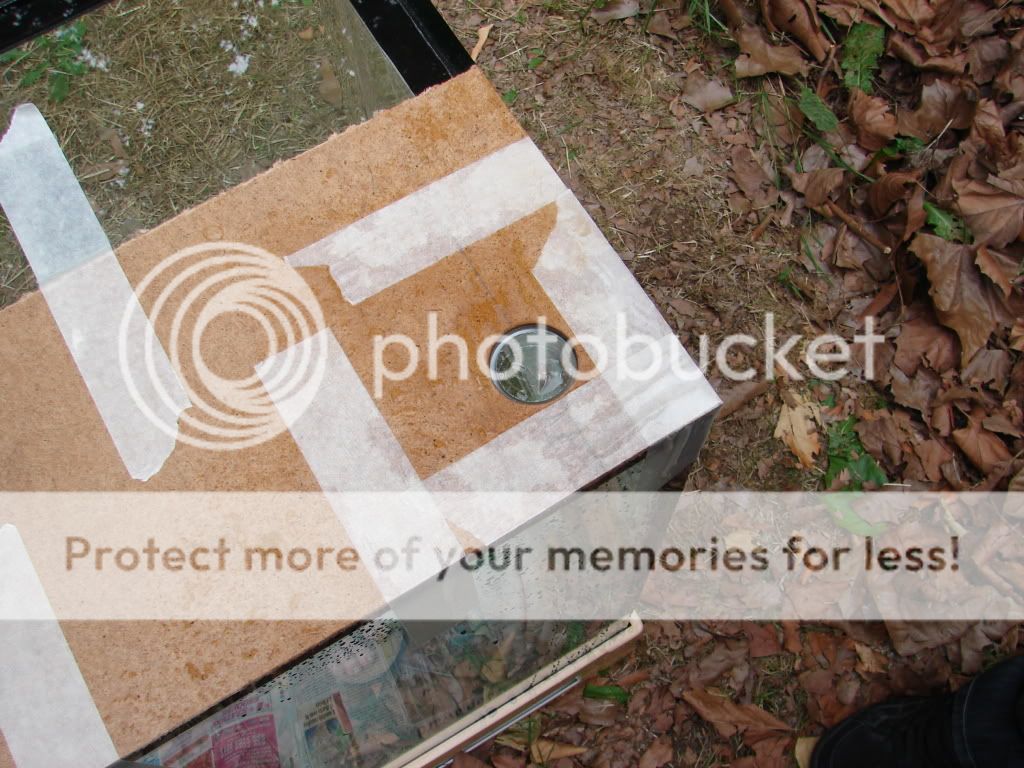
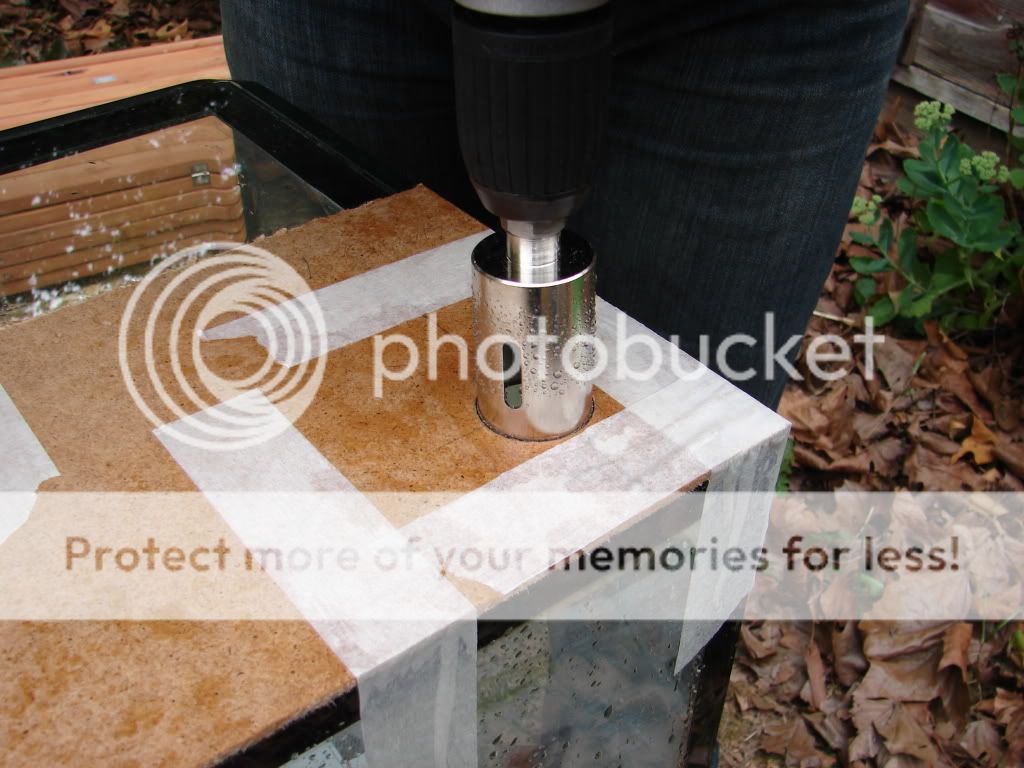
And the biggest job and scariest was done today - drilling the tank
Tank with template
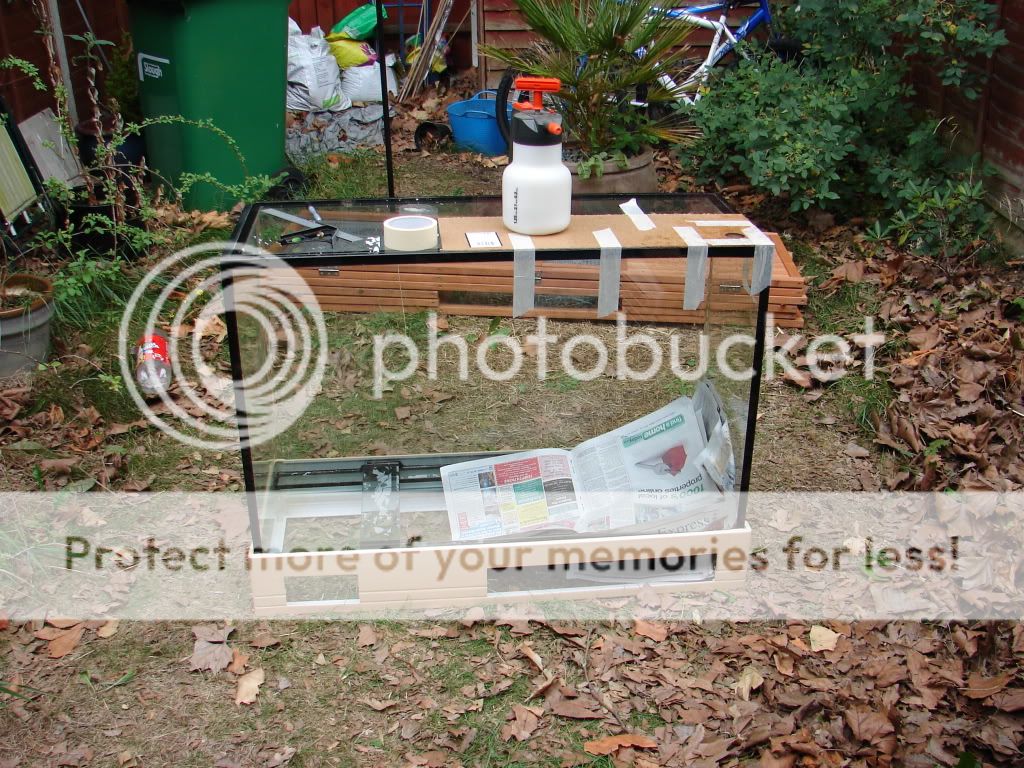
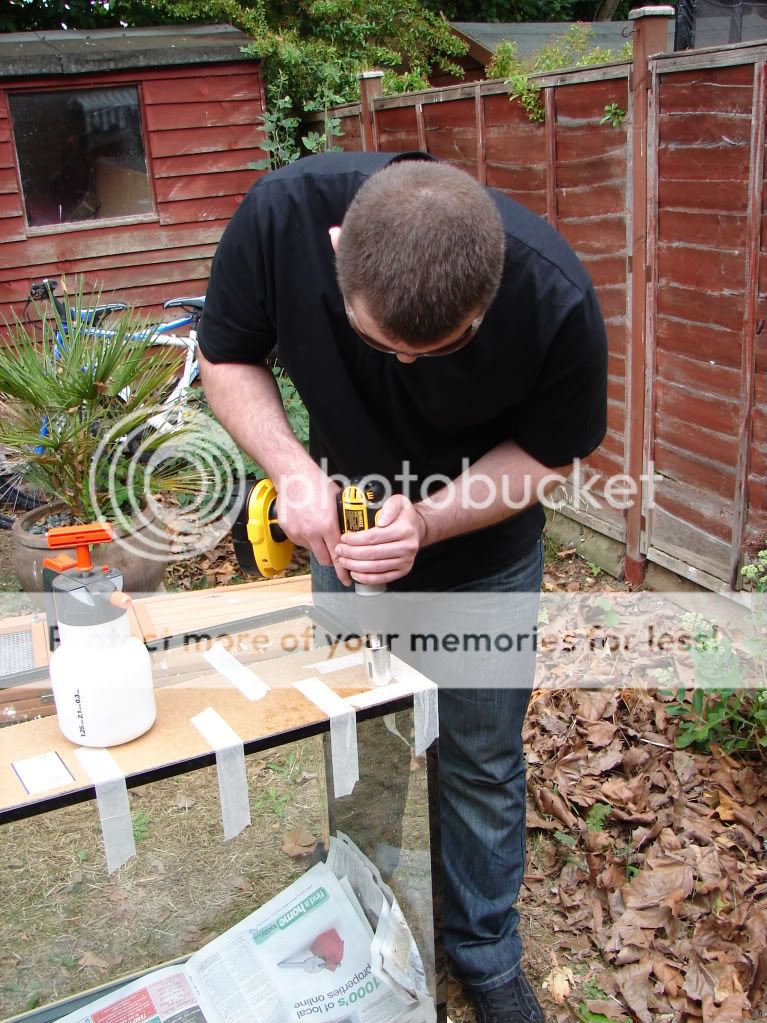
Chris drilling tank
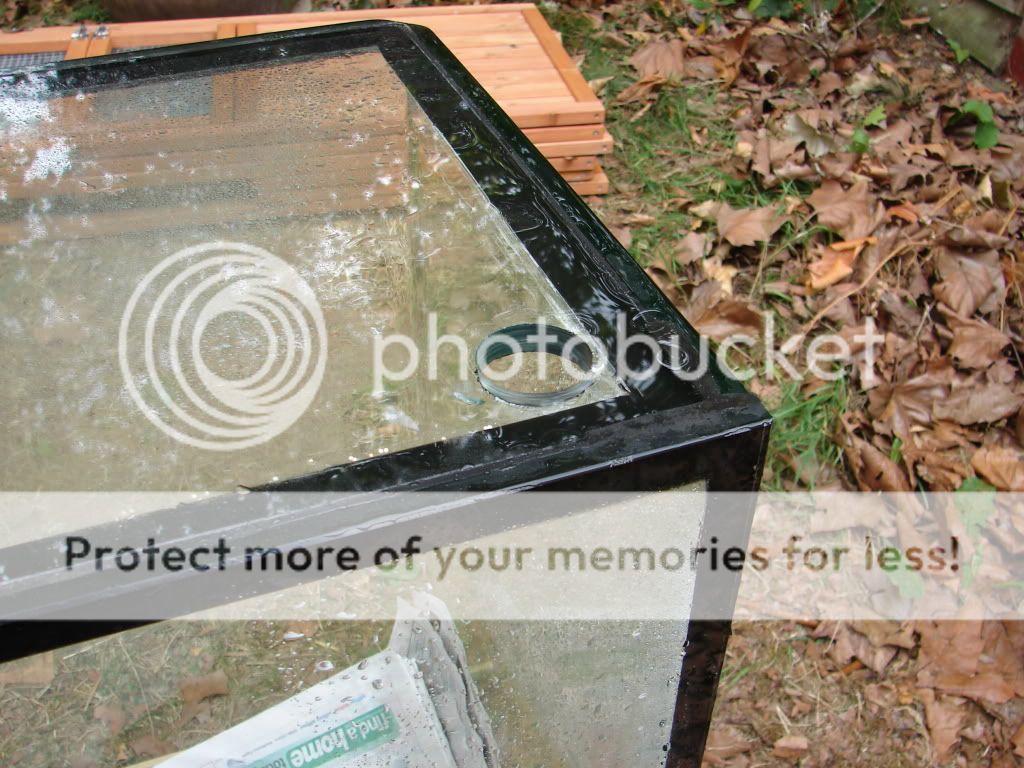
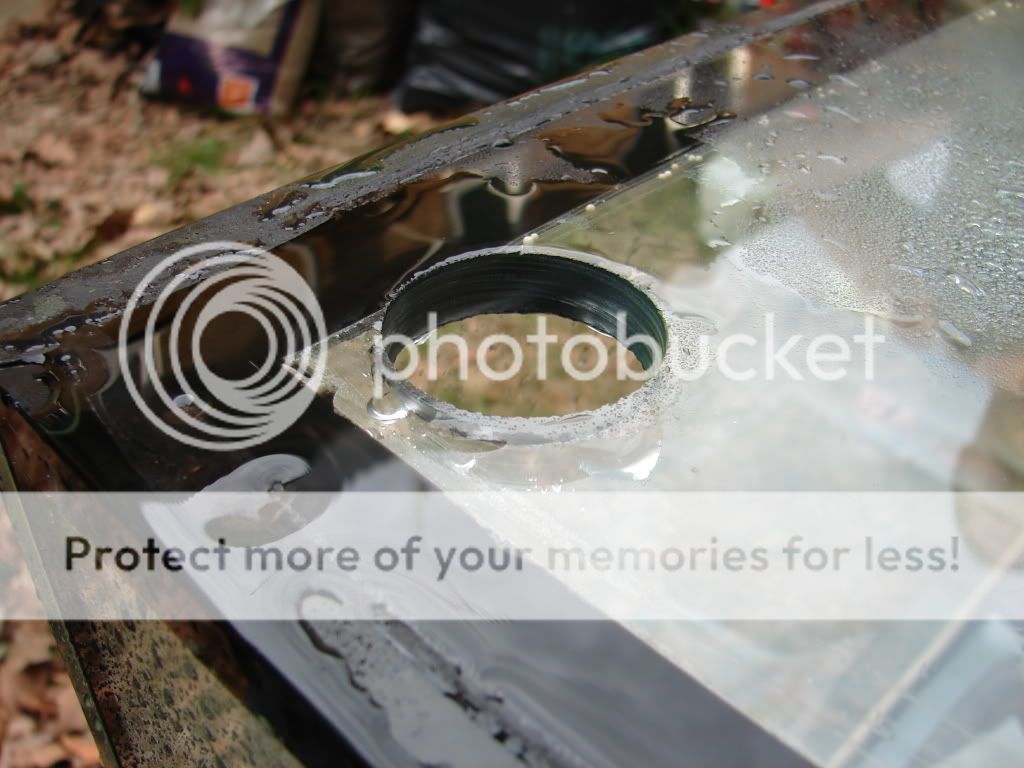
The hole!!
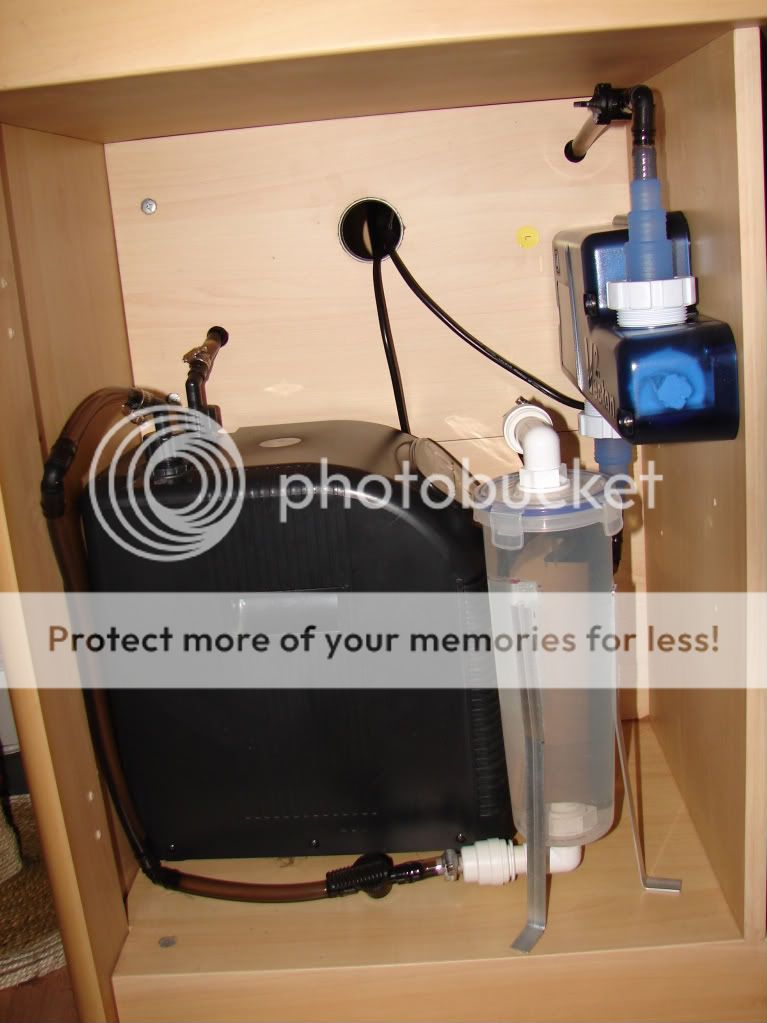
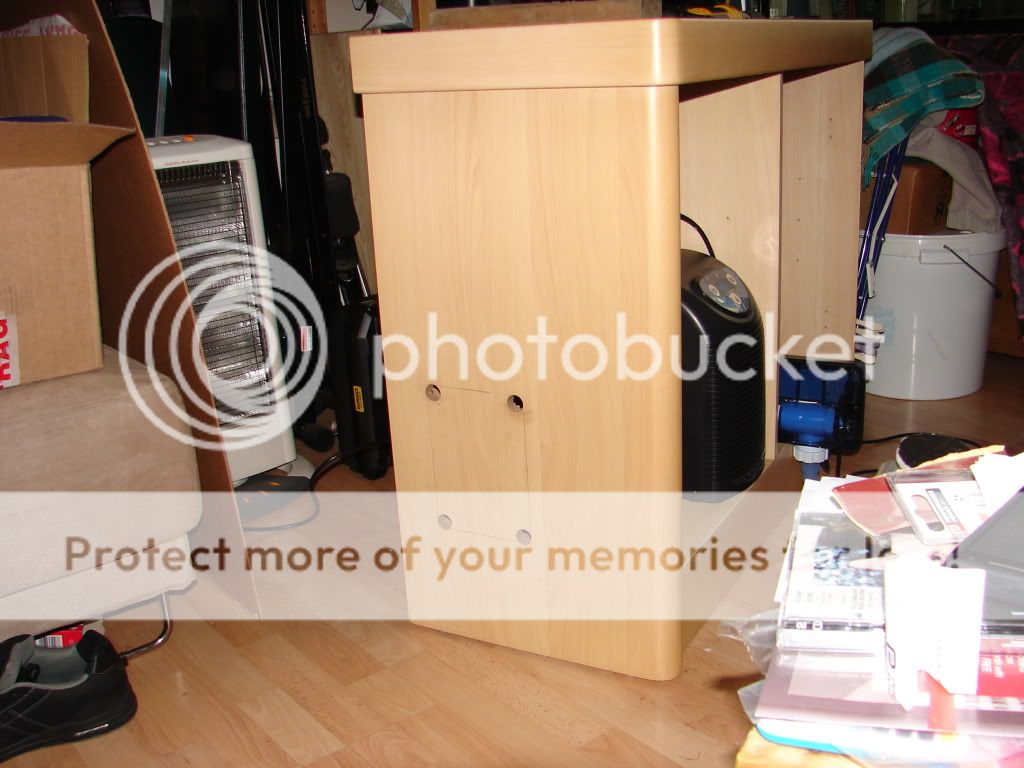
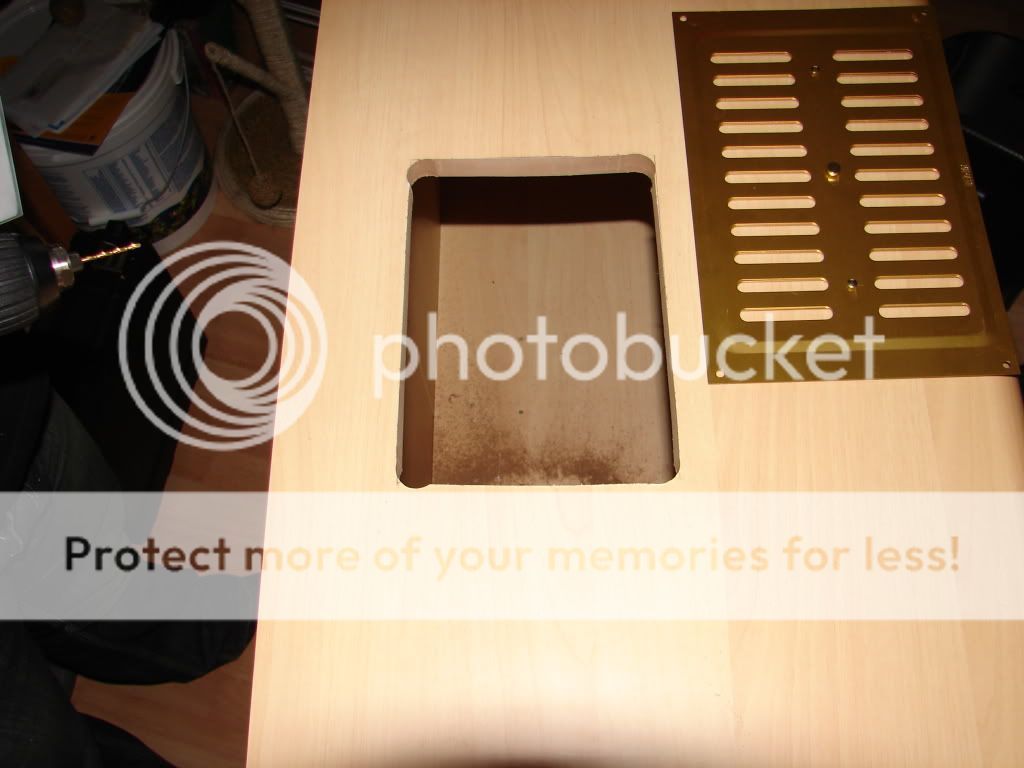
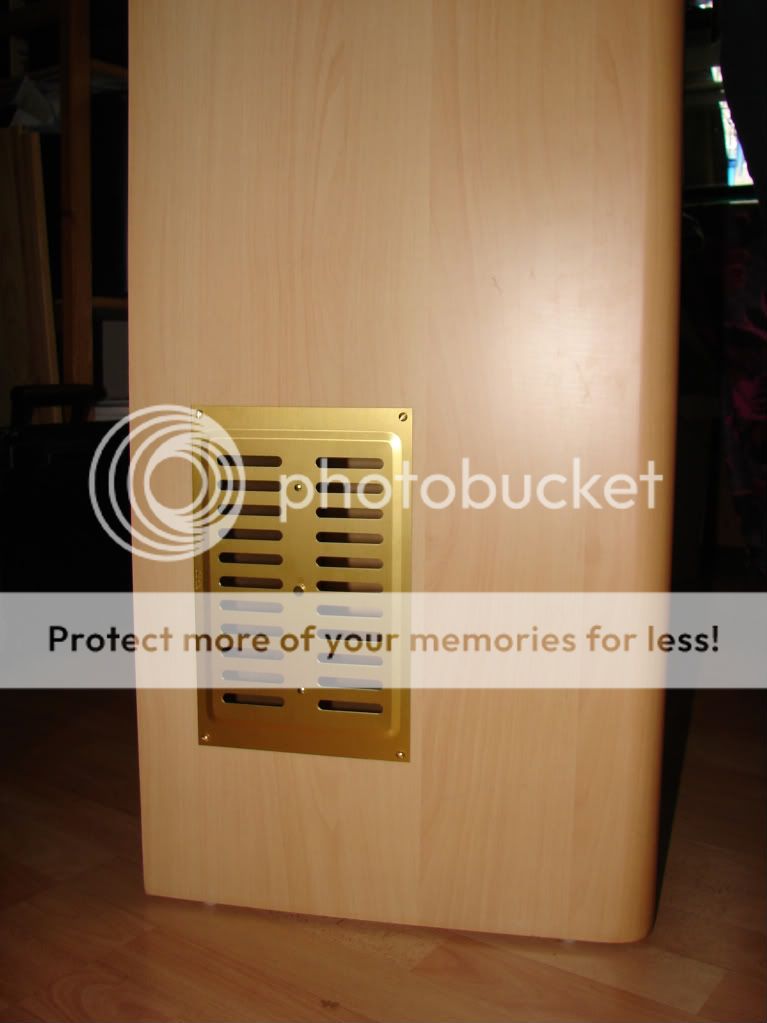
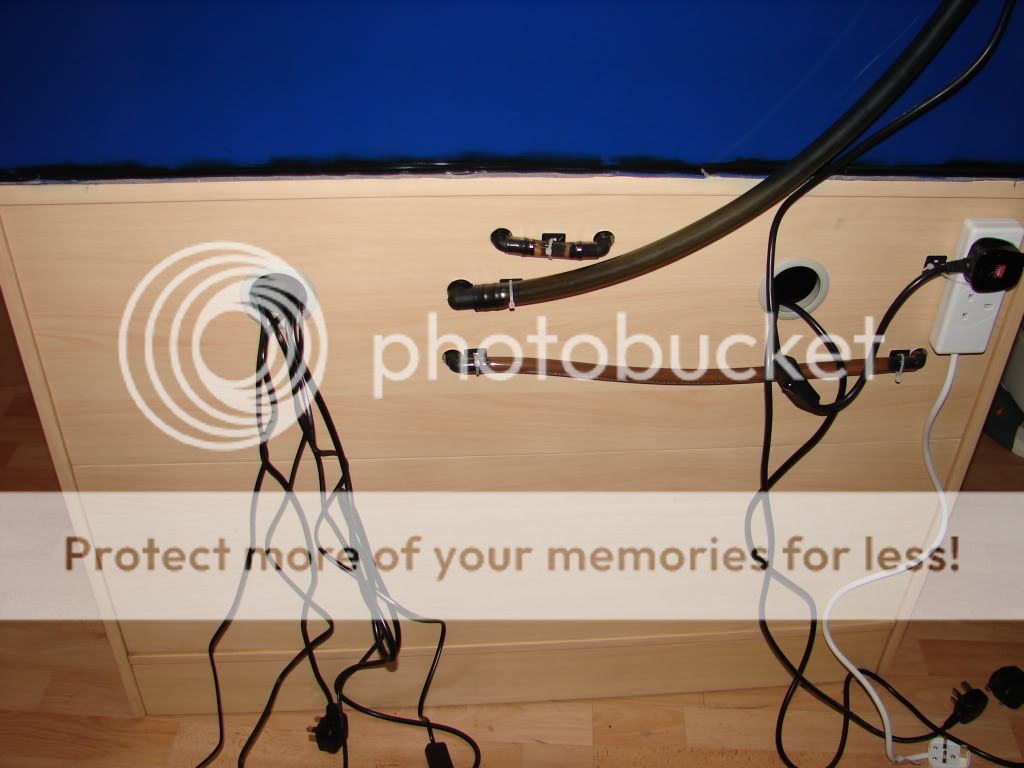
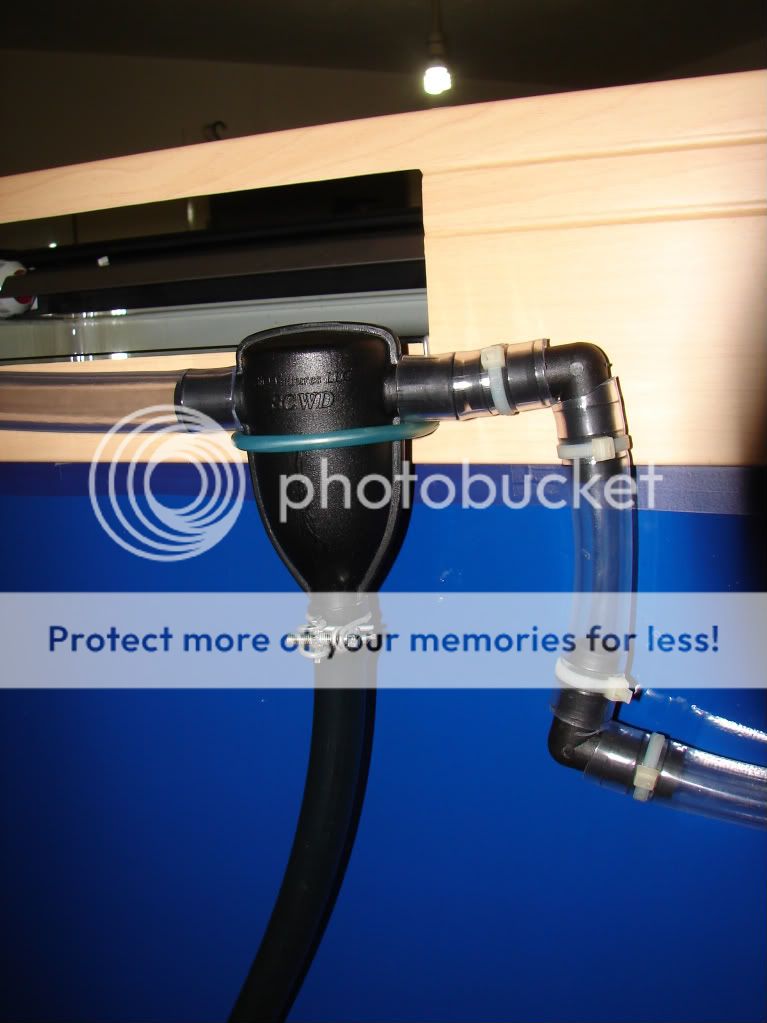
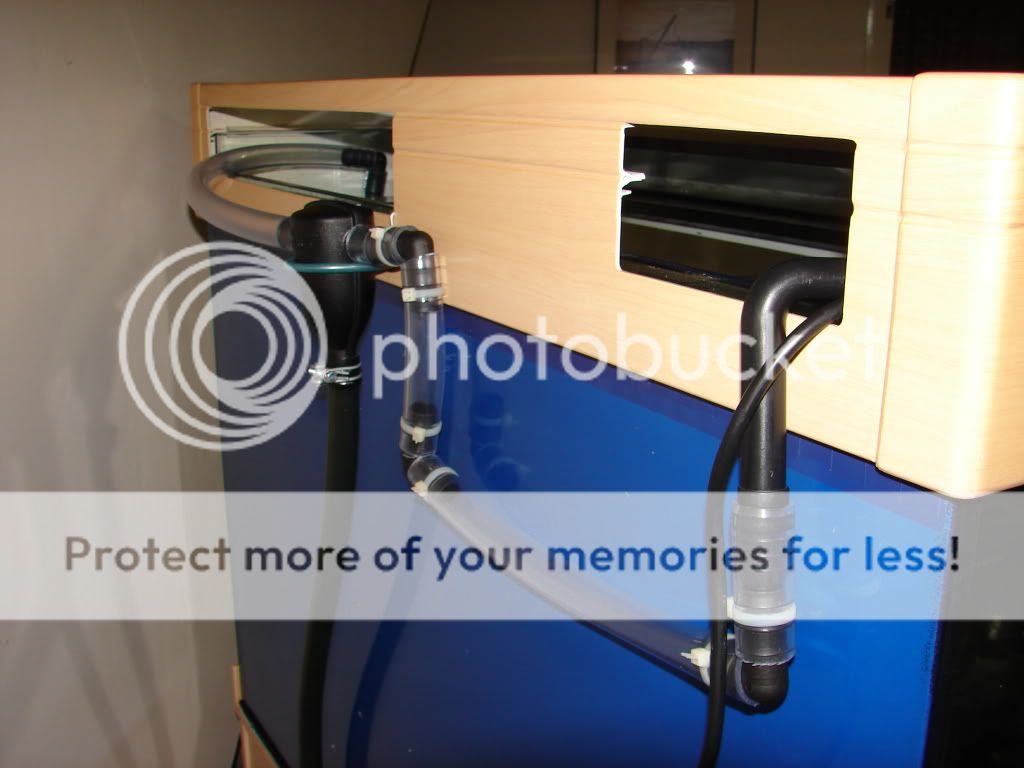
I have drilled the cabinet for the sump pipe - have just got to sort out the plumbing and holes for the rest of the tank then the hard bit is done. (I have a pump in the sump for the return back the tank, and another one which will go from the sump into the chiller - then the phosphate reactor, then the uv back into the sump - so i need to sort out that pipe work and drill the appropiate holes in the cabinet for them.)
Still got lots to do will try and update as a go another long night a head
Kelwoo
So i thought i would start a new thread documenting how the tank is coming a long.
THE PLAN
The same as the re-do on the 130l just up scaled. The new set up will be 260L inc. sump.
Add a sump, with skimmer,uv and phosphate reactor, drill the tank and plumb it in all pretty like.
SO FAR......
The rock work is already upstairs in a tank drilled, pinned with acrylic rod and cured awaiting a tank to put it in.
I have built the sump from scratch so it is made to measure:
I gave the measurement to the glass shop who cut it to size for me
Basic tank
Basic tank in cabinet with light, skimmer and a fat cat (J.D)
Half of the internal structures done
Complete sump
Also building my own phosphate reactor which i'm half done, will post piccys when they finished.
And the biggest job and scariest was done today - drilling the tank
Tank with template
Chris drilling tank
The hole!!
I have drilled the cabinet for the sump pipe - have just got to sort out the plumbing and holes for the rest of the tank then the hard bit is done.
(I have a pump in the sump for the return back the tank, and another one which will go from the sump into the chiller - then the phosphate reactor, then the uv back into the sump - so i need to sort out that pipe work and drill the appropiate holes in the cabinet for them.)Still got lots to do will try and update as a go another long night a head
Kelwoo
 yay!
yay!