Well all, Now that I'm finally starting to get a lot of my parts in and tank assembly has begun I figured I'd start my own diary here. I'm planning ultimately to have a fully stocked reef setup here and hopefully this diary will contain plenty of do-it-yourself entries for the new aquarist. Some things I plan on doing myself are:
Designing and building my own sump/refrigium
Designing and building my own overflow system
Creating a self-dosing system
Creating a pulse-width modulated wavemaker
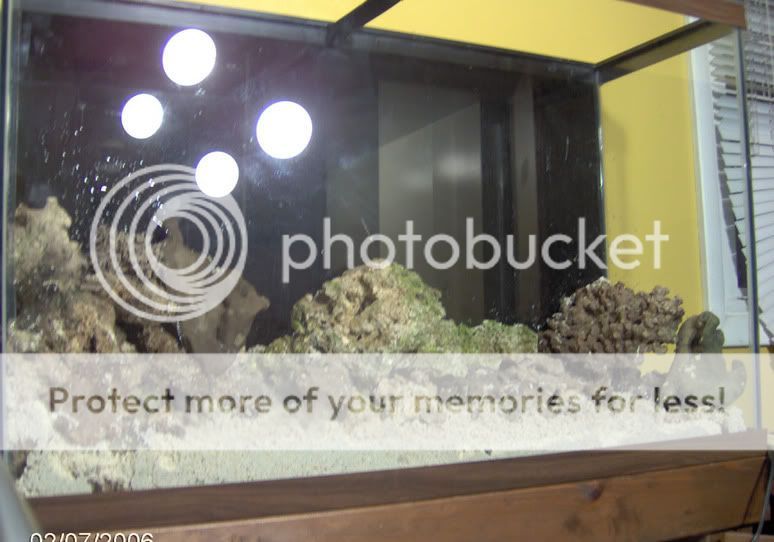
Anyway, off to the start with pictures") The first shot I have is of the tank on the stand newly painted with black latex paint. Dimensions of the tank are 36"x24"x12" which classifies it as a 45 gallon tall. Its a good thing I'm 6'4" with really long arms cause tank maintenance would be a pain otherwise.
The first shot I have is of the tank on the stand newly painted with black latex paint. Dimensions of the tank are 36"x24"x12" which classifies it as a 45 gallon tall. Its a good thing I'm 6'4" with really long arms cause tank maintenance would be a pain otherwise.

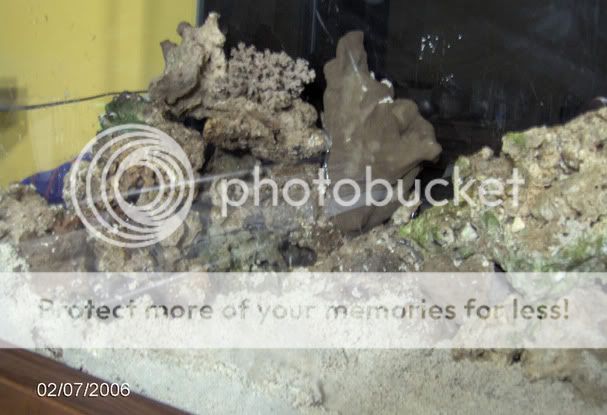
After that, we have a couple shots of the tank with a lot of its baserock in place. Bottom line, I do not have the cash to put into 100+lbs of liverock that I'd like. So, mercifully one of the LFS guys sold me 75lbs of baserock from his old decomissioned 220gal for a whopping $50. By friday I'm going to get a couple big pieces of nice liverock to seed the tank.
The rock you see here is EXCEPTIONALLY porous and also some pieces are a little brittle due to their age. I'm told by the previous owner that its been in his father's or his possession for well over 20 years at the least, 30+ at the most. Apparently his father was an avid diver back in the 1970's and some of this stuff is straight off ocean reefs. Whether that practice was as illegal then as it is now, I'm not sure. I'm not the expert on marine conservation history, but I would like to point out that such a practice is illegal in most countries I know of today. Anyways, here are some closer shots of the two sides of the tank:
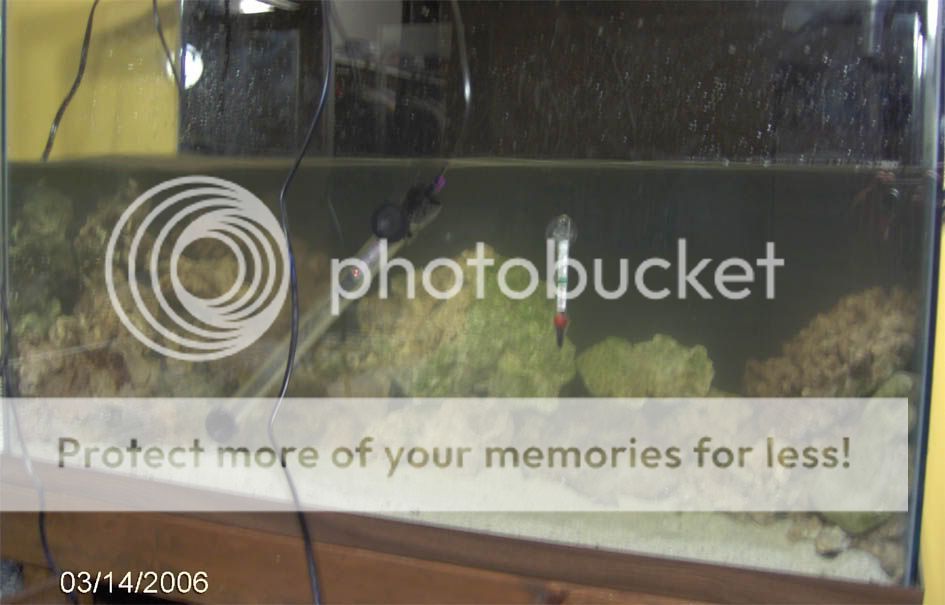
This shot above of the left side of the tank is actually where I'll be hiding one of my powerheads. Its not very clear in the picture but there is a big hole there in the rock which should perfectly fit one of my pumps.
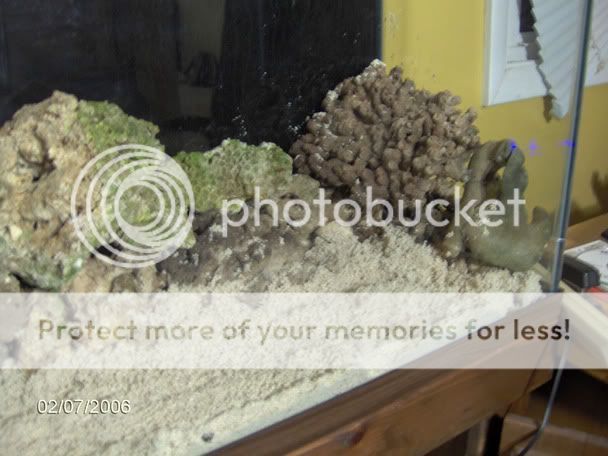
As you can see, there are all sorts of different types of rocks and corals here which I hope when fully seeded will look very striking. My next steps are to begin sump design as I wait for my next big orders of parts to come in. Most specifically my refractometer, as I cant very well put proper saltwater in the tank without it (man I wish California were closer to New York). I'm assuming that once I fill it and add liverock I'll have a very very long cycle to go through as there is plenty of dead matter on the rocks. Upon elimination of ammonia and nitrites I expect my nitrates to be very high and this leads me to ask the question if this is bad for liverock only? I'm fully prepared to do a near 100% water change to get my nitrates down before I add any fish, but just am wondering at what level nitrates might or might not hurt my liverock.
You may have noticed the sand bed is pretty thin at only an inch or just slightly more to keep anaerobic sand out of the main tank. I plan on creating a deep sand bed with a plenum in my sump for the anaerobic bacteria to do their thing without being disturbed by little critters and releasing toxins. As a side note for those of you reading up on the hobby, anaerobic bacteria can live in sand deeper than 1.5-2" and if a fish stirs that up, you can release some nasty toxins including cyanide (bad).
I'd love to post a picture of my sump plans, but my drawings are all done by hand and my camera doesnt pickup my chicken scratch well so you'll all just have to wait for the pictures. My main challenge when building the sump will be creating it in-place. I've designed it such that its dimensions require it to be assembled piece by piece to fit into the stand. stay tuned for shots of me cursing myself for doing this, despite how clean it will look when completed
Anyway, thats episode one, make sure you drop by as I update for more breaking news
Designing and building my own sump/refrigium
Designing and building my own overflow system
Creating a self-dosing system
Creating a pulse-width modulated wavemaker
Anyway, off to the start with pictures
The first shot I have is of the tank on the stand newly painted with black latex paint. Dimensions of the tank are 36"x24"x12" which classifies it as a 45 gallon tall. Its a good thing I'm 6'4" with really long arms cause tank maintenance would be a pain otherwise.
After that, we have a couple shots of the tank with a lot of its baserock in place. Bottom line, I do not have the cash to put into 100+lbs of liverock that I'd like. So, mercifully one of the LFS guys sold me 75lbs of baserock from his old decomissioned 220gal for a whopping $50. By friday I'm going to get a couple big pieces of nice liverock to seed the tank.
The rock you see here is EXCEPTIONALLY porous and also some pieces are a little brittle due to their age. I'm told by the previous owner that its been in his father's or his possession for well over 20 years at the least, 30+ at the most. Apparently his father was an avid diver back in the 1970's and some of this stuff is straight off ocean reefs. Whether that practice was as illegal then as it is now, I'm not sure. I'm not the expert on marine conservation history, but I would like to point out that such a practice is illegal in most countries I know of today. Anyways, here are some closer shots of the two sides of the tank:
This shot above of the left side of the tank is actually where I'll be hiding one of my powerheads. Its not very clear in the picture but there is a big hole there in the rock which should perfectly fit one of my pumps.
As you can see, there are all sorts of different types of rocks and corals here which I hope when fully seeded will look very striking. My next steps are to begin sump design as I wait for my next big orders of parts to come in. Most specifically my refractometer, as I cant very well put proper saltwater in the tank without it (man I wish California were closer to New York
). I'm assuming that once I fill it and add liverock I'll have a very very long cycle to go through as there is plenty of dead matter on the rocks. Upon elimination of ammonia and nitrites I expect my nitrates to be very high and this leads me to ask the question if this is bad for liverock only? I'm fully prepared to do a near 100% water change to get my nitrates down before I add any fish, but just am wondering at what level nitrates might or might not hurt my liverock.You may have noticed the sand bed is pretty thin at only an inch or just slightly more to keep anaerobic sand out of the main tank. I plan on creating a deep sand bed with a plenum in my sump for the anaerobic bacteria to do their thing without being disturbed by little critters and releasing toxins. As a side note for those of you reading up on the hobby, anaerobic bacteria can live in sand deeper than 1.5-2" and if a fish stirs that up, you can release some nasty toxins including cyanide (bad).
I'd love to post a picture of my sump plans, but my drawings are all done by hand and my camera doesnt pickup my chicken scratch well so you'll all just have to wait for the pictures. My main challenge when building the sump will be creating it in-place. I've designed it such that its dimensions require it to be assembled piece by piece to fit into the stand. stay tuned for shots of me cursing myself for doing this, despite how clean it will look when completed
Anyway, thats episode one, make sure you drop by as I update for more breaking news
 . I should probably also get on top of getting the sump and refrigium up asap to have some macro algae to help me do some of the work
  and there's no way I'm spending the work time with it for that much in parts cost. Glass on the other hand happens to be eons cheaper weighing in at $44. So while I know I promised you guys some lessons on working with acryllic, instead it will be lessons in working with glass. Tomorrow evening I will be purchasing my glass from the hardware store along with a nice tube of caulk and infinite reserves of patience
  . So I'll have to go to a glass cutting store tommorrow and see how that goes as far as sump construction goes.
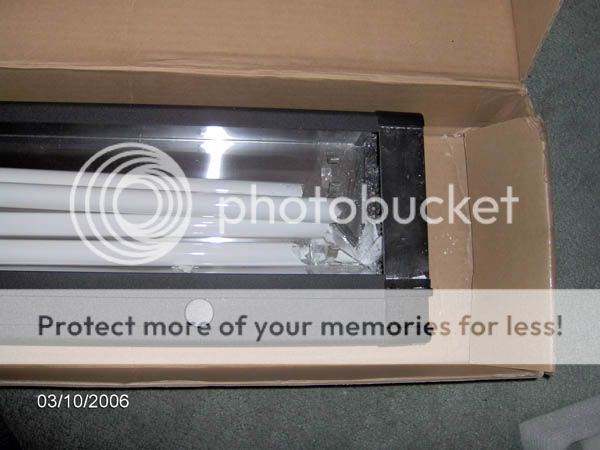
 . Here's a nice shot of the end of the bulbs