You've Got Your Tank....what's Next?

🐠 May TOTM Voting is Live! 🐠
FishForums.net Tank of the Month!
🏆 Click here to Vote! 🏆

They are Seio M820's (3200lph/820gph)

They can be mounted like a Fluval filter, ie. upright, or like 'guns' as I have them. I might try the silicone trick once i've worked out just where i'm going to put them.

I agree with you that drilling from both sides is mostly impractical in a ready built tank, I know for sure i'd never have been able to do it in mine without smashing something :)
 
Also if you put a small dot of superglue gel or silicone on the suction cups it helps keep them there, but is still able to be pulled off later.

This might be a silly question - but can I do this (silicone, not superglue) now I've got water and fish in the tank? I'm fed up with re-sticking my powerheads every week.

Ian
 
Not with water in the tank. Silicone will not cure when wet or to anything wet. You can use the superglue gel though with the water in the tank. The water actually speeds up the curing of the superglue gel.
 
Not with water in the tank. Silicone will not cure when wet or to anything wet. You can use the superglue gel though with the water in the tank. The water actually speeds up the curing of the superglue gel.

Thats useful to know - thanks

Ian
 
Seio pumps are very rare in the uk. I that more are now entering the UK so i hope this means they will be more readily available. They are more widespread in America i beleive and are easily obtainable in Hongkong.
 
I decided to try two 1100s and two 820s, all I can say is wow! I think I am going to take off my closed loop. When they powered up anything and everything that wasn't attached lifted up and blew into the water column. The 1100s though are huge and a little hard to hide.
 
One of these days I might actually get round to finishing this damn tank :crazy:

The lighting has been a disaster (not going into it, just stay away from Barvaria-Aquarist on eBay) so that's hampered the build process.

I'm getting a new Dremel by the weekend as my other one has decided to die on me just as I started to cut the acrylic for the overflow box so that should be sorted by Sunday evening.

In the meantime i've been trying out different ideas for positioning the powerheads and i've decided to go for a 'U' shape with the live rock and hide the powerheads, one at either end of the tank, in the rockwork (but not too hidden so that I can't access them)
I've decided to buy a new tank for the sump rather than using the old sump as a) it's a little bit big for the stand, and B) I want to try out a different design.
Again, that should be purchased by the weekend and the acrylic cut for it so updates will be posted then.
 
I thought I'd add to the previous comments on drilling. I drilled my first tank last night and it definately is cake. And using a piece of wood on the other side of the drill does work at keeping the bit from chipping the glass as it exits.
 
Ok, sump design done:
Sump.jpg


I've got the Dremel and begun cutting the acrylic to make the overflow box and the baffles for the sump.
 
Ok, finally got the acrylic overflow cut and glued to shape, just got to silicone it in place tomorrow and then i can fill the main tank and get the water ready for the live rock transfer.

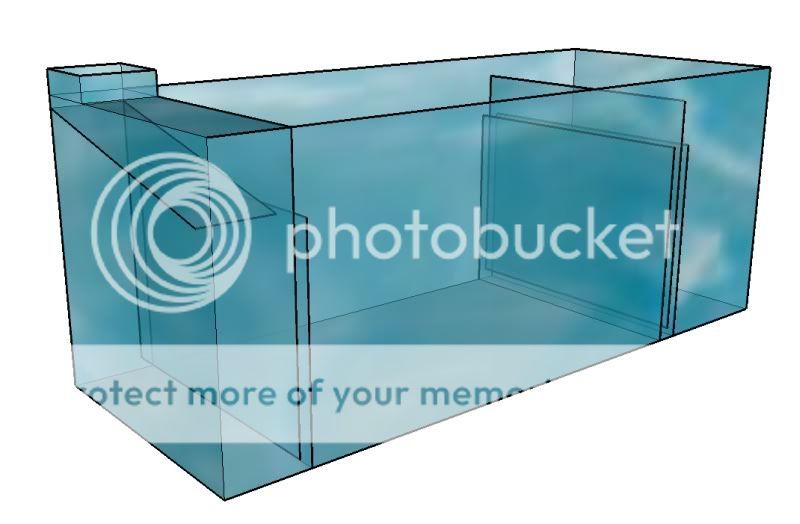
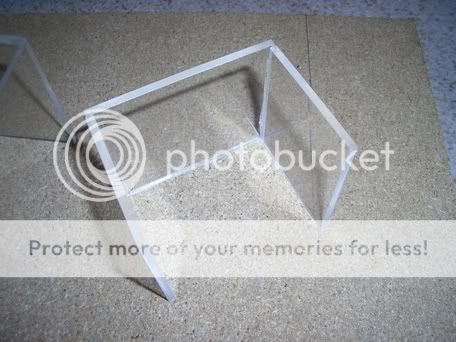
The 'Durso' box - This is an internal, upside down box which will be self-priming and will reduce the 'gurgle' of the overflow. The top plate will be the centre brace:
DursoBox.jpg


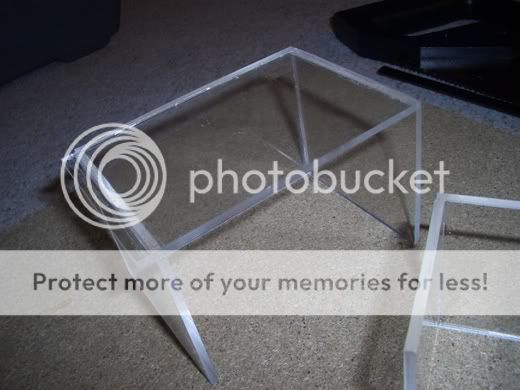
The Main box - This is the box that surrounds the 'Durso' box and creates the overflow weir to surface skim the water ensuring that the water flowing down to the sump is the water that contains the highest levels of dissolved organic waste thus ensuring the skimmer works at maximum potential (still needs trimmed):
MainOverflow.jpg


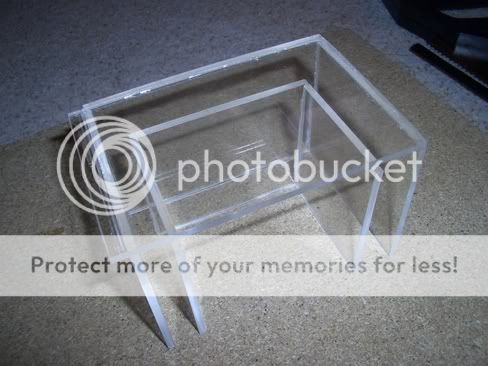
The complete overflow - This will be inverted and attached to the back glass and centre brace with silicone:
CompleteOverflow.jpg


If I can get silicone tomorrow i'll get it stuck in place tomorrow night and get pictures.
 
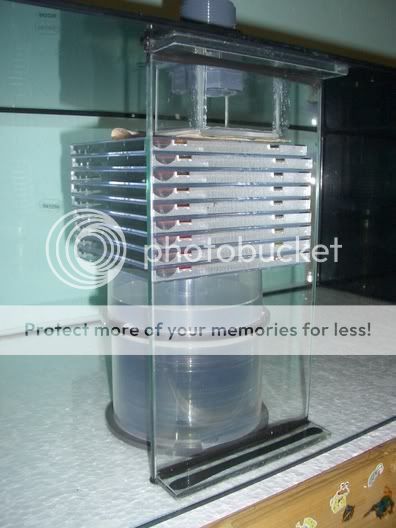
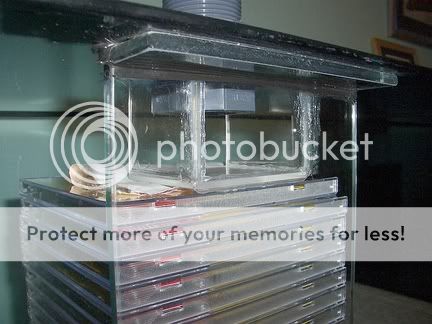
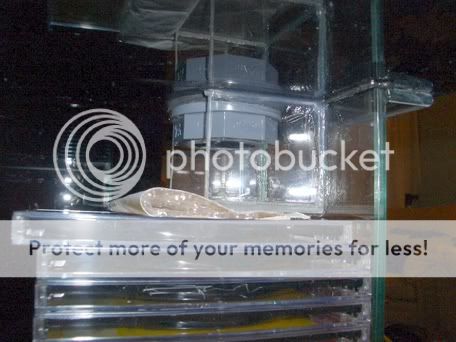
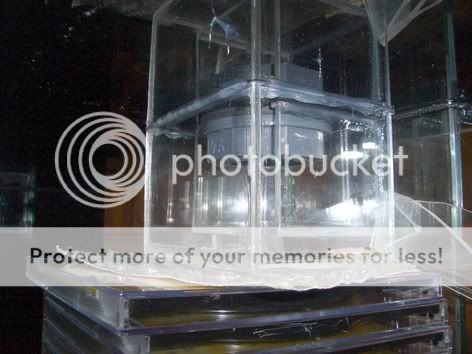
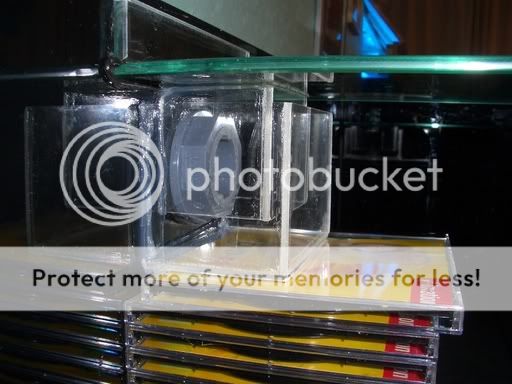
Ok, finally got round to getting some silicone sealant so i've made a start on the overflow. So far i've only managed to put the inside 'Durso' box on as I have to wait for it to cure a bit before I can put the outside box on:
CIMG0243.jpg

CIMG0242.jpg

CIMG0244.jpg
 
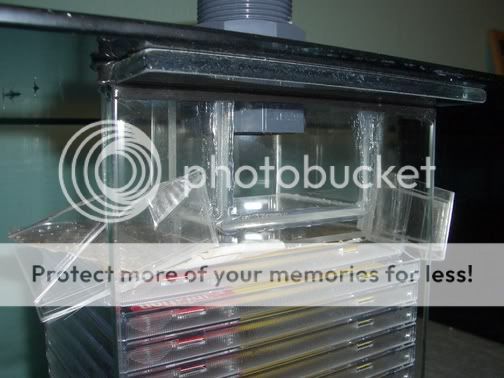
Waited as long as I can for the inside box the stick but i'm getting impatient and want to get this part finished so I can get the tank filled. Had to use a few bits of acrylic to maintain a uniform gap along the top of the wier but hopefully these will come away without a problem :D
CIMG0246.jpg


CIMG0249.jpg


Hopefully by now you can see the effect i'm trying to achieve
 

Most reactions

Back
Top