Diy Whole Tank Led Lighting Retrofit

The April FOTM Contest Poll is open!
FishForums.net Fish of the Month
šŸ† Click to vote! šŸ†

Looks good :good: I presume you will be adding more plants to the nano later, or are you leaving as is?

Waiting for some Glosso to arrive then it will be planted. Aiming to virtually cover the whole substrate.

Andy, got anymore pics of the 60cm with your LED lighting? Looks great so far bud

Cheeky. Its 80cm but tall. lol. I will get some pics up over the weekend.

AC
 
Some more pics:

These pics do not compare the LED without the lense properly to the lensed one because I am still using the lense holder as it holds the LED nicely in place. Also there is the 6mm acrylic so basically instead of the Lense 'restricting' the spread it is now free to bounce around the 'tunnel' created by the lense holder and acrylic before being able to spread where it wants when it reaches the end.

This means there is not the light spread that you saw on the main luminaire where the whole LED is open to emit light in all directions.

Here is a comparison. The 2 lights on the left have lenses in and the one on the right does not:
10lensecompare.jpg


This is the tank first with the lenses in and then without any lenses:
fullfront-6.jpg

10nolense.jpg


Doesn't look hugely different at first glance because this is only an 8" high tank so we do not need long reaching beams here but you can clearly see in the centre of the tank the white brightness has gone and in the front corners there is a better spread of light. There is better light all around in reality but then I've spoken about my photography skills before. lol

AC
 
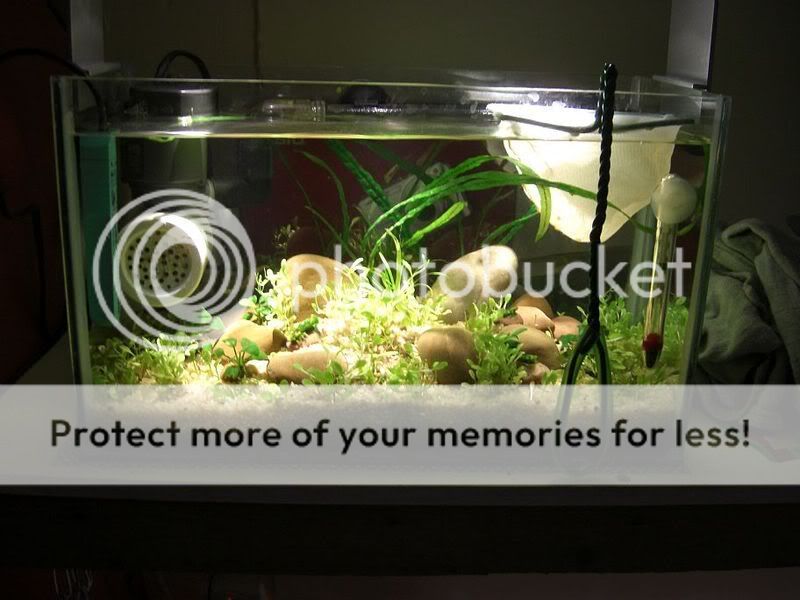
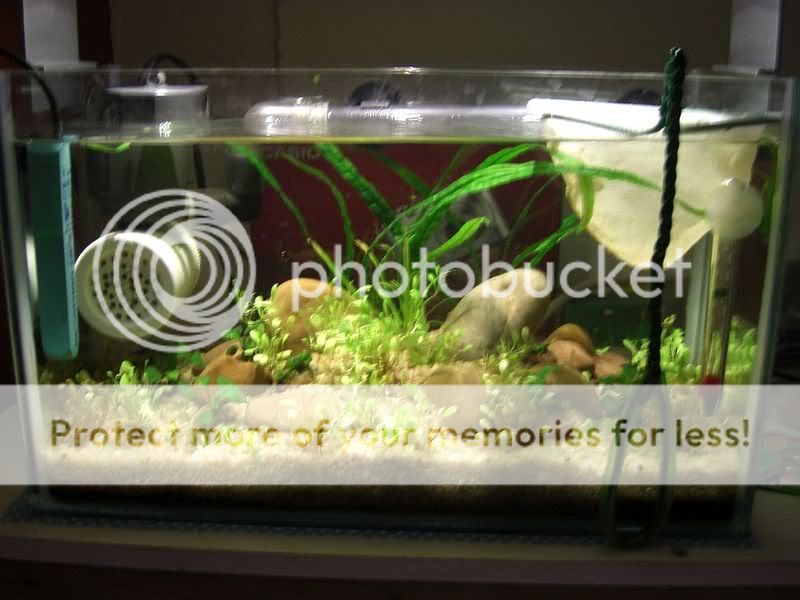
Looks great mate.....

I have been thinking of doing my own LED project for quite a while now. All related items to the project are already with me. :good: :good:

Now this is how it goes.....

I will divide my lighting fixture into four sections.

Each section will have 30 x 3 watts Cree star type LEDs.

Each section will be driven by 100 watt LED constant power driver. These LEDs are 3 watt and run with 12Volt power supply.

Each section will have 1 x 3 watt red LED, 2 x blue and 27 x white but with different Kelvin rating.

I will employ 4 slave programmable dimmer controllers and then add one (programmable)Ardunio as a master controller to run all four slave LED dimmers which are running each section in my purposed settings. I could also have the option of running each section individually with its own programmable dimmer controller which will enable me to lit certain section of the tank with certain light output hence creating some shaded areas at certain time of the day etc......
The company I work for have very close links in South Korea and kindly provided us few LEDs to test. Since I was already thinking of making my own LED lighting system to go over my reef aquarium, I decided to make few funny requests from the manufacturer.
What I came back was astonishing results and wonderful corporation from the manufacturer. They kindly made and provided me with 150 x 3 watts LEDs with following description, only 120 will be used.


40 x 10000k in white colour
20 x 15000k in white colour (bluish hint of light)
20 x 20000k in white colour (quite blue but still can see white light source)
20 x 25000k in white colour (almost looks purple)
10 x 5000k(five thousand) not (50000k) in white colour
5 x 3 watts in RED colour
5 x 3 watts in GREEN colour

I will make each section as stated above with 30 x 3 watts
Mixture would be something like this in square format with 60 degree lenses and lens holder. LEDā€™s will be mounted on good heat sink with great care.
Purposed LEDā€™s colour mixture for the bulbs

1 X RED
1 X GREEN
2 X 5000K WHITE
10 X 10000K WHITE

LEDā€™s starts to get bit blue from here.

5 X 15000K WHITE
5 X 20000K WHITE
5 X 25000K WHITE

I know, most of you be thinking why on earth I am only using 2 x 3 watts blue LEDs in each section. Well, to be honest my white high Kelvin rating LEDā€™s does the job. I donā€™t really want to add blue bulbs but I am adding them only for the night vision.
I am hoping to finish off this project as soon my tech guy come back from his holidays. He is good at soldering and stuff and I know he will be perfect for the job. I am not really in a rush but would like to complete it as soon as possible. This only because you all want to know how I got on.

I rest you assure, I will pass all relevant information to you if anyone wants to do DIY LED project. The only thing I would not be able to assist you with is the supplier or manufacturer as product is only for specific and for scientific use. Company will not be able to honour any sample requests or release any product information due to being used for specific purpose. I may be able to send few of the spare LEDs to sanjev for further confirmation. I would also be interested to know what company claims is true. I was under the impression that these 3 watts Cree LEDs could only reach maximum 9000K. When LED arrived they all had the BIN numbers clearly marked on them (BIN E). Each LED pack had his own production serial and BIN number with Kelvin rating stated on them.
I am bit doubtful then again we will see when all lit together lol.

Few bits and bats.... few 3 watts (**** star bulbs)
LED 12V AC 30-105Watt Max dimmable LED driver..... Will not be used in main lighitng system as I have 4 x 100 watts constant power suppy LED drivers too.

DIYfolder055.jpg


Small test run at my tech guy's house lol...

DIYfolder051.jpg


Bule LED test run...... with full white house hold tube lughts on.....

DIYfolder050.jpg


When main lights switched OFF. It was very hard to look directly at the LED since it would temp blinds you..

DIYfolder053.jpg


Test run with 12000K white...gives you hint of blue when lit.
DIYfolder052.jpg


Heatsink I may use......
heatsink1.jpg


End Result will look like this.....


GALAXY01led.jpg


I think I have bored you enough for now and if anyone has any suggestions or ideas to put forward, I am more than happy to take them onboard.
I have also worked very closely with one of the most lpowerful DIY Xenon and LED mixed lighting project. If anyone interetsed then look no further and click on this link.

[URL="http://glassbox-design.com/2009/part-1-lfp...ighting-system/"]http://glassbox-design.com/2009/part-1-lfp...ighting-system/[/URL]

You need to read all parts of this wonderful artical and see for yourself how advance these American have gone.lol

Currently I am looking for someone from the forum who could help me to write a small programme on Ardunio or any other chipset.

Happy reefing
 
What size tank is that going over? Looks like far too much light even for reef!!!

What I have been hearing is that the people who were complaining that their corals were dying because the LEDs were not as bright (Lumens) as MH were actually wrong!!! From PAR tests it was actually revealed they were bleaching their corals as the LEDs were giving much higher PAR than the MHs and therefore they had too much!!!

Would be interested in a professional opinion but to my observations on the planted side I have been raising my LEDS up higher and higher to try and get the same growth as before with T5HO!!!

The T5HOs were 4" or so above the water surface whereas these LEDS are now 15" above the water surface and I am still getting more growth even with the light loss!!!

This is with 37W of LED compared to 48W of fluoro which is telling a huge story PAR wise to me!!! No meter though so cannot confirm. This is all from observation of the plant growth.


On another note I have taken the lense holders out of the mini luminaire now. Was still not getting the good spread I wanted so now the bare LEDs are siliconed into position over the holes with no lenses, collimaters or lense holders. Is looking much much better!!!

AC
 
Just a snippet from my website r.e. the MkII version of my DIY LED setup.

Although I've called it MkII what I have done is in fact to make a new design of the unit and then transfer exactly the same electronics into it. Prettier and darned cool IMO ;)

So pictures below but first an explanation of the changes:

1 - The unit is now made from 6mm MDF instead of 22mm pine. Much much lighter but still strong enough to support my 10ltr bucket if I need to empty and refill for any reason.
2 - Access is now via a lid on the top rather than removing the glass underneath.
3 - The bottom is now solid rather than glass so you can't see the internals.
4 - I have used lense holders fixed into the bottom section to 'tidy' the appearance up. They house 45Āŗ lenses.
5 - The unit has been veneered to match my other furniture.
6 - The fans reduced to 3 at each end as they fitted nicely behind some vent covers I bought rather than the 4 at each end previously.
7 - The unit is much more slimline now. 12cm to be precise :)
8 - I am now using proper heatsinks for the LEDs rather than cut up pieces of reflector

Why did I use lenses when I have mentioned before that the spread is much better without? Because it tidied up the appearance. Being 45Āŗ they do spread pretty well but if 1 LED is not as bright, the spread from the others does not make up for it anymore. I changed 2 LEDs that were a little 'yellower' than the others.

So the unit is new but the actual lighting setup has now been running for 18months with absolutely zero problems. The 2 LEDs that were removed were still working fine. It was just the differential in their colouration that meant I changed them:

Drawing out the plan pre-routing:
CIMG4759.jpg


Aligning the fans on the side panels:
CIMG4764.jpg


Making sure the lense holders fit into the routed holes:
CIMG4770.jpg


Veneering the lip:
CIMG4773.jpg


The finished outer with nice laquered and polished underside:
CIMG4780.jpg


Positioning the vents on each end:
CIMG4782.jpg


The lid in place (I routed a 2mm recess around the perimiter of the which the lid sits in:
CIMG4784.jpg


The electrics fitted inside:
CIMG4787.jpg


The aliens are landing :eek:, I mean yippee it still works ;) :
CIMG4794.jpg


All finished apart from 4 coats of Tung Oil. That is why the veneer looks much lighter than the cabinet. Once the Tung Oil is on and cured it will go the same colour as the cabinet:
CIMG4795.jpg


AC
 
This looks great!

I was considering doing LEDs on my small 10gallon for a planted tank. I will be bookmarking this thread and reading through it later (i jsut liked the fancy pictures for now).
 
well done supercoley glad to see it up and running (im nitro7)not been on for a long time,long story.just been catching up with all the posts.think youve done a brillent job,well done
 
You are too new here to receive a PM under this ID. Please check your Nitro ID for a PM from me.
 
One last little improvement on this project is the hanging 'equipment.

The unit was hanging by 2 chains that were linked to D ring on the luminaire and then up to some hooks in the shelf above.

This wasn't the nicest looking piece of kit but has sufficed the past 18 months. My wife had commented on it. Several forum members had commented on it and it was something I was looking to replace so I finally got round to it.

I bought one of the hanging kits that are meant for the old style Arcadia Luminaires and whilst mine is much bigger than the units this is intended for mine is probably a little lighter .

The kit consists of 2 long cables which have a close loop at one end to hang it from. There are 2 shorter cables with round 'washer' type ends to attach to the luminaire, Both of these are similar to bicycle gear/brake cables in thickness.

Next ther is a little 2 metal piece which is like a cylinder with an internal locking 'grip' mechanism. they are only about 10mm in diameter. The hanging cable goes through the centre of the cylinder and then when oyu pull it locks in place. Then the luminaire cable threads through a groove at the bottom and a screw in part then tightens to hold it in place.

It is then just a case of raising/lowering the hanging cable by using the release mechanism on the cylinder unit. I used a spirit level and locked them off when I was happy the unit was level left to right. then it was a case of levelling the unit front to back which meant sliding the luminaire cables back and forth through the groove until the whole unit was level. then the screw in part is tightened to hold it in place.

That is this unit completed. There are a couple of minor cosmetics to sort out where the old D rings were but these are just a case of plugging the old screw holes with some tiny veneer 'patches' and then applying some more Tung Oil over the are athey were to match them in.

CIMG0111.jpg


CIMG0112.jpg


CIMG0115.jpg


AC

Andy, can I link this to PARC under lighting? I will also link this to my profile so members see it.

llj
 
First I would like to say thank you to everyone for presenting this build. Its loaded with wonderful info. Two questions I have before I start my build. SuperColey1, what is the space between each one of you lights? I need to make a unit for my 180g planted tank which is 72" long x 24" width x 18" high and have no idea how many lights I need. I will be using the Chinese 3w stars no lenses. Also should I use the 6500k or 10000k?
 
Sorry for the late reply. Ā I've been neglecting the forums the past year or so. lol
Ā 
Nice build Luke. Ā Any updates?
Ā 
msebar - The lights are spaced approx 4 inches / 12cm apart in a grid pattern.
Ā 
Lastly MkIII is nearly done. Ā This is all new electronics and parts. Ā The old parts and electronics were stripped out and used in my shrimp racks. Ā no fancy boxes there, just attached to the underside of shelves. Ā Still working fine though so they are now 6 years old.
Ā 
This is MkIII. Ā A DIY copy of the very very expensive Vitrea one (circa Ā£1500 for the original)
Ā 
This is the original:
ledconmarchiorr3.jpg

Ā 
One sheet of 12mm clear acrylic with holes bored:
DSCF3092.JPG

Ā 
Holes and edges polished:
DSCF3124.JPG

Ā 
Lenses and holders added:
DSCF3129.JPG

Ā 
Stars added and wired:
DSCF3134.JPG

Ā 
Heatsinks added:
DSCF3141.JPG

Ā 
Brackets designed in sections and routed:
DSCF3145.JPG

Ā 
The bracket sections are glued together and put on the acrylic so they can 'settle' into a straight position while the glue sets. Ā Didn't want to glue them up and the unit wobble afterward:
DSCF3199.JPG

DSCF3173.JPG

Ā 
Brackets are sanded into their 'flowing' final shape:
DSCF3200.JPG

Ā 
Spray painted with a white satin acrylic:
Picture%20009.jpg

Picture%20008.jpg

Picture%20010.jpg

Ā 
And that is far as I have got at the moment. Ā The last pictures above are August 2012 and I haven't done anymore since. Ā Been busy with other things and this tank is still empty aargh. Ā Am waiting on a very lazy DIY'er (me. lol) to finish decorating the lounge before I fill a 140ltr tank up. Ā Would be an absolute pain to move it when I get to decorating behind it.
Ā 
Not your usual lounge redecorating project. Ā Being me it involves sinking all cables into the walls so it's a wire free room and I have to do a load of plastering as well. So you will have to wait to see it in action over a working aquascape. lol.
Ā 
During the year I also made 2 matching zebrano veneered cabinets so the empty tank above is now sitting on one of these:
IMG_0329.JPG
 
Nice to see an update Supercoley.
Ā 
Looks professional. I wish my sanding was as neat.
Ā 
One question, where on earth are you finding sensible heatsinks? I've struggled to find anything at a price that makes the DIY worth bothering with.
 

Most reactions

trending

Members online

Back
Top