D34DLY

Fish Fanatic
Joined
Nov 19, 2012
Messages
107
Reaction score
3
Location
GB
Ok so I went away from the ideas of a complicated corner design with a diagonally-shaped aquarium tank, I "suppose" these "were" out of my price range. (I was quoted around £500+ for the fish tank only!)
55nekl.jpg


Instead, I took a different approach - Dual stands! Just for those unaware, dual stands are often metal racks with a tank almost on the floor and the other at usual height (replacing the typical cabinet/cupboard set-up with a fish tank.)

But again... I wanted to do something different. I was beginning to get used to aquariums and my ambition to have a zoo in my small, box-like bedroom was growing stronger. So I started looking for other vivarium/aquarium set-ups online, for preference and guidance etc. Unfortunately, there was nothing. Hence my choice to begin this thread (also the fact that Zikofski kept pestering for some pics!)

Before reading, let it be known I am no builder. In fact, the majority of the work was performed by my step-dad, with me just doing the dimensions, design, holding wood etc.
innocent.gif
Also, you will probably learn nothing from this thread, as it is merely published for inspiration and the like. Not intended for an instruction manual - but this can be easily done by yourself
big_boss.gif


DESIGN

Ok, first thing first. Know what you want. Obviously I wanted an aquarium (that was a definite), and a vivarium would be kool (Yep - Spelt with a "k". Cause I'm kool
smile.png
) I didn't have much room for separates, so they must be stacked. As the design phase got on, the pictures began getting more and more detailed. Stating every possible dimension I could think of. Here's two:

333g01h.jpg
2zi299x.jpg


You may ignore the letters on the first one, they merely explain things for my preference. However it should be known the aquarium is accessed by a flap above it (Labelled conveniently "F")
 
BUY

Now is the time to begin researching for wood prices, wood colour, wood sizes etc. I advise you to do this first however, as I had done it the other way around caused me to change some of my designs to minimise wood waste etc. But hey! - bigger is better!

I found a really good deal at "Homebase" (United Kingdom based I believe). Due to the time of purchase (end of christmas) there was already 20% of all items, including those already with offers on! (Which was pretty lucky for me, as I already had my sights set on a particular wood colour which was half price.)

Personally I chosen "Conti-board". Or more widely known as "Melamine-Faced Chipboard" or "Furniture Board". However the choice of which wood you like is up to you, just consider the huge amounts of weight and pressure it will have to withstand! This isn't a place to scrimp, as after all it is something which is holding up your expensive glass aquarium filled with floor-damaging water
smartass.gif

IMG-20130104-00191_zpsf73cdfbb.jpg


CLEAR BUILDING SPACE

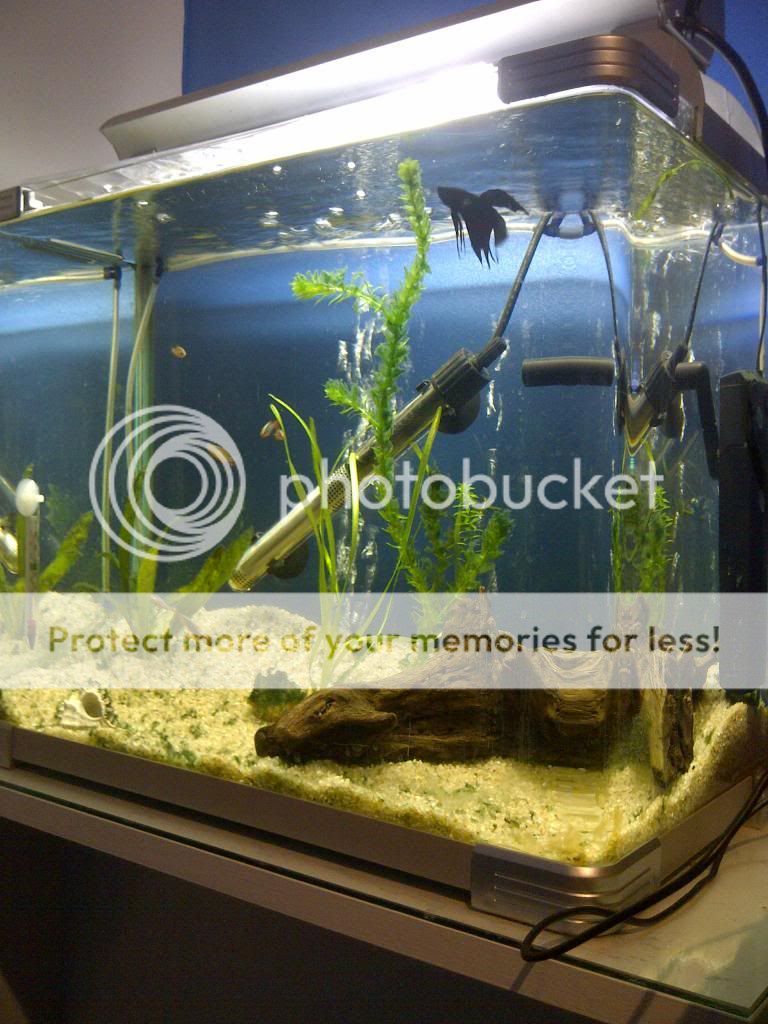
As I'm building in a very small bedroom, my current fish tank (first picture) had to be removed. To do so, I had to remove my desk and then lower the water level to be able to lift it out the room without spillages or broken backs.

IMG-20121224-00098_zps7b4a83e4.jpg


IMG-20121228-00118_zps43accabb.jpg


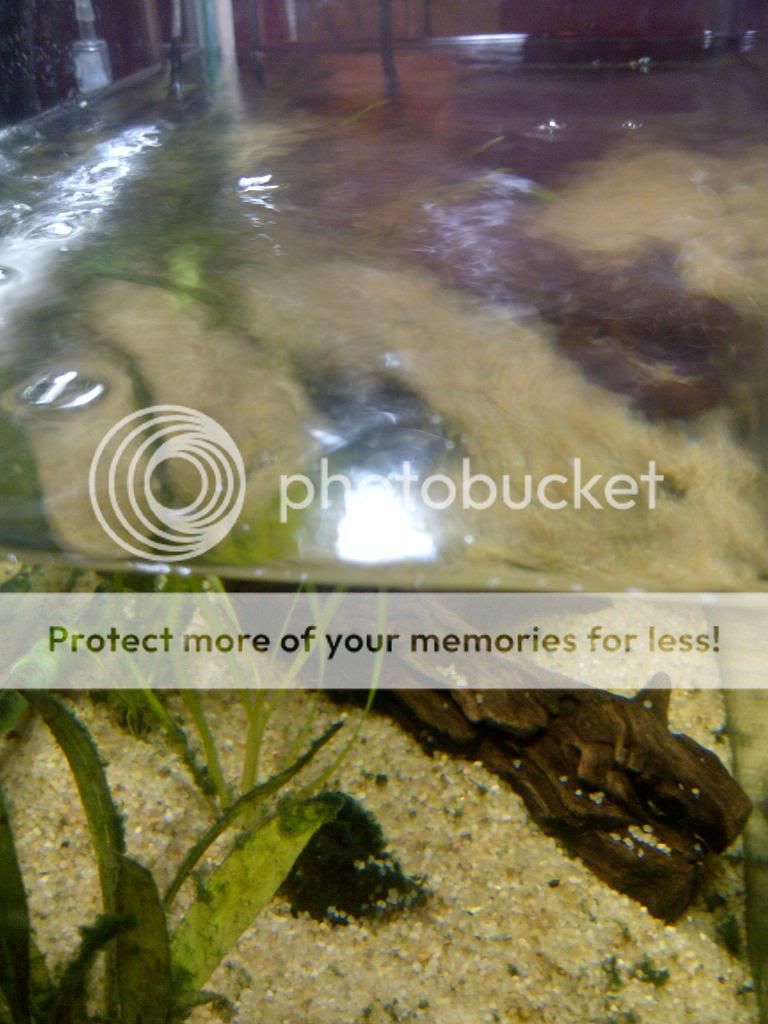
As you can tell, I'm ashamed to admit maintenance did slip during the project. Algae did seem to become a problem, with that lump of green fluff in the picture not being a marimo ball - But a shell!
biggrin.png


BUILD

Some would argue there are in fact many more steps, but hey! - This is just merely for inspirational and picture-showing purposes
winner.gif
Also, it can always be helpful discussing and showing your plans with others. Ask them to be as mean as possible,
devil.gif
The more criticize the better! This will help point out flaws in your design easier and allow you to overcome them before construction.

Phase 1:

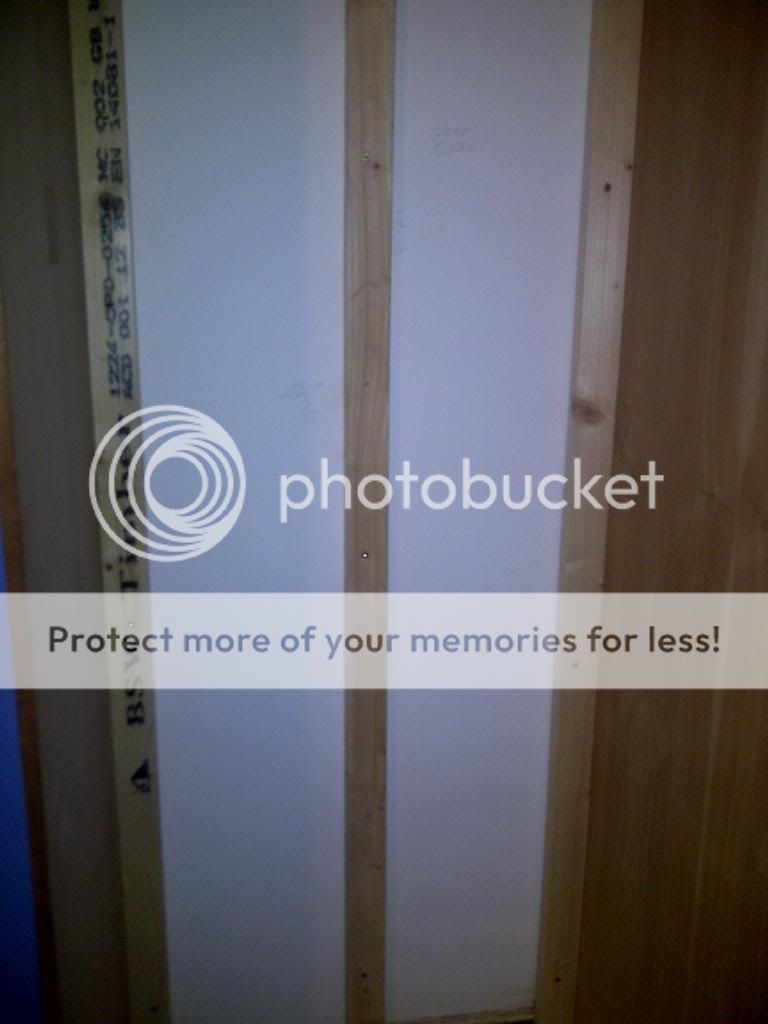
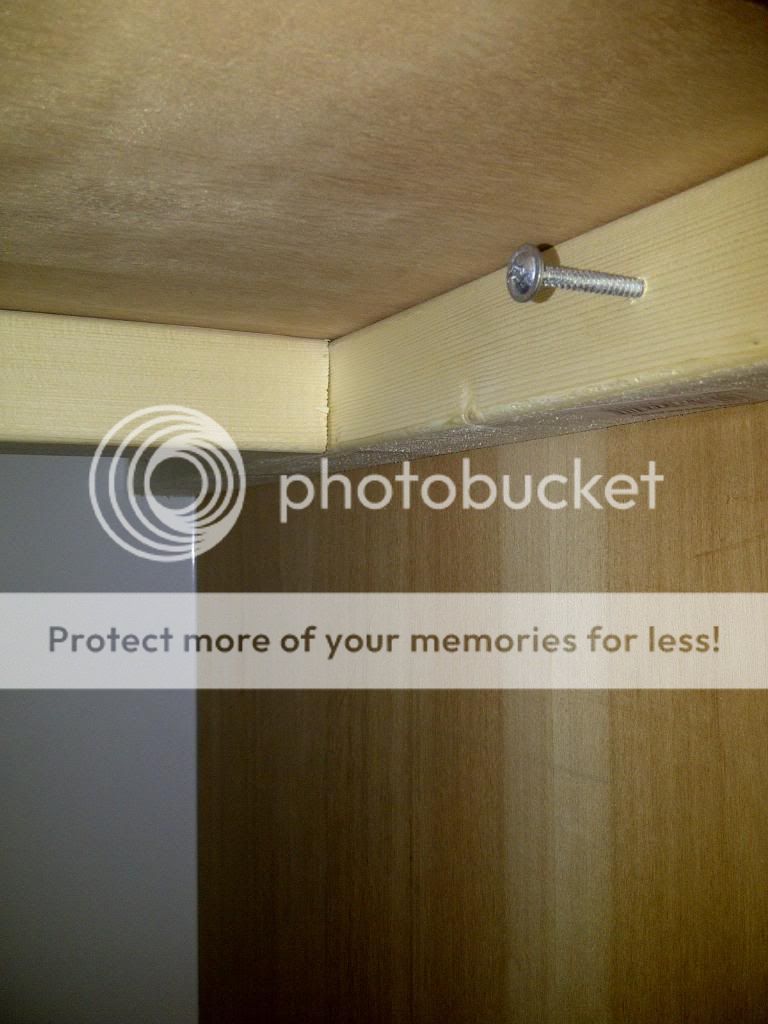
I begin with the simplest - The outer-frame. (Ok, maybe not as simple when the wood your using measures from your floor to ceiling.) Due to the size, I worked inside my small room. Cutting, screwing etc. inside. I first pulled up the large sides, followed by drilling in the ceiling of the box, then the bottom. Obviously I had to hold this in place otherwise all screws would've been ripped out. The first phase was securing the frame in to place safely, which is why the long support-beams which run the entire length of the stand were DRILLED to the wall, then to the stand!

IMG-20121228-00112_zpsd311c36d.jpg


IMG-20121230-00126_zps33e74cd4.jpg


Phase 2:

A box-inside-a-box
rolleyes.gif
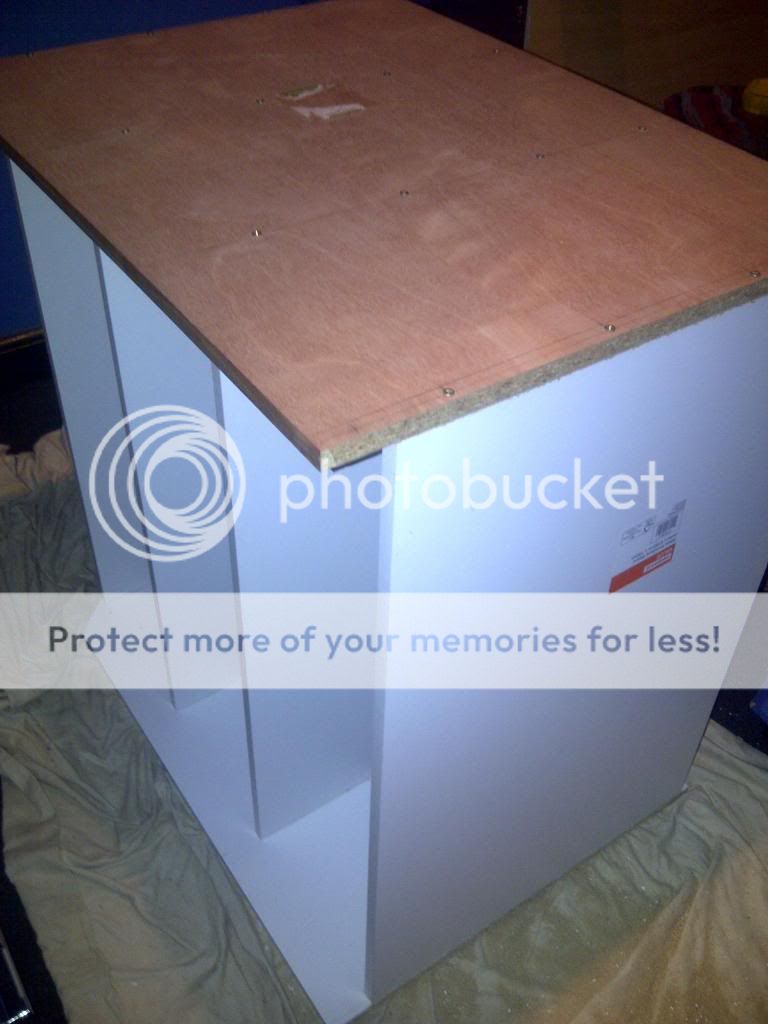
A brilliant concept whereby the bottom cupboard is literally a box to be constructed out of the stand, then fitted in snugly in it once done! This further increases the strength and generally makes installation easier
thumbs-up.gif

IMG-20121230-00123_zps3c791e76.jpg

IMG-20121230-00129_zpsd42382fb.jpg


Add the backing to the box. For even more strength, I ensured the backing was sitting on top of the bottom piece and under the top one. Unfortunately, I forgot to take any pictures for this step.

Install the box! Not forgetting adding the white backing for the remaining height of the stand! I done this by simply slotting them in against the support beams, they were pretty tight so there's no chance getting them out! Not with all the silicone glue too!

IMG-20121231-00133_zps244b77a8.jpg


Phase 3:

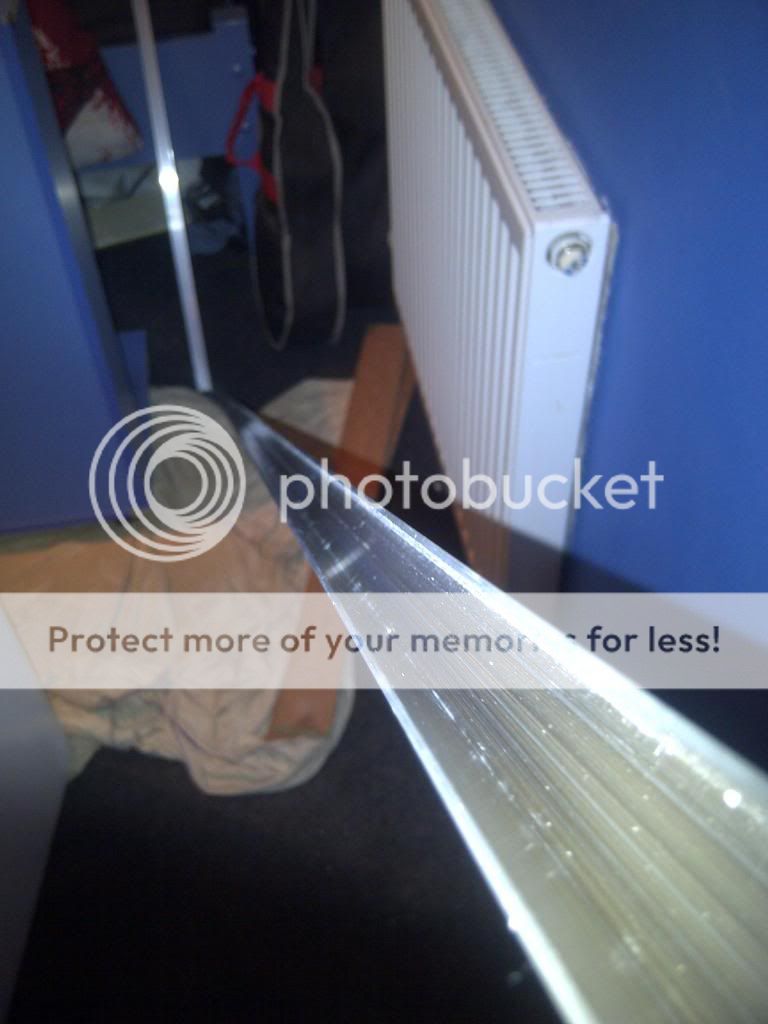
Fitting the doors! I chosen not to use typical wardrobe sliding kits, instead I went to my local homebase and got some "Profiles" which are simply metal sheets shaped in the letter "U"

IMG-20130102-00161_zps39b75418.jpg


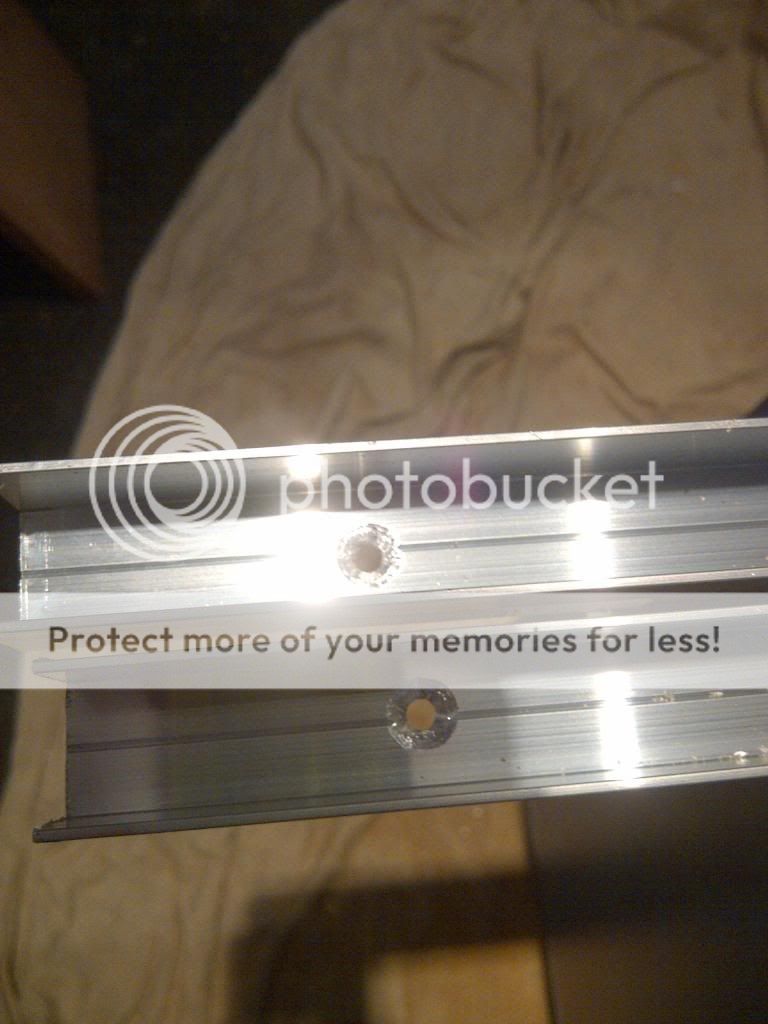
To fit we found that normal screwing made the screws stick out a hell of a lot. So we counter-sunk each screw (drilled down slightly with a larger bit, creating an area for the head of the screw to sink in to). This is shown in the following picture:

IMG-20130102-00162_zps1df06977.jpg


We fitted all wooden panels in to the runners before any were fully secured. Again no official pictures were taken, however all we did were fitted all the doors on one side while we screwed the other (and vice versa).

IMG-20130104-00170_zps2310d743.jpg


Looks pretty nifty if you ask me
smile.png
Unfortunately however, in order to get the neat edges/corners I had to have the smaller sized woods (requiring 4 doors to ensure they overlap) Maybe the colour doesn't look great, but I will consider dark waterproof varnish in the future.

Phase 4:

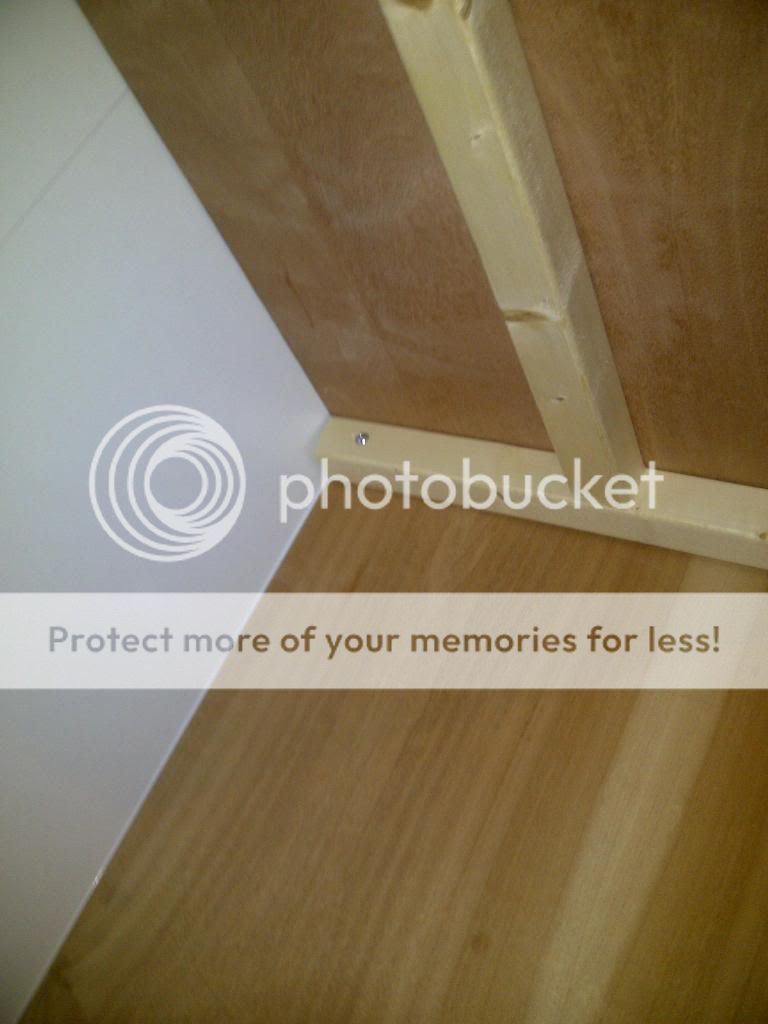
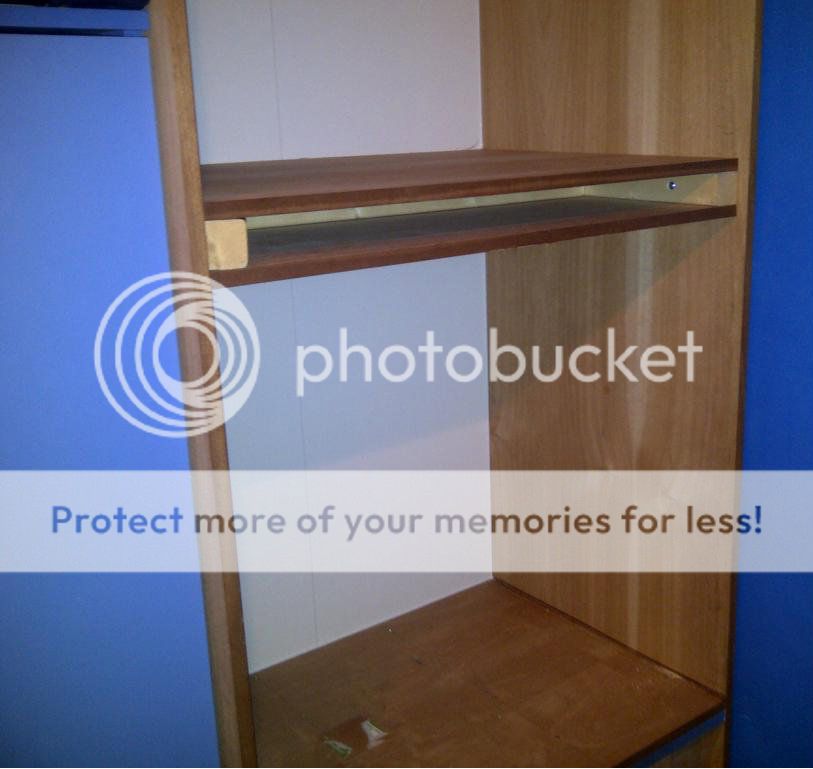
Adding the shelf (aquarium ceiling/vivarium floor). For even more stability, and to try and increase the strength of the unit, I incorporated an "I" shaped support beams inside the shelf. This thereby means the weight is not on the aquarium ceiling as originally planned, but instead it is resting on the support beams, which in turn are connected to the wall-bolted sides.

IMG-20130102-00152_zpsf9eb0082.jpg


IMG-20130102-00153_zps37794d88.jpg


IMG-20130102-00154_zps790ea96a.jpg


IMG-20130102-00153_zps37794d88.jpg


Now I simply inserted the very snug aquarium ceiling, (I didn't screw as in order to install the hinges for the flap this will have to be removed. However for pictures use, here's what I looks like now, with no "I" shape visable:

IMG-20130104-00177_zpsc04df773.jpg


IMG-20130104-00178_zps1f522cc2.jpg


You may notice it creates a very small shelf which may come in handy to store small tubs of food in the future. It's pretty confusing to visualise, however when the flap is installed this particular storage will only be visible once the flap is opened.

Current View:

IMG-20130104-00180_zps89ab9438.jpg


Things To Be Installed:

Aquarium Flap
Vivarium Front Panels
Fish Tank
Aquarium Front Panels
Aquarium Lighting
ALL Electronics

So as you can tell it is barely done at all, but hey - You guys pushed for pictures
smile.png
Sorry to disappoint!

Ill be updating whenever any improvements are made!

-D34DLY
 
Conti board is a absolute no-no near water and will quickly loose all its strength if wet. The particle board used, say in Juwel and other stands, is different than standard conti board as it appears to have a reasonable degree of water resistance, though veneer does appear to "blow" if continually wet. So you need to make sure all exposed "ends" are sealed extremely well or else you will end up with a soggy pile on the floor. My mate once built a lean to shed roof out of conti board & roofing felt (as found in the rented garage from previous property renter) and despite much sealing with tar etc lasted only a couple of years before it just collapsed into a soggy pile as once water had got in, just cracked the coating thus losing strength and allowing more water in.
 
hm i agree with what ian is saying but as long as you have a lid on your tank you shouldn't have a problem do all you can to keep the water in the tank and not allowing it into the stand would be best all wooden lids and stands have this problem be it conti board or normal wood
 
A quick Google for waterproofing Conti board reveals some interesting conti board cabinet disasters, mainly in the Vivarium world where condensation pooling on the board is an issue.
One interesting comment...
"Chipboard is just absolute rubbish within a few feet of water, no
matter what you do to it. If you insist, use Contiplas (melamine
faced) rather than Contiboard (wood veneer). Chipboard with weight on
it also sags over time. Damp chipboard in a similar state does it
while you watch."

Interesting! I have to say I hadn't heard similar, but I did presume the fact of wood + water = bad anyway. So my choice of waterproofing the wood with a special varnish, followed by continuous sealing with silicone glue in EVERY Nook and Kranny. I will even be using silicone to seal the rim of the tank to the wood around it. This then stop any water from trickling down the glass to wood below it.

Also, as you can see I have more than enough wood struts sitting below the tank. Which correct me if I'm wrong, creates the unit that bit more stronger :)

And lastly, many poorly built vivariums don't turn out too good as they do not discover (or know the correct placements) of vents in the box. In fact, vents should be placed both top and bottom to create airflow. With the water bowl on the cool side, this further reduces condensation etc. It is also foolish to have a tropical set-up in a wooden vivarium, what with the high condensation and constant water misting.

Nevertheless, I will most definitely be considering your thoughts, and will be watching it closely! The day my fish crash to the floor, and my lizards then break free, I will let you know :) But let's hope that day never does come...

TEMPORARY: I have added the flap to the cabinet with a "slow-closing" hinge to stop the wood smashing the glass if accidentally loosened. As my electrics slowly begin to arrive via mail, I am preparing for the installation of two sockets, varnishing the unit, sorting out the ventilation, collection of my custom-made tank, creating holes for wires and installing the electronics all throughout the weekend. Because of this, you can expect and update on progress next week !!
 
I will even be using silicone to seal the rim of the tank to the wood around it. This then stop any water from trickling down the glass to wood below it.

Very good idea and i will be doing the same thing,

also these Vents are you having fans in them or are they purely vents, i am going to have a problem that my wood is so thick and Steves lights getting so hot i am going to need to have vents and maybe a fan at the top not sure if there are any cheep 240V small fans on the market :S il haft to look,

but ye varnish is one way of waterproofing it, and i would also recomend putting a lid over the tank, since i put a lid over the tank that i have no taken off due to light limitations, but with the lid i had almost 0% water loss from the tank, and within your environment would be perfect and reduce any moisture above it, its expensive to get clear plastic sheeting from B&Q but it will do the trip look into that unless your tank is coming with a lid :D then your sorted haha

i will be adding a plastic lid to my tank over the top to prevent moisture getting into the lid along with the varnish and possible vents/fan's will all work wonders i think
 
I will even be using silicone to seal the rim of the tank to the wood around it. This then stop any water from trickling down the glass to wood below it.

Very good idea and i will be doing the same thing,

also these Vents are you having fans in them or are they purely vents, i am going to have a problem that my wood is so thick and Steves lights getting so hot i am going to need to have vents and maybe a fan at the top not sure if there are any cheep 240V small fans on the market
wacko.png
il haft to look,

but ye varnish is one way of waterproofing it, and i would also recomend putting a lid over the tank, since i put a lid over the tank that i have no taken off due to light limitations, but with the lid i had almost 0% water loss from the tank, and within your environment would be perfect and reduce any moisture above it, its expensive to get clear plastic sheeting from B&Q but it will do the trip look into that unless your tank is coming with a lid
biggrin.png
then your sorted haha

i will be adding a plastic lid to my tank over the top to prevent moisture getting into the lid along with the varnish and possible vents/fan's will all work wonders i think

Hi ya :) Yup, the tank has been fitted with sliding glass covers. Also, I have began to sort the piping behind the board etc. However I wont actually upload any pictures until the appliances are plugged in to a fitted socket :)

And lastly, I have decided against vents. The heat from the lighting won't be too much, as most will escape through the flap and the holes where the filter hoses etc. go. So I guess you could say I'm using vents, but without any coverings?! :D :lol: I don't think any fans would be required for my set-up (or yours for that matter), as I believe LEDs to not get as hot as other lights, and also the lower the air temperature, the more your heater has to kick in. Causing temp fluctuations etc. :)
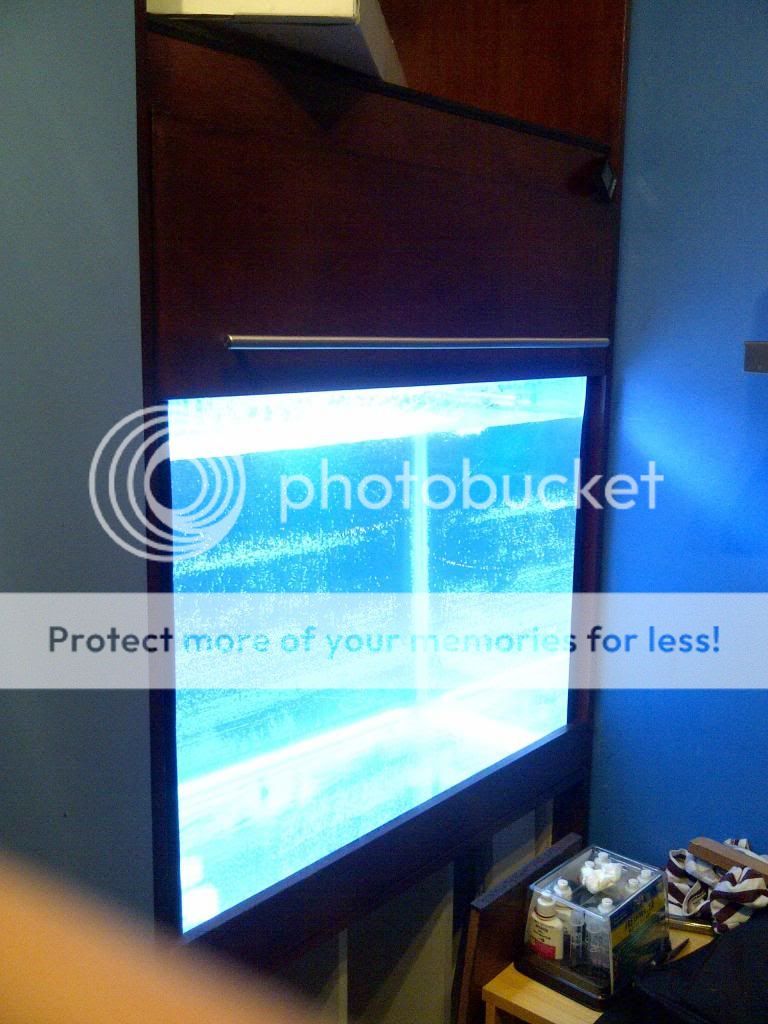
 
IMG-20130318-00021_zps0a59f9c3.jpg

 
Just a quick update of the current phase. Planning on doing a new thread to be honest, and reuploading all the pictures. The tanks in, and (unlike the picture suggests) so is the glass in the vivarium and the doors for the cupboard!
 
Why do ya wanna make a new theread? This ones fine. Nice tank btw.
 
very nice :) would be nice t have some more pictures :) very nice tho :) love the look from what i can see
 
Just a two tuppence on contiboard/furniture panels:

I used furniture panels for my 47g hood, got really lazy, all the cut edges are still bare etc. I use an acrylic coversheet and the only permanently exposed area is 2" square. Ive had that setup for 5 years now, not a single sign of water damage. Despite dropping 3 gallons of new tank water on it by accident one day (that was a bleeped heart attack)

Edit: used a naughty word automatically and removing it.
 

Most reactions

Back
Top