Dave Ehl
Fish Crazy
- Joined
- Jun 7, 2008
- Messages
- 242
- Reaction score
- 0
- Points
- 0
- Location
- Encinitas, California, United States
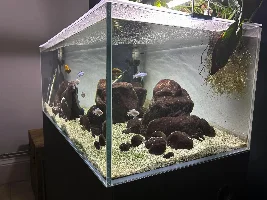
Being a college student, I don't have lots of money. So naturally I try to save money wherever I can. When it comes to my aquarium, I have found cheaper alternatives for gravel, decor, food, and finally lighting. This is for a 180 gallon tank and 72" of lighting can get very expensive. All I spent on all three light fixtures was $70. They were very easy to make as well. Using 6 60w Compact Flourescent Bulbs to light the entire tank. So this is how I saved loads of money:
This is what I used to house the lightbulbs in. It's a 12" mudpan that's flanged out to 14" at the opening and has two metal strips along the long sides. Those strips will be important later.

First thing I did was drill two holes in one of the sides where the wires will go through. The holes only have to be big enough to fit the wires through. I don't even know what size drill bit I used.

Next step is to line the entire inside with aluminum foil or something else reflective. This will take the lightbulbs light and reflect it back into the tank, making the bulb more efficient. When its lined, carefully poke holes through the foil where the holes were drilled.


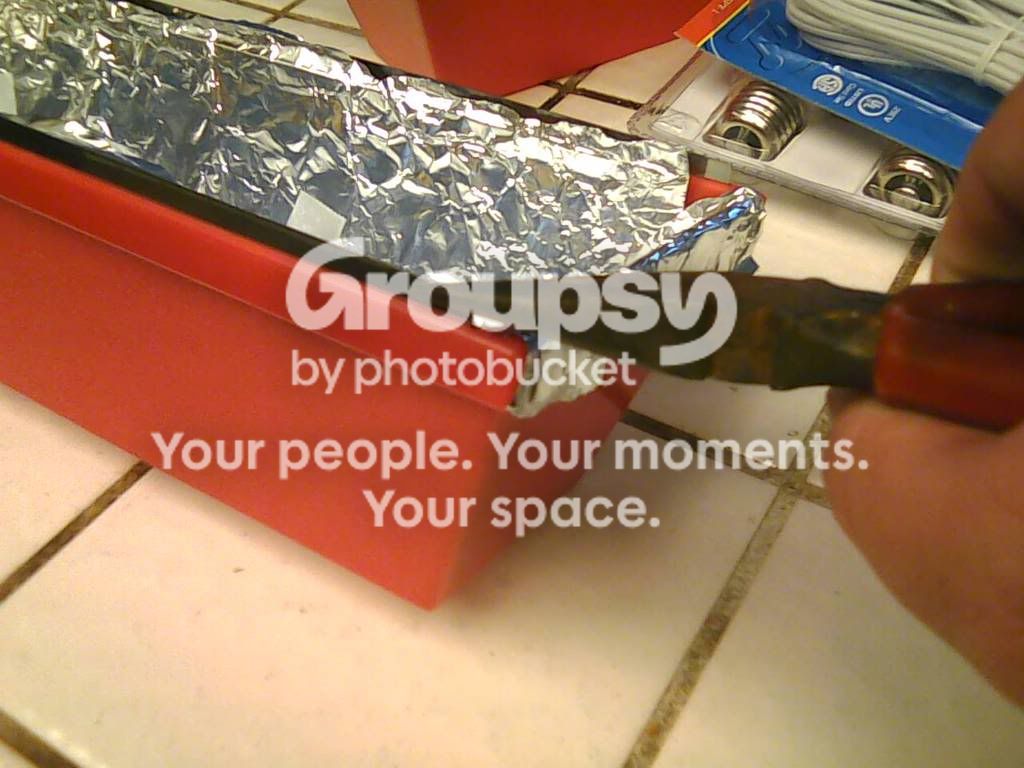
Next step is to remove the two metal strips on the length of the mudpan. I used pliers to pull them out. These are helpful to have because they can be bent to hold the lightbulbs in place within the mudpan.

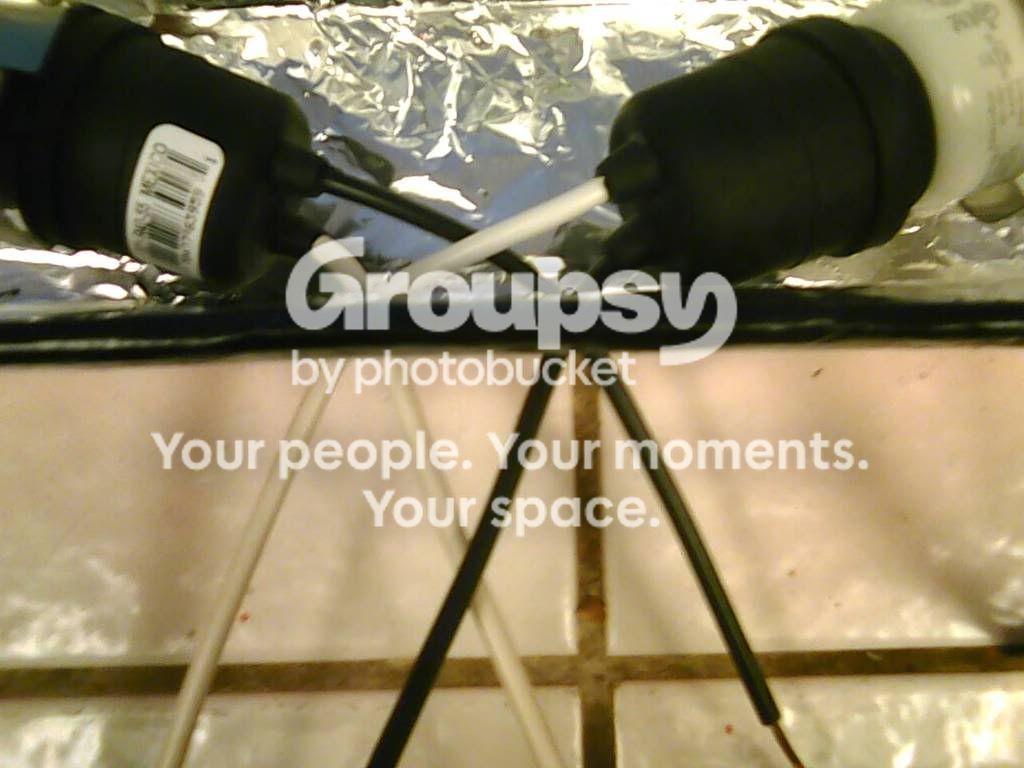
Next, feed the wires through the holes. I used prewired weatherproof sockets and ran the black wires through one hole and the white ones through the other. You also may need to shorten two of the wires to make them meet at the same point.
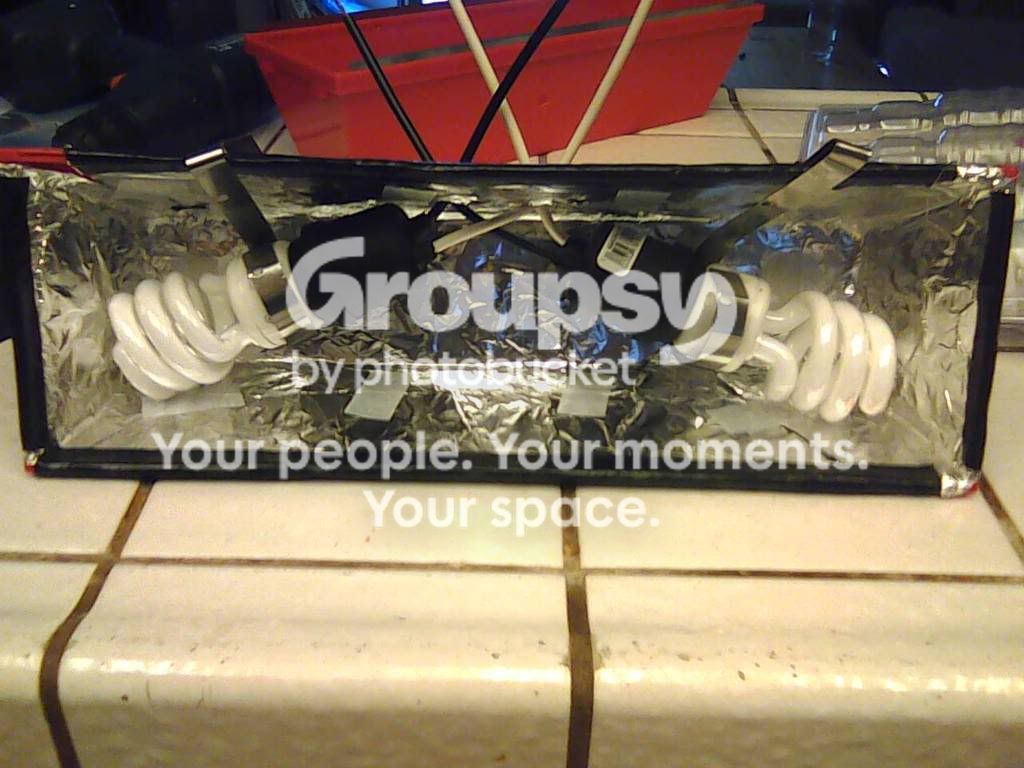
Here's what the bulbs look like inside the fixture.
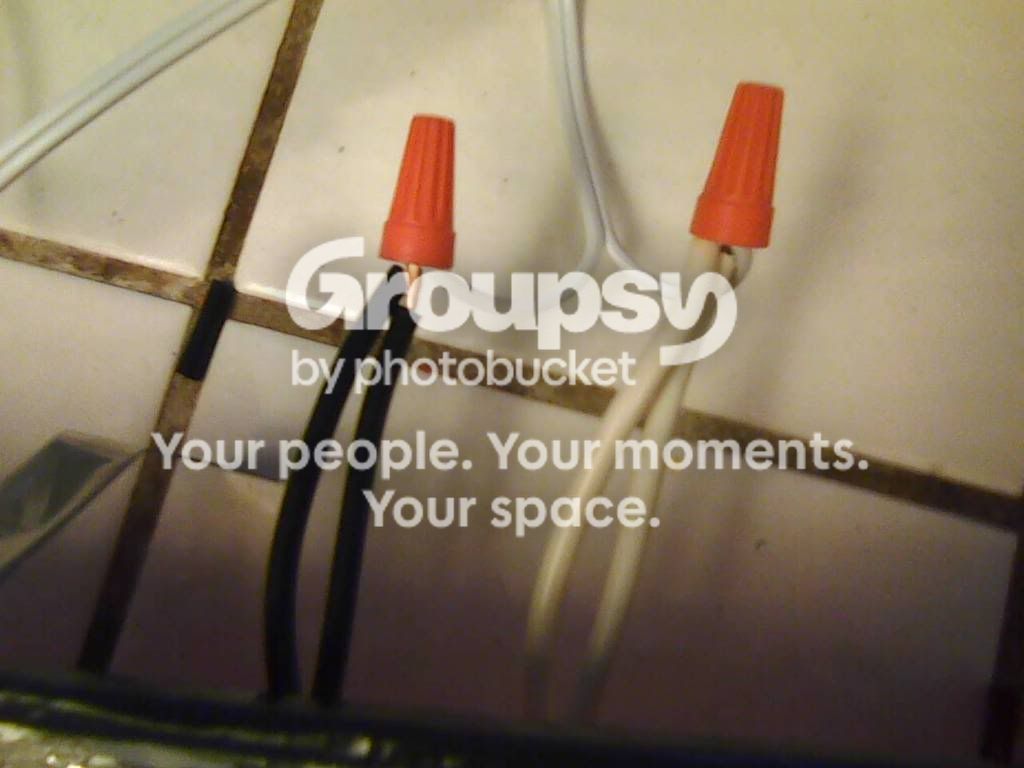
The next step is to attach the socket wires to a cable that will go to an outlet. I used a lamp replacement wire that already had the ends stripped. All you need to do is use wire connectors to attach them.
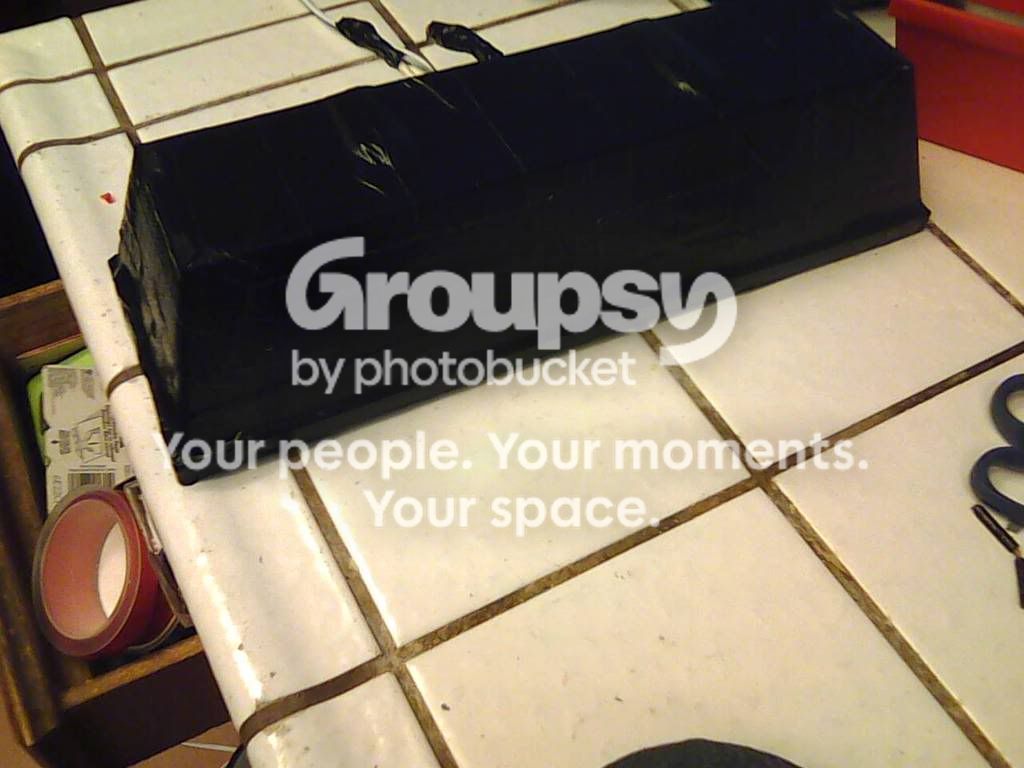
The light is now finished. I didn't like the way the red looked, so I covered the whole thing with black duct tape. Here's the final product.
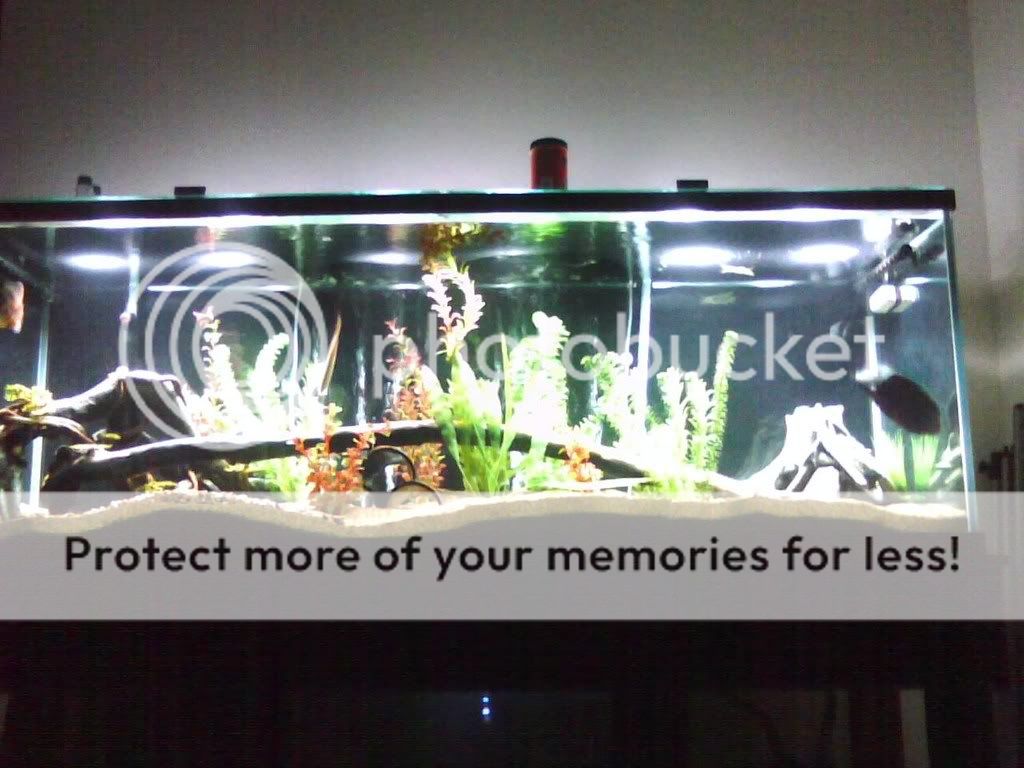
And here's what my tank looks like with 3 of these units. My camera makes it look more white than it actually is.
This is what I used to house the lightbulbs in. It's a 12" mudpan that's flanged out to 14" at the opening and has two metal strips along the long sides. Those strips will be important later.
First thing I did was drill two holes in one of the sides where the wires will go through. The holes only have to be big enough to fit the wires through. I don't even know what size drill bit I used.
Next step is to line the entire inside with aluminum foil or something else reflective. This will take the lightbulbs light and reflect it back into the tank, making the bulb more efficient. When its lined, carefully poke holes through the foil where the holes were drilled.
Next step is to remove the two metal strips on the length of the mudpan. I used pliers to pull them out. These are helpful to have because they can be bent to hold the lightbulbs in place within the mudpan.
Next, feed the wires through the holes. I used prewired weatherproof sockets and ran the black wires through one hole and the white ones through the other. You also may need to shorten two of the wires to make them meet at the same point.
Here's what the bulbs look like inside the fixture.
The next step is to attach the socket wires to a cable that will go to an outlet. I used a lamp replacement wire that already had the ends stripped. All you need to do is use wire connectors to attach them.
The light is now finished. I didn't like the way the red looked, so I covered the whole thing with black duct tape. Here's the final product.
And here's what my tank looks like with 3 of these units. My camera makes it look more white than it actually is.