As I mentioned in my introduction thread, I am getting back into the hobby after a long hiatus. Before I used to have 10, 20 and 30 gallon aquariums stocking various tropical fish from Neon Tetras and Mollies, to African Cichlids. My true love, however, has always been livebearer fish.
To that end, I am re-entering this hobby with a 55 gallon aquarium. Already I have purchased the following equipment:
I really wasn't too impressed with the selection of aquarium stands commercially available, and being the hands-on guy that I am, decided to build my own. So, to begin with, I would like to share with you all my aquarium stand build.
In researching aquarium stands, I came across a few simple DIY stand designs on Youtube. These stands were constructed using 2x4 lumber with some sort of paneling covering the stand's "skeleton."
I decided that I would tackle this sort of stand, borrowing some of the ideas these aquarists used in the construction of their own stands.
So, here it is:
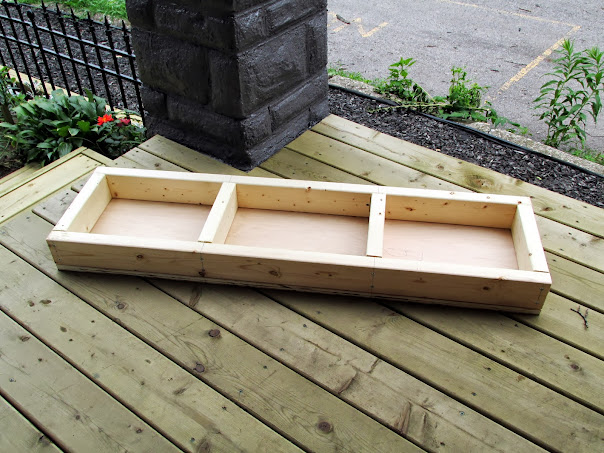
I began by building the top of the stand. It was a simple box with two middle support pieces and topped with a 3/4" maple plywood sheet cut to size.
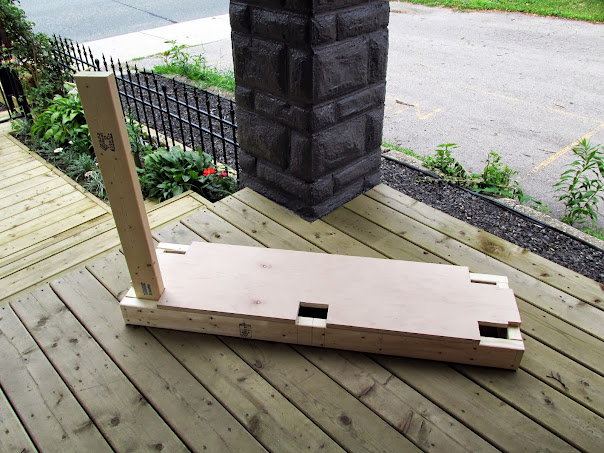
Next I made the base, which was similar to the top, only I had to cut out notches in the plywood to allow for the legs and supports. The cuts weren't perfect, but it's not as though people would be looking at what's under the aquarium and behind the doors that'll hide all the equipment underneath. The first of the guide posts was installed as well.
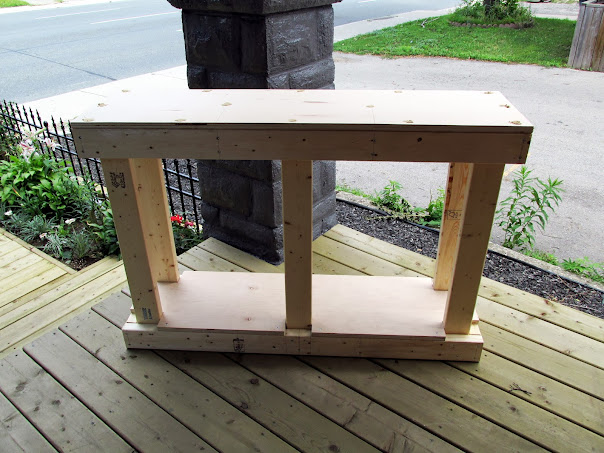
I finished adding the guide posts and then sat the top section on these posts. The weight of the aquarium won't be supported by these posts, rather braces are to be attached to the posts. Getting these braces cut to the same size was fun to say the least. It involved me creating a custom jig which I butted up against the miter saw I used to cut all the wood.
Okay, with the guide posts installed, it was time to add the bracing. These braces would be responsible for carrying all the weight of the aquarium and everything in it.
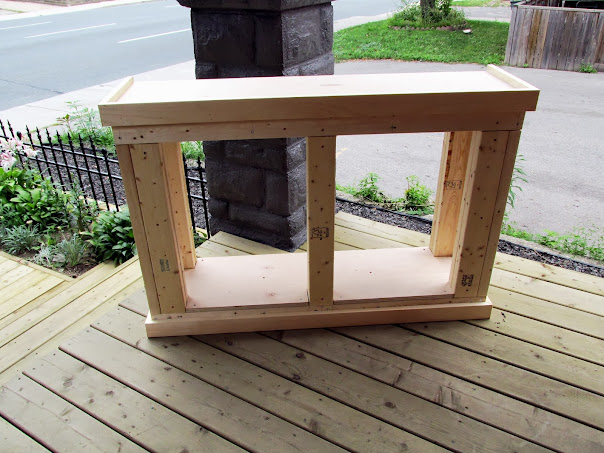
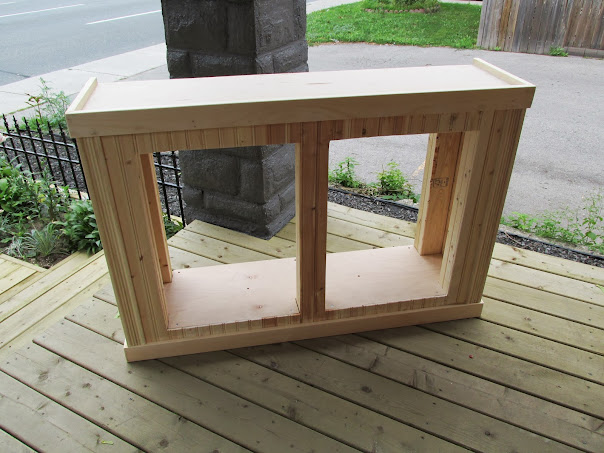
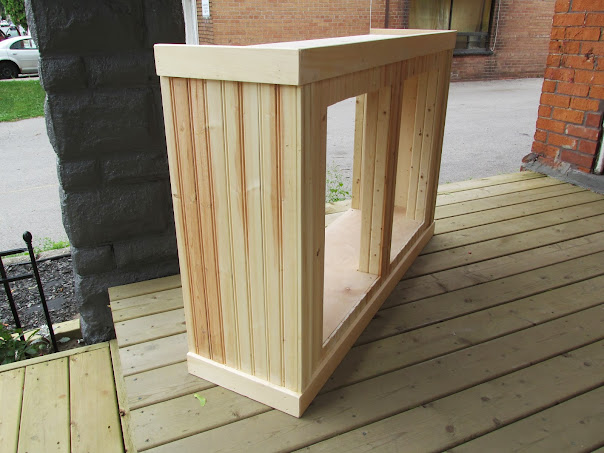
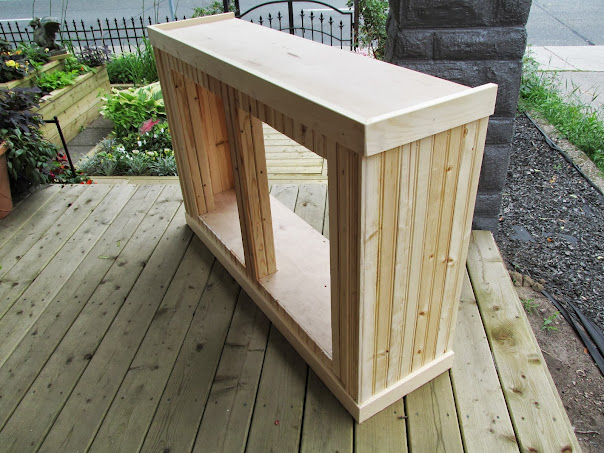
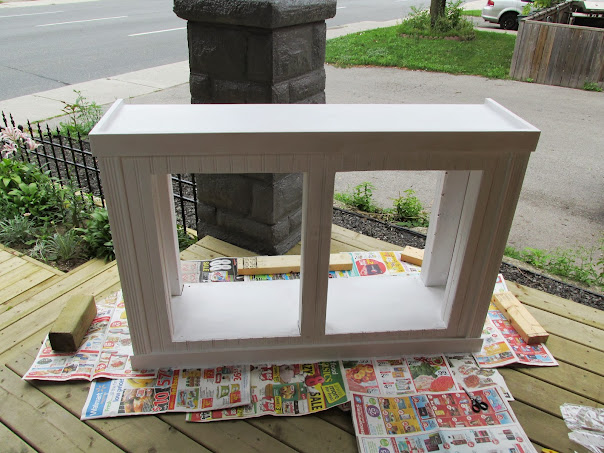
With the bracing installed, next it was time to attach the trim and the covering. The trim consisted of 1x3 pine boards and some decorative trim that were attached to the front of the stand on either end. The next three photos show the stand with the trim and covering.
Next it was time to prime the stand in preparation for painting.
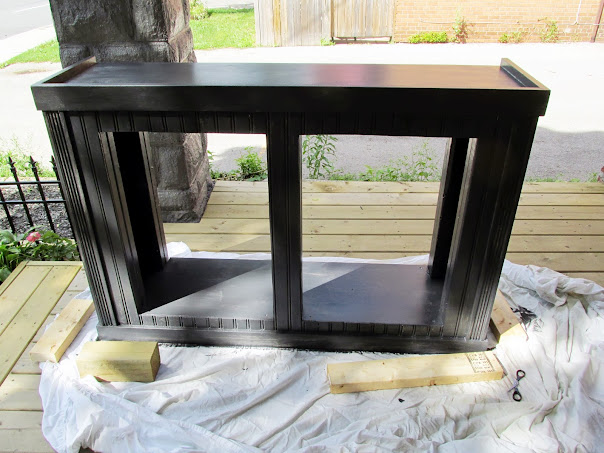
And finally, I applied the first coat of paint to the stand. It is now technically ready for the aquarium. I do want to apply a second coat of paint, however.
The entire process of building this stand took about two weeks. Had I not had to work, I probably could have done it in a couple of days.
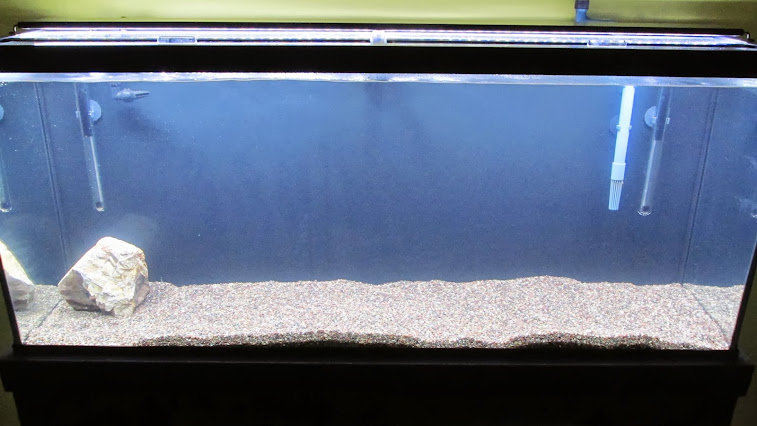
And so begins my aquarium build. By tomorrow I hope to have the second coat painted and dried and ready for me to put the aquarium on it. Before I do that, however, I will check the aquarium for leaks. A visual inspection shows no defects in the joints, but it's always what you can't see that causes the most problems.
To that end, I am re-entering this hobby with a 55 gallon aquarium. Already I have purchased the following equipment:
- Marineland 55 Gallon Aquarium (48" x 13" x 20")
- API Rena Filstar Canister Filter - XP3-L
- 2 Eheim Jager TruTemp Submersible Heater - 100 W
- Current USA Satellite Freshwater LED Plus Lighting System - 48" to 60"
I really wasn't too impressed with the selection of aquarium stands commercially available, and being the hands-on guy that I am, decided to build my own. So, to begin with, I would like to share with you all my aquarium stand build.
In researching aquarium stands, I came across a few simple DIY stand designs on Youtube. These stands were constructed using 2x4 lumber with some sort of paneling covering the stand's "skeleton."
I decided that I would tackle this sort of stand, borrowing some of the ideas these aquarists used in the construction of their own stands.
So, here it is:
I began by building the top of the stand. It was a simple box with two middle support pieces and topped with a 3/4" maple plywood sheet cut to size.
Next I made the base, which was similar to the top, only I had to cut out notches in the plywood to allow for the legs and supports. The cuts weren't perfect, but it's not as though people would be looking at what's under the aquarium and behind the doors that'll hide all the equipment underneath. The first of the guide posts was installed as well.
I finished adding the guide posts and then sat the top section on these posts. The weight of the aquarium won't be supported by these posts, rather braces are to be attached to the posts. Getting these braces cut to the same size was fun to say the least. It involved me creating a custom jig which I butted up against the miter saw I used to cut all the wood.
Okay, with the guide posts installed, it was time to add the bracing. These braces would be responsible for carrying all the weight of the aquarium and everything in it.
With the bracing installed, next it was time to attach the trim and the covering. The trim consisted of 1x3 pine boards and some decorative trim that were attached to the front of the stand on either end. The next three photos show the stand with the trim and covering.
Next it was time to prime the stand in preparation for painting.
And finally, I applied the first coat of paint to the stand. It is now technically ready for the aquarium. I do want to apply a second coat of paint, however.
The entire process of building this stand took about two weeks. Had I not had to work, I probably could have done it in a couple of days.
And so begins my aquarium build. By tomorrow I hope to have the second coat painted and dried and ready for me to put the aquarium on it. Before I do that, however, I will check the aquarium for leaks. A visual inspection shows no defects in the joints, but it's always what you can't see that causes the most problems.