
justin85
Fishaholic
Fluval Roma Lighting upgrade.
Ok, as the title says, this feed will give you a step by step run through of how to upgrade your fluval roma lighting. Anyone who has got a fluval roma (90 – 125 – 200 – 240) and has tried to grow plants in his/her aquarium will have noticed you don’t really get the desired effect, this is down to the lighting unit fluval fitted as standard.
There is a way we can fix this though, some people have completely removed the stock T8 unit from the hood and replaced it with a T5 unit which works great! BUT, if you’re like me and don’t feel comfortable ripping open your lighting unit then this feed is for you.
Below I will break down exactly what you will need to have/buy in order to upgrade your unit and 5 easy steps to fitting all your new gear. Also an advantage of keeping the T8’s alongside the newly fitted T5 tubes is you will have a higher output! The way I see it, you paided for that T8 unit, why not use it?
Ok, here we go.
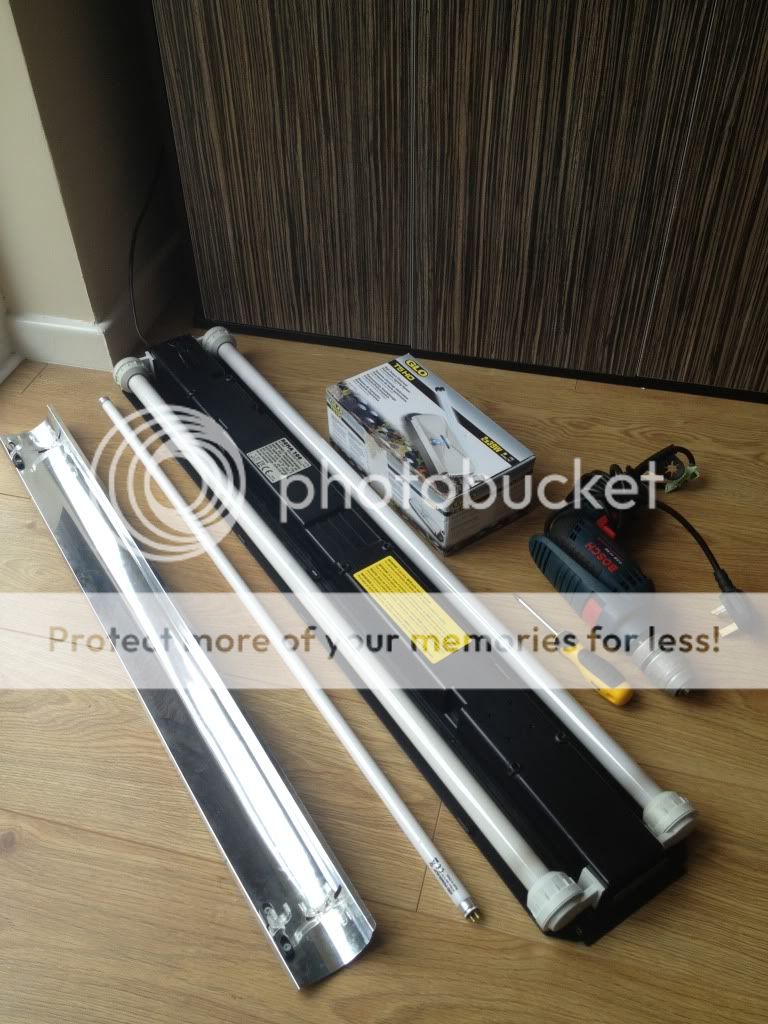
Tools you will need:
Standard drill + 3mm drill bit.
Phillips screw driver.
Tape measure.
Marker pen.
Equipment you need to buy:
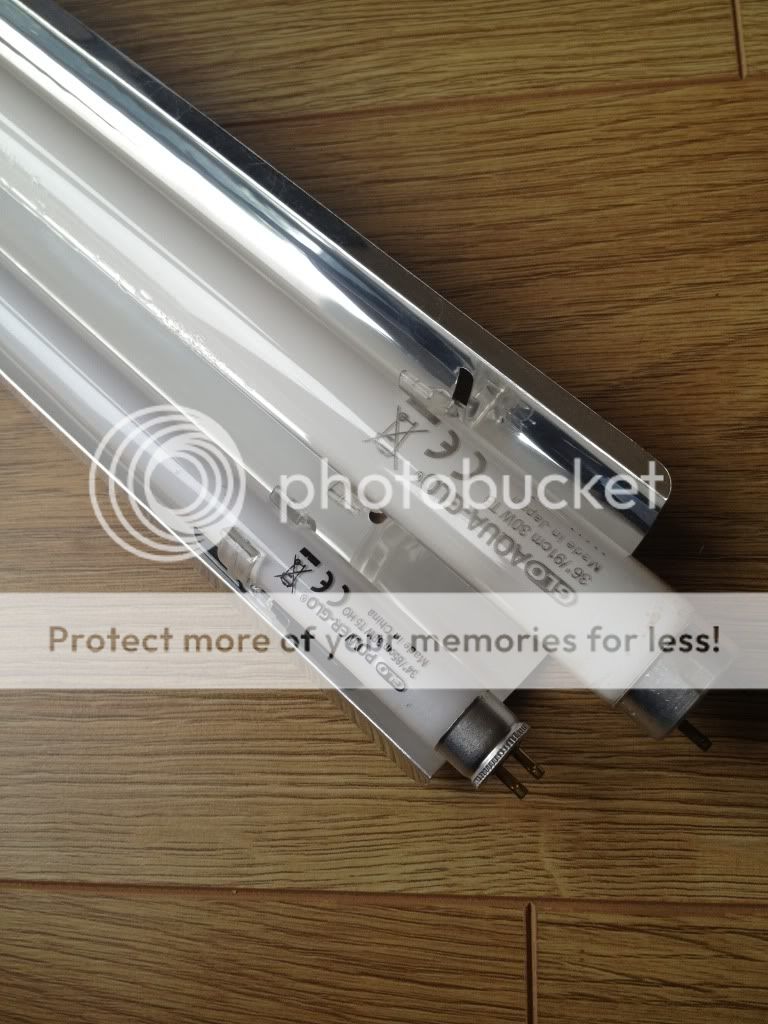
T5 HO Starter unit (Size and Wattage depends on tank size/mode)
T5 Tube x2 (There are tons of different tips on the market so which ones are down to the user)
Metal reflector x 2 (I will update this part once I find out the exact ones I used, it’s very important to use the same reflectors as I will explain later)
Screws x8
Standard drill + 3mm drill bit.
Phillips screw driver.
Tape measure.
Marker pen.
Equipment you need to buy:
T5 HO Starter unit (Size and Wattage depends on tank size/mode)
T5 Tube x2 (There are tons of different tips on the market so which ones are down to the user)
Metal reflector x 2 (I will update this part once I find out the exact ones I used, it’s very important to use the same reflectors as I will explain later)
Screws x8
STEP 1
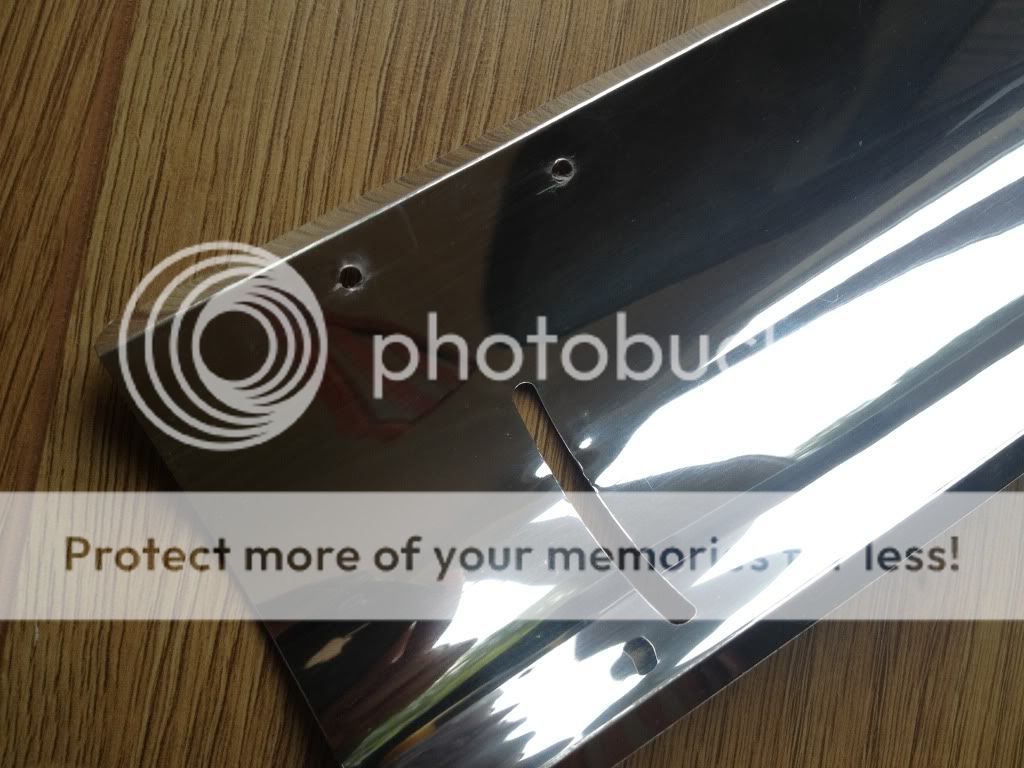
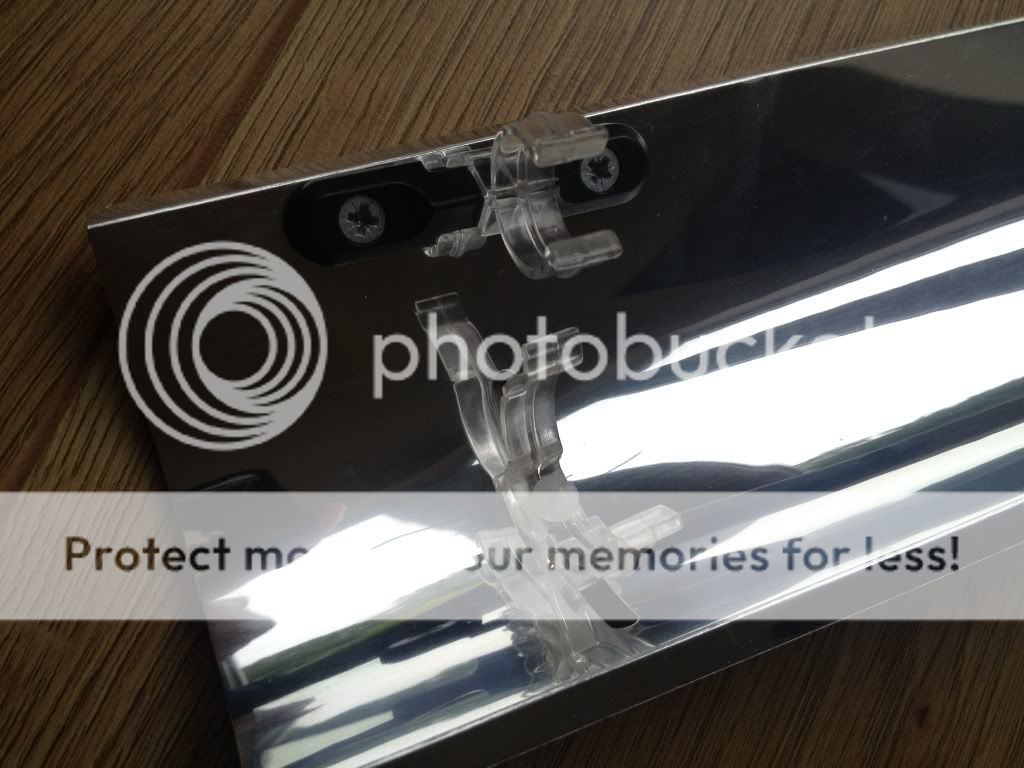
First thing you need to do is mount the T5 tube clips to the reflector, these clips come with the sterter unit. The T8 clips come with the reflectors and will hold them in place, now you’re going to have to drill some holes to attach the T5 tube clips that come with your starter unit. You will need to purchase your own screws for this. Use your tape measure and marker and measure down from the side 3.4cm (put a dot) and 7cm (put a dot) and drill, repeat this process on the other side and on the other reflector. (Make sure you have the right side of the reflector (refer to pic #3)
Note: the reflector is curved a bit too much when it comes out the box, so just straighten it out a little by pushing down on it.
Note: the reflector is curved a bit too much when it comes out the box, so just straighten it out a little by pushing down on it.
Pic 1: T5 Clip
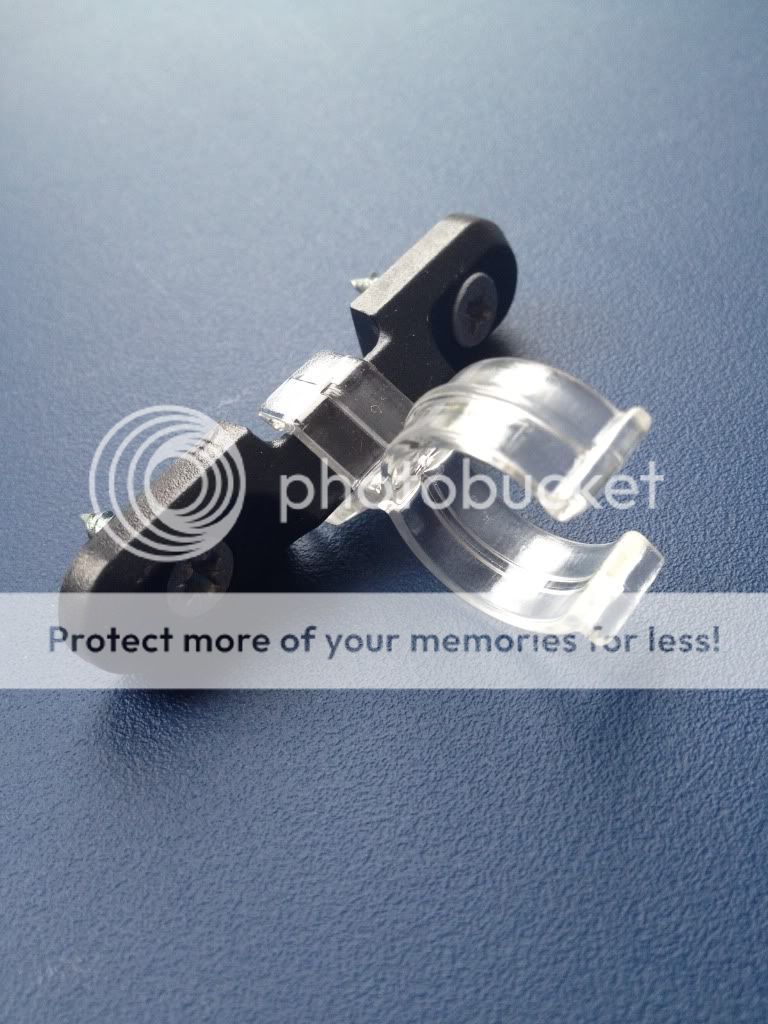
Pic 2: T8 Clip
Pic 2: T8 Clip
Pic: 3Reflector after drilled
STEP 2
Attach your T8 clips and Screw in your T5 clips and it should look like this (pic #1) Do this on both reflectors.
Pic 1: Reflector with clips attached
STEP 3
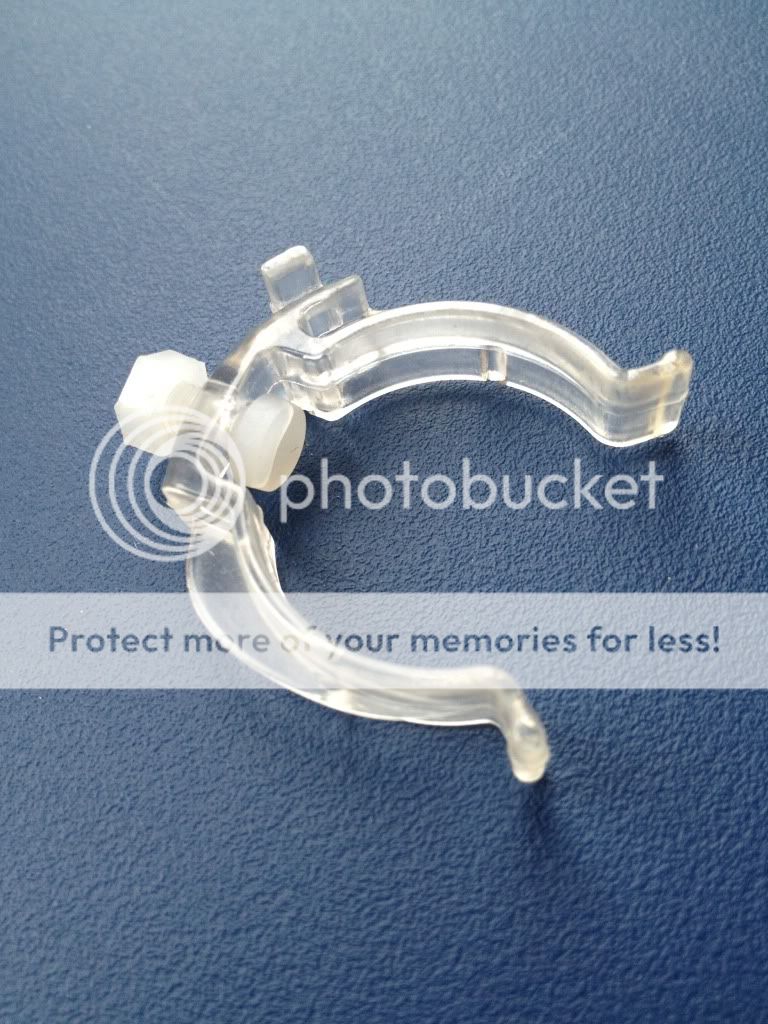
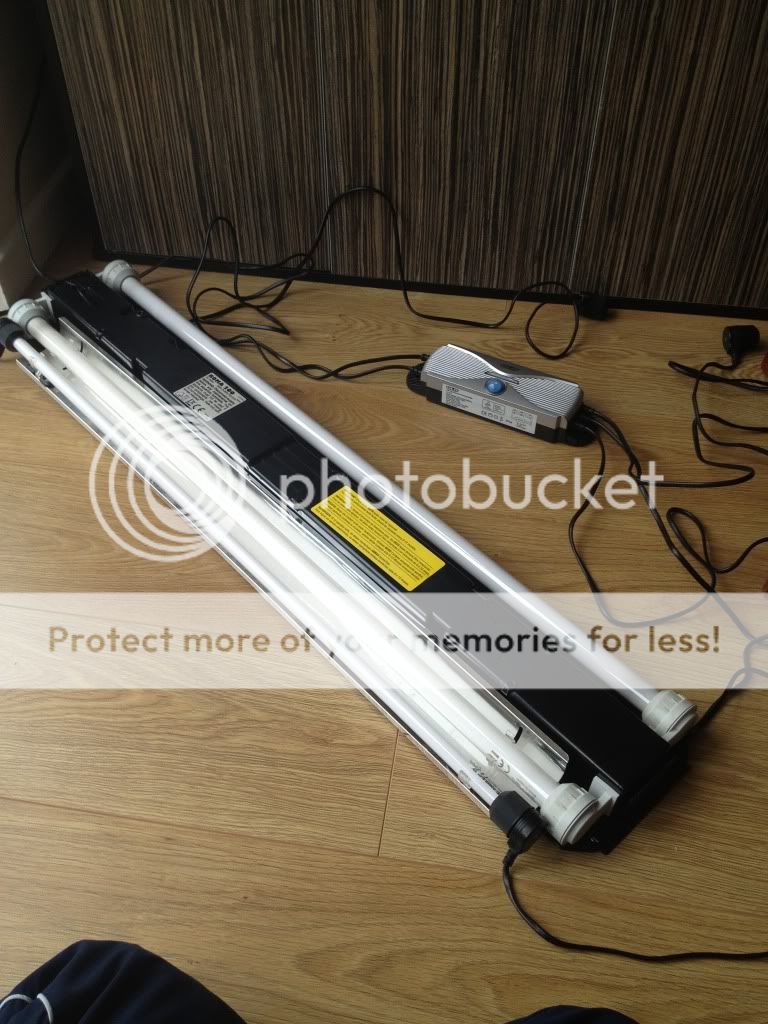
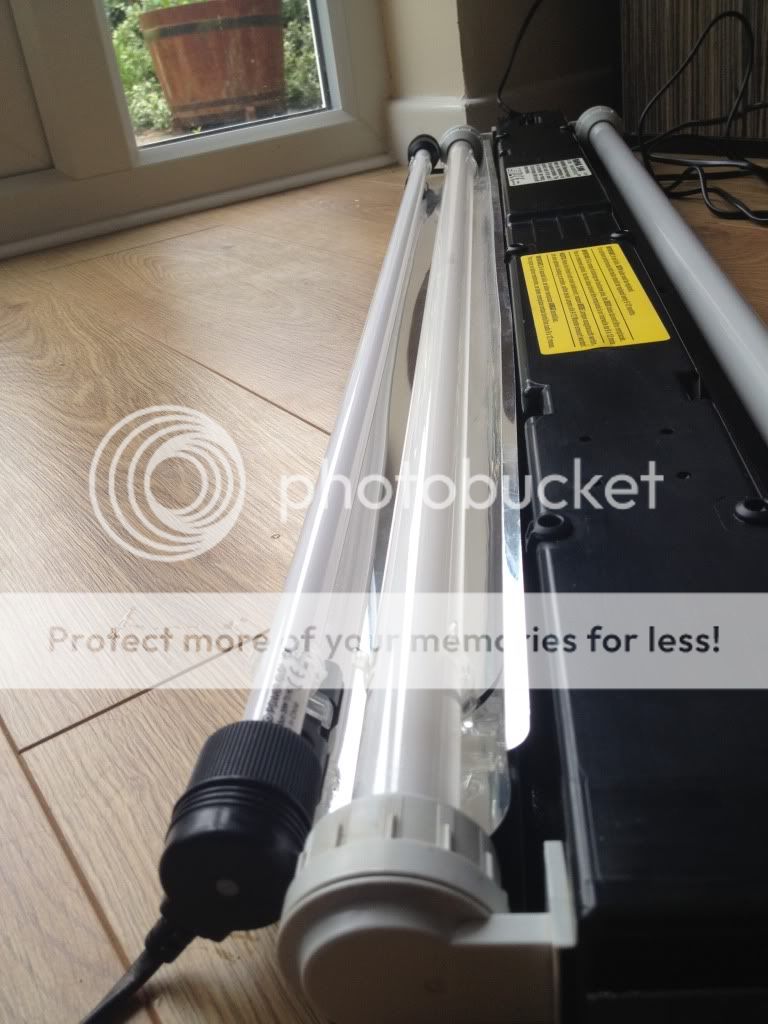
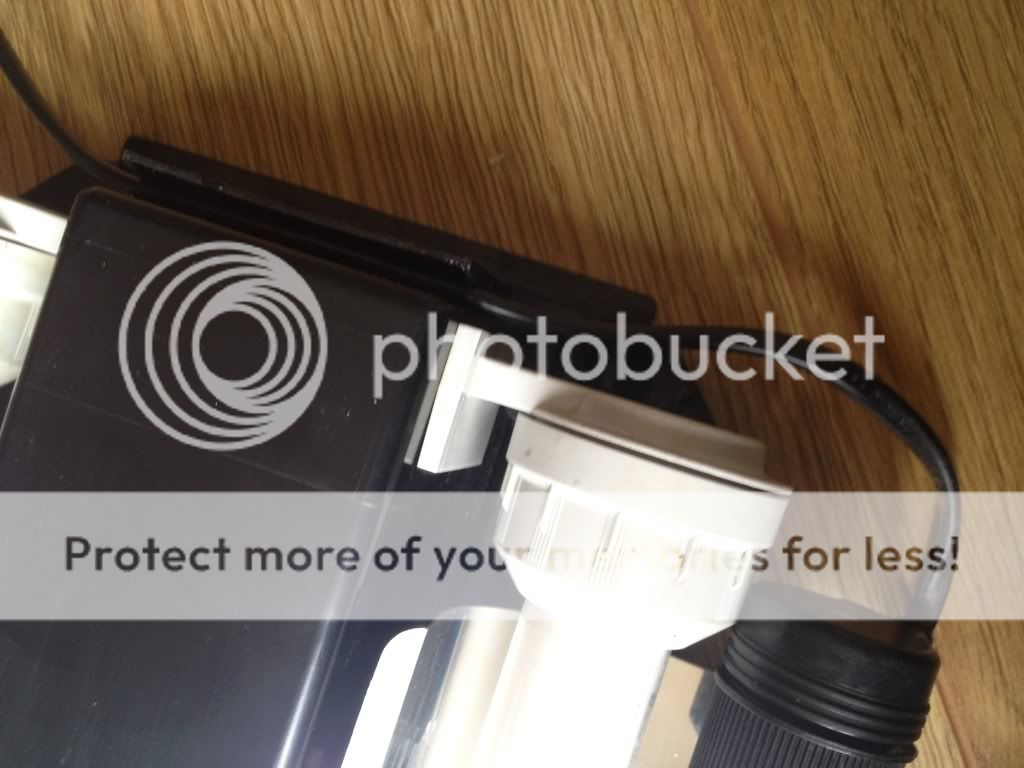
Remove your T8 tubes from the unit, and clip the tubes to the reflector and replace the tubes back on to your light unit. Now attach your T5 tubes to the end caps of the starter unit and clip in to place. The end caps on the starter are colour coded so you don’t mix them up.
Note: you can hide the wire from the front side of the caps down the side of the standard lighting unit (refer to pic #3)
Note: you can hide the wire from the front side of the caps down the side of the standard lighting unit (refer to pic #3)
Pic 1
Pic 2
Pic 3
Pic 2
Pic 3
STEP 4
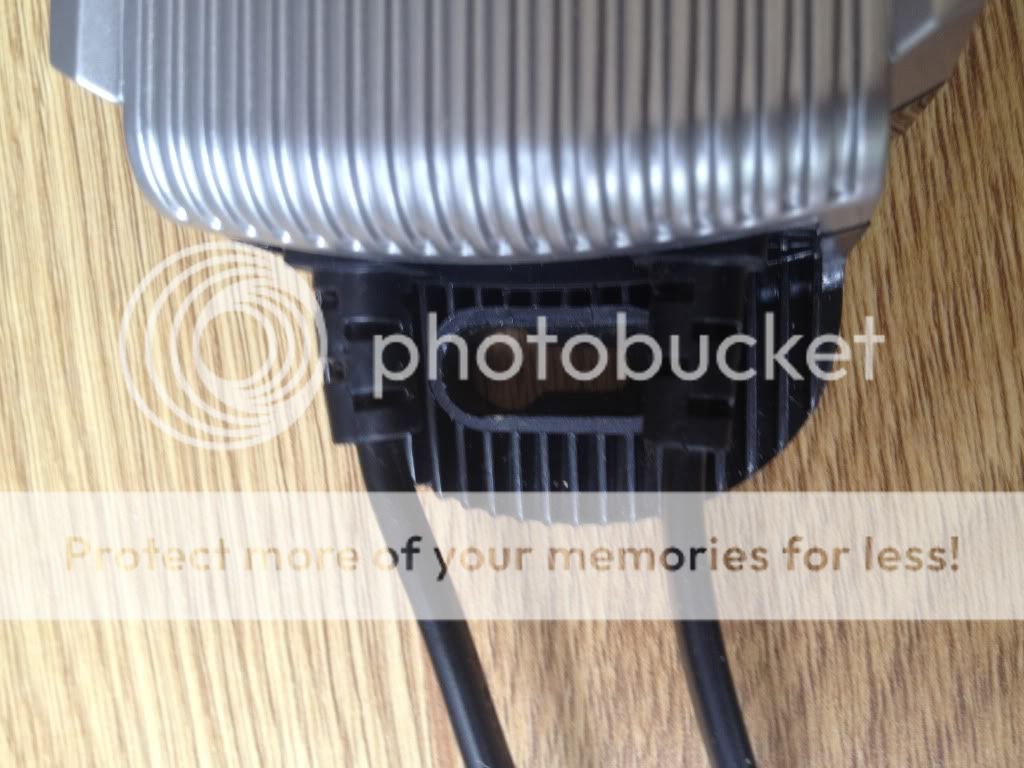
Because of the new ballast there will be wires everywhere, Just make sure all the wires are separated and not tangled before you move on. Turn the light unit so the tubes are facing down, and put the ballast starter unit on top and move it above your aquarium (get someone to help you with this) position the wires so they all lead down the back of the aquarium then you can put the light unit back in place. This part is tricky and entirely up to you.
Now you need to attach the ballast of the starter unit to the back of your aquarium cabinet, this is easy if the aquarium is empty but not so if it’s full. The ballast attaches really easy with 2 screws (you will need to provide these as they don’t come with the unit)
If you can’t access the back of your cabinet you could just let it hang down the back, or you could buy a piece of wood and attach it to that, you would have to measure up from the floor to get it the right height as the wires are not extremely long.
Pic 1
STEP 5
Plug in your new lights and you will see how much better the T5’s illuminate your aquarium.


