
Craig89
Fishaholic
Afternoon Everyone,
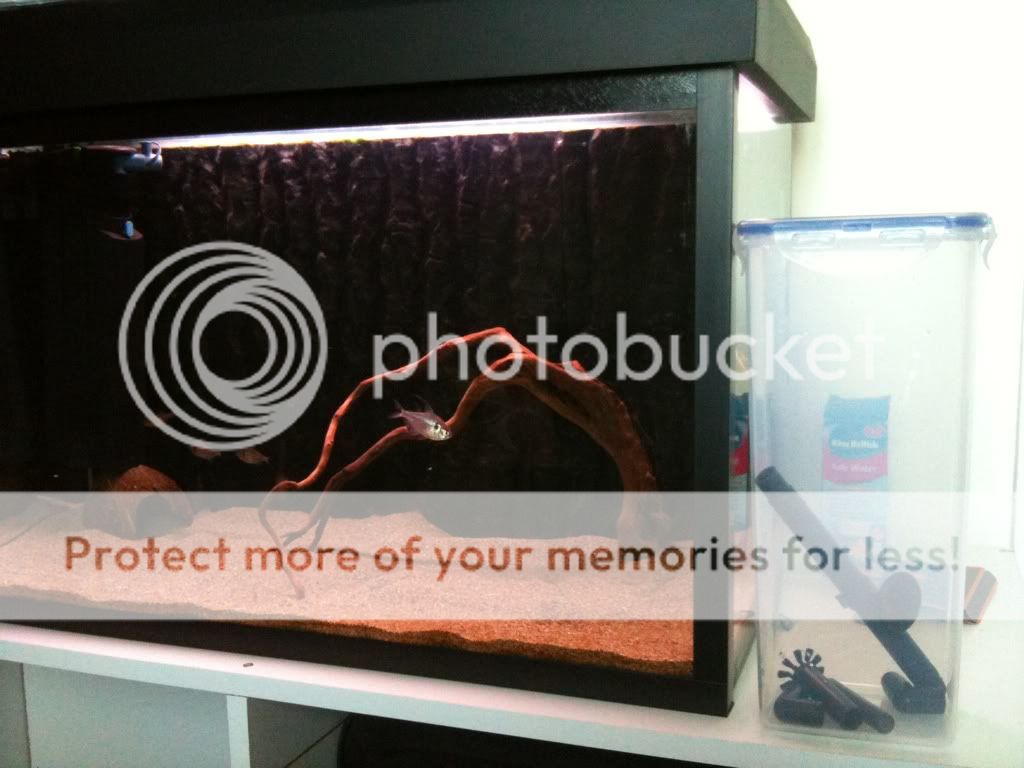
After coming across a thread on here about DIY filters I decided I would give it ago myself as the internal filter on my 70l tank is abit pants. I've today started collecting the parts and will post a step by step guide as the filter takes shape.
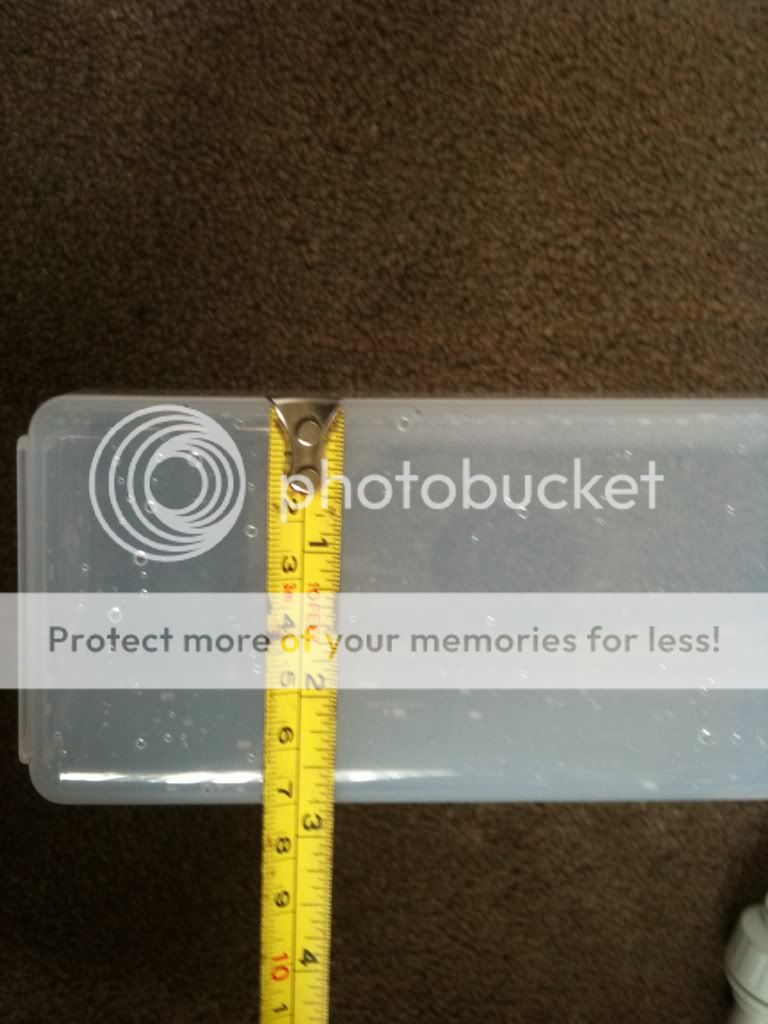
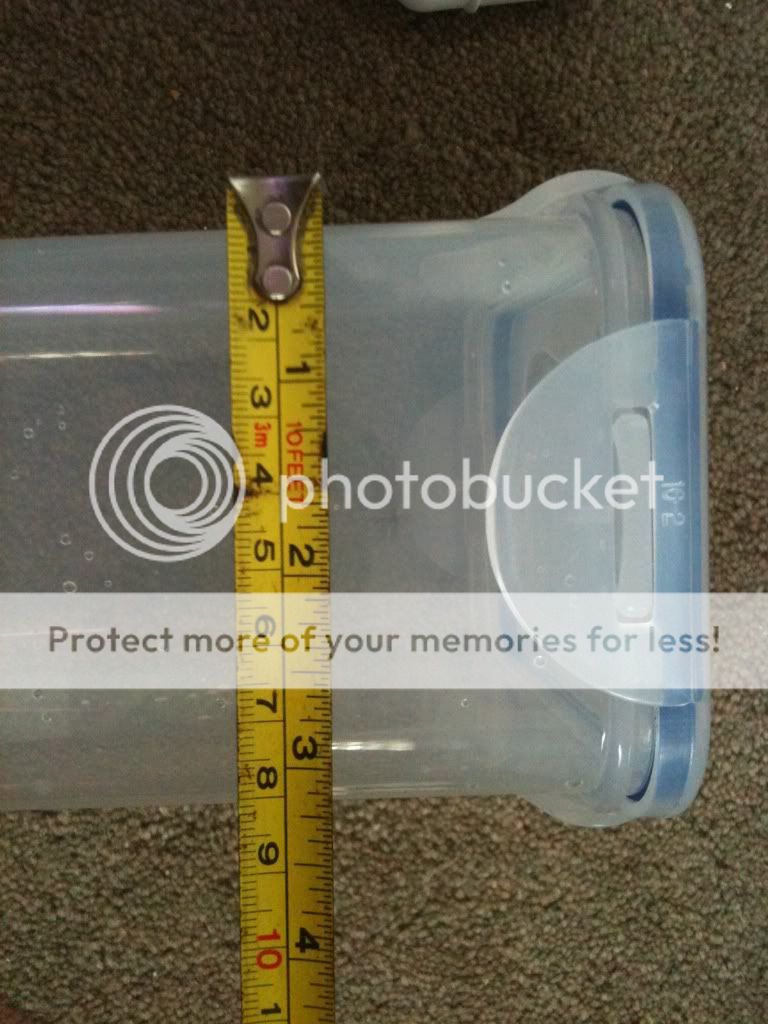
I looked in every supermarket for a tall airtight and watertight container but all were too small so a quick look on eBay came up with this:
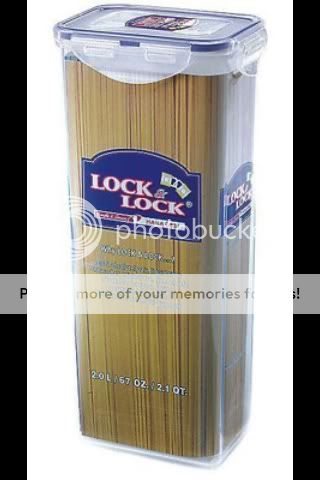
£5:85 with next day delivery. (had to collect from post office this morning as I missed it on Friday)
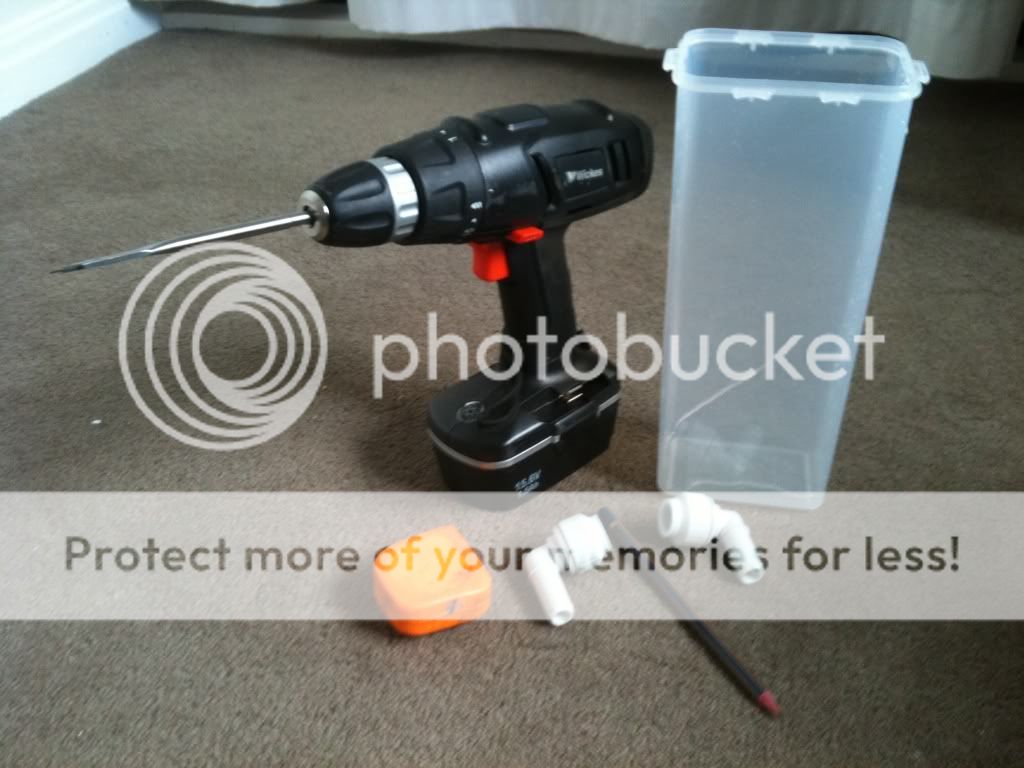
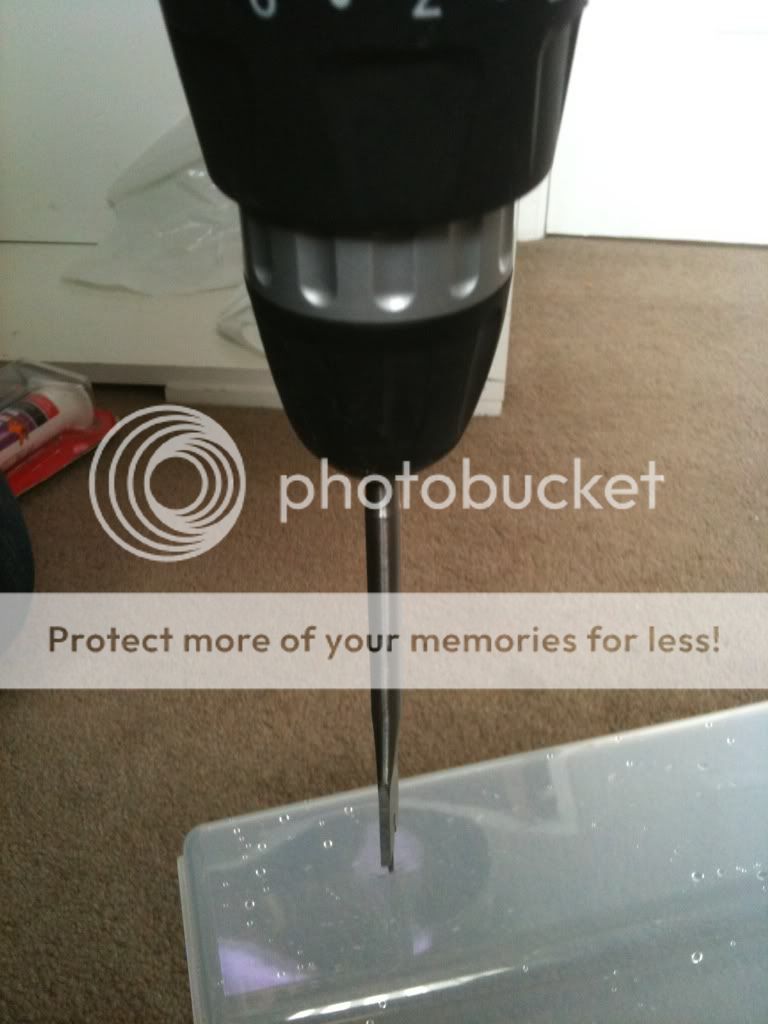
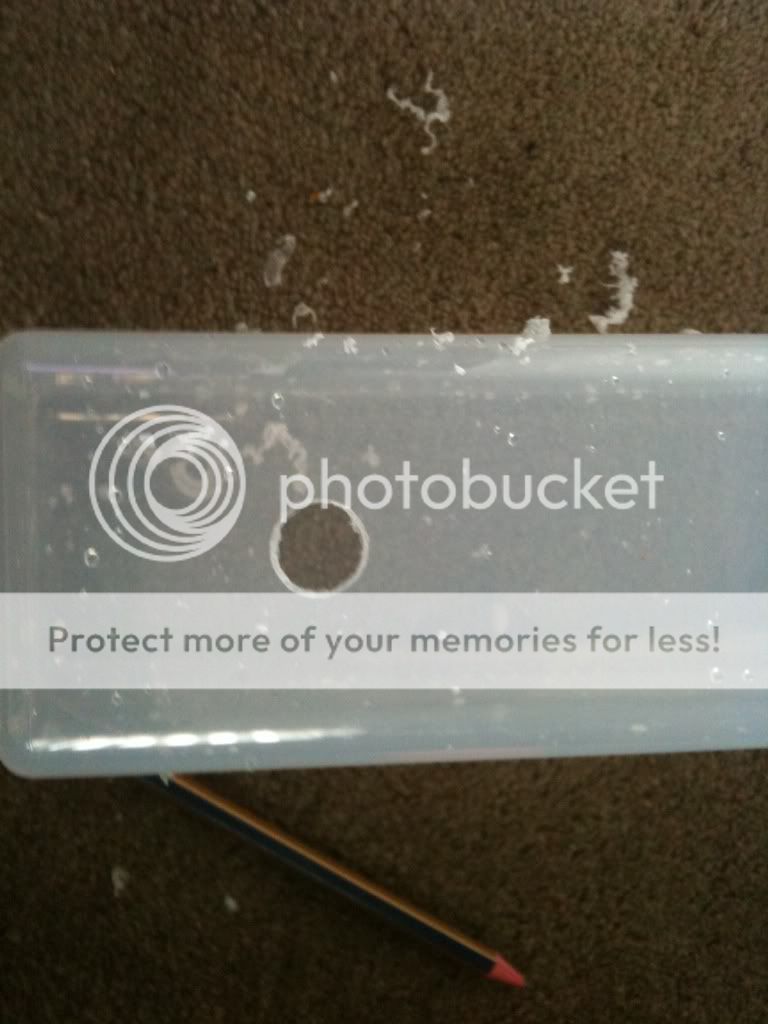
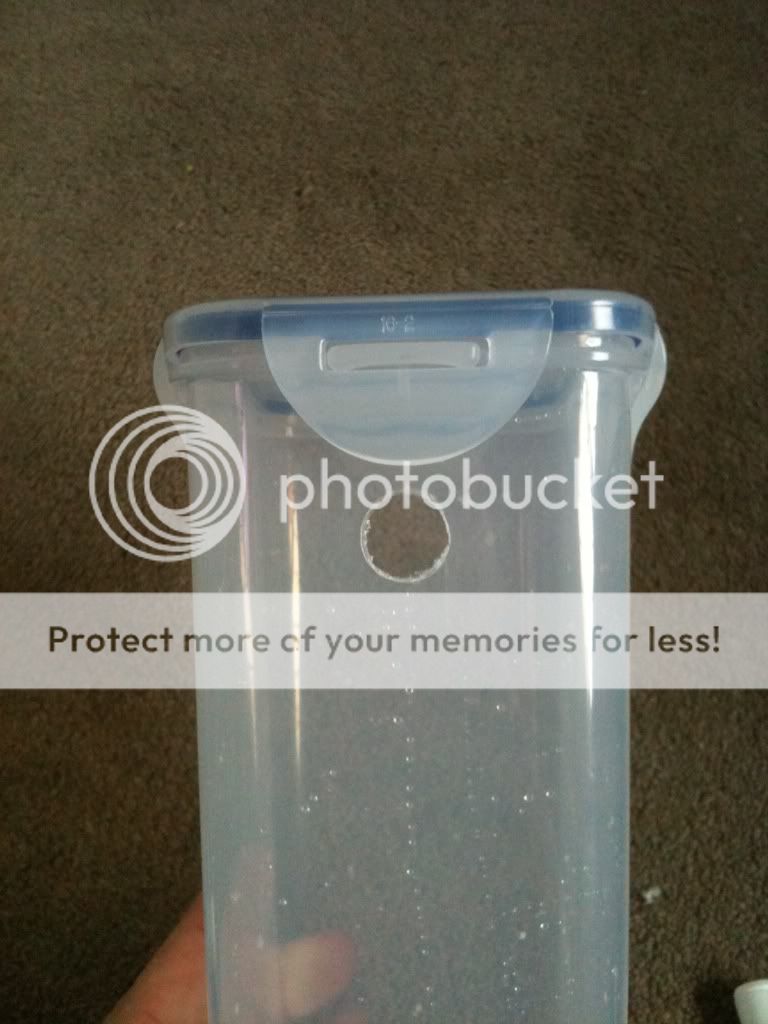
Whilst on eBay looking at tanks I came across a chap not to far away clearing out alot of tanks and equipment including a few powerheads so I will be collecting a 1400 lph one from him today for a sum of £10. I already have mature media from the internal pump so I just need to call at the lfs to pick up sum clear hose and stop at the DIY shop for some push fit plumbing fittings as I don't want to silicone the tubes in the holes as I want to be able to clean/ replace if needs be.
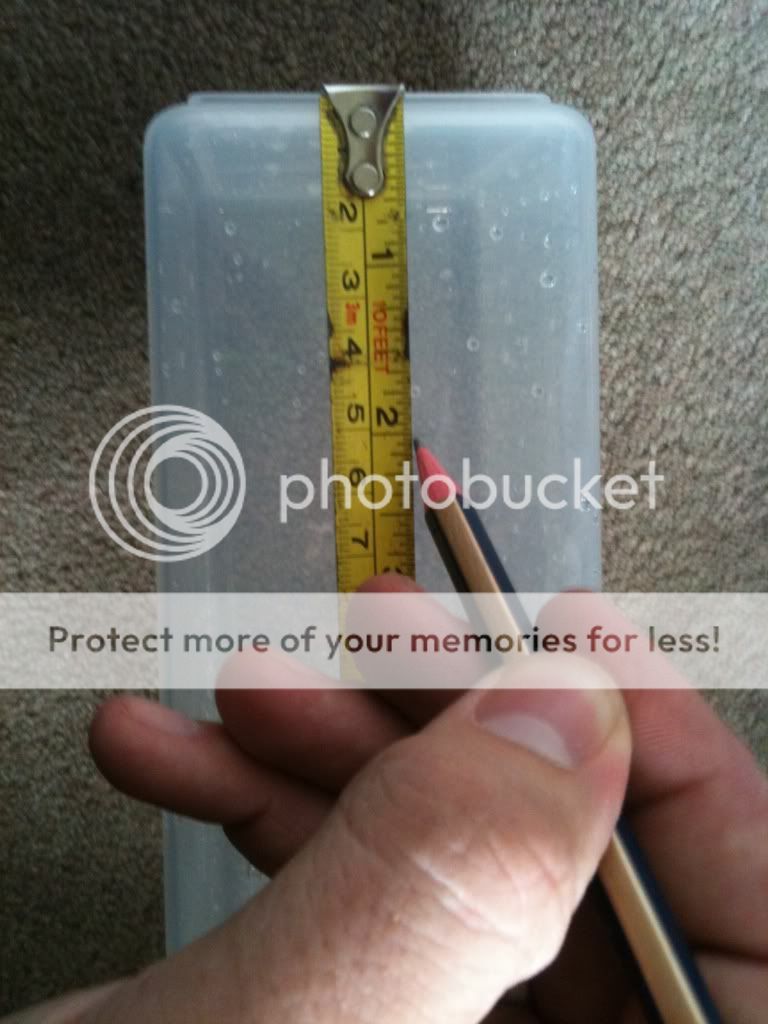
The build will hopefully start tomorrow") .
.
After coming across a thread on here about DIY filters I decided I would give it ago myself as the internal filter on my 70l tank is abit pants. I've today started collecting the parts and will post a step by step guide as the filter takes shape.
I looked in every supermarket for a tall airtight and watertight container but all were too small so a quick look on eBay came up with this:
£5:85 with next day delivery. (had to collect from post office this morning as I missed it on Friday)
Whilst on eBay looking at tanks I came across a chap not to far away clearing out alot of tanks and equipment including a few powerheads so I will be collecting a 1400 lph one from him today for a sum of £10. I already have mature media from the internal pump so I just need to call at the lfs to pick up sum clear hose and stop at the DIY shop for some push fit plumbing fittings as I don't want to silicone the tubes in the holes as I want to be able to clean/ replace if needs be.
The build will hopefully start tomorrow
.


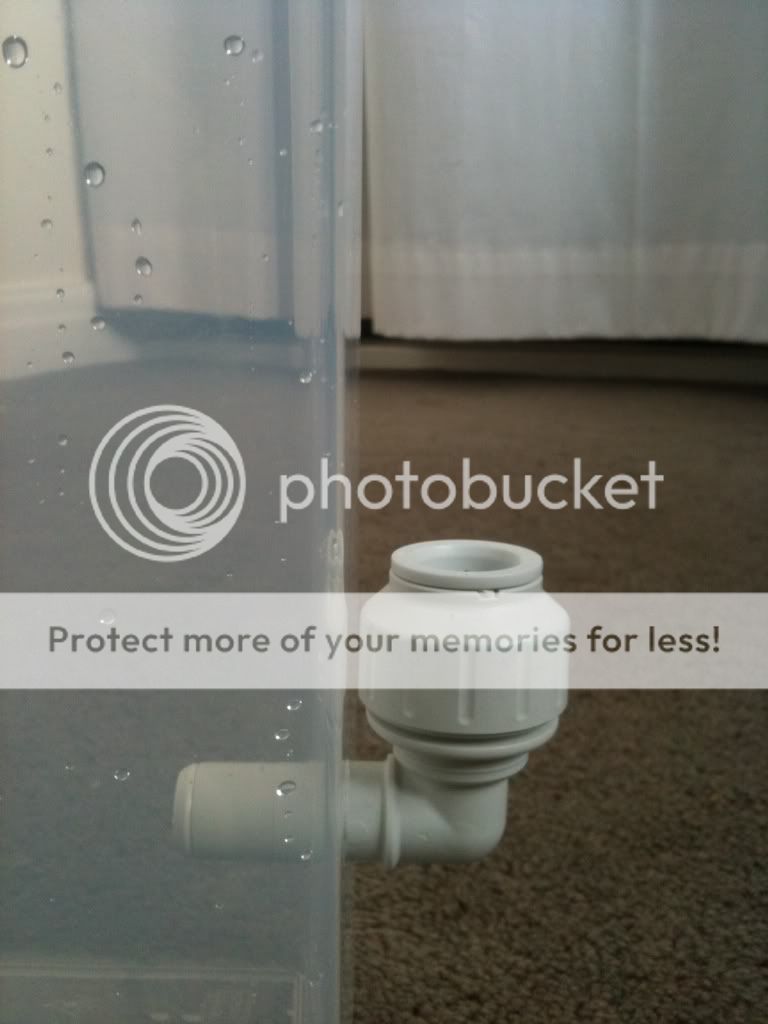
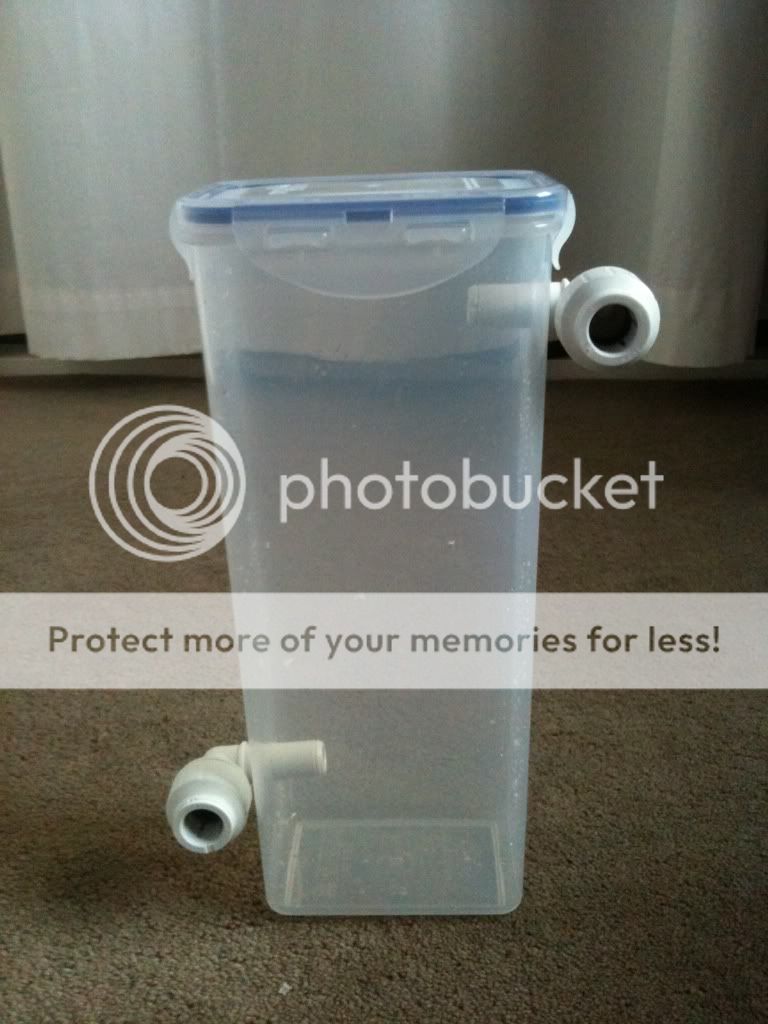

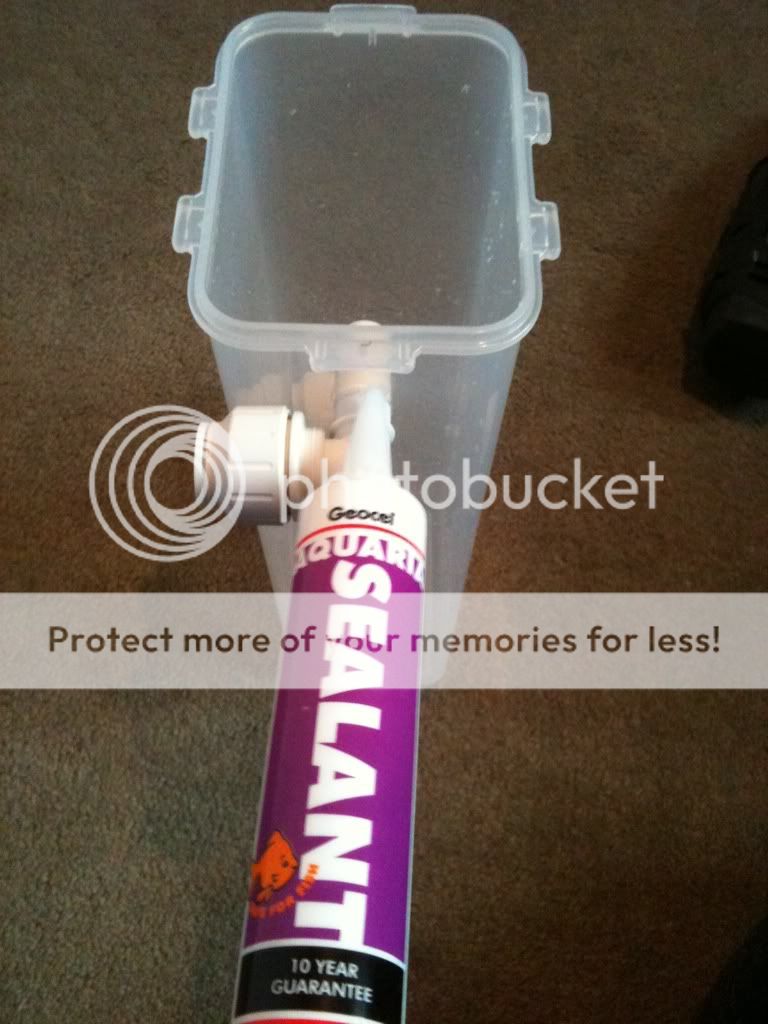
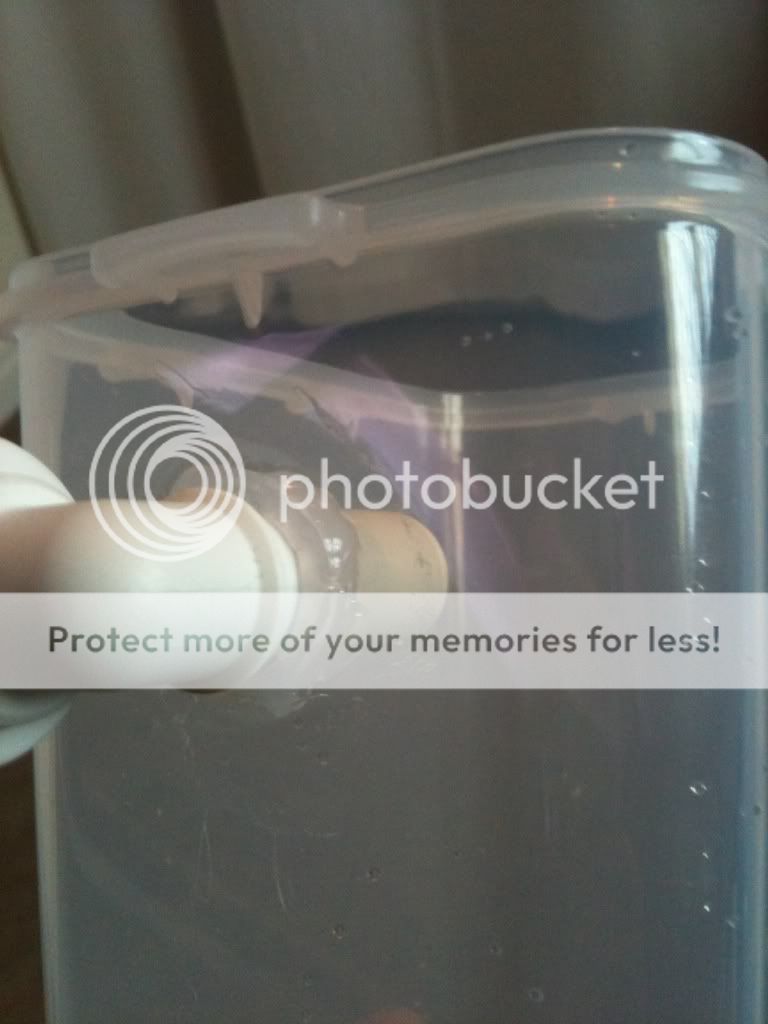
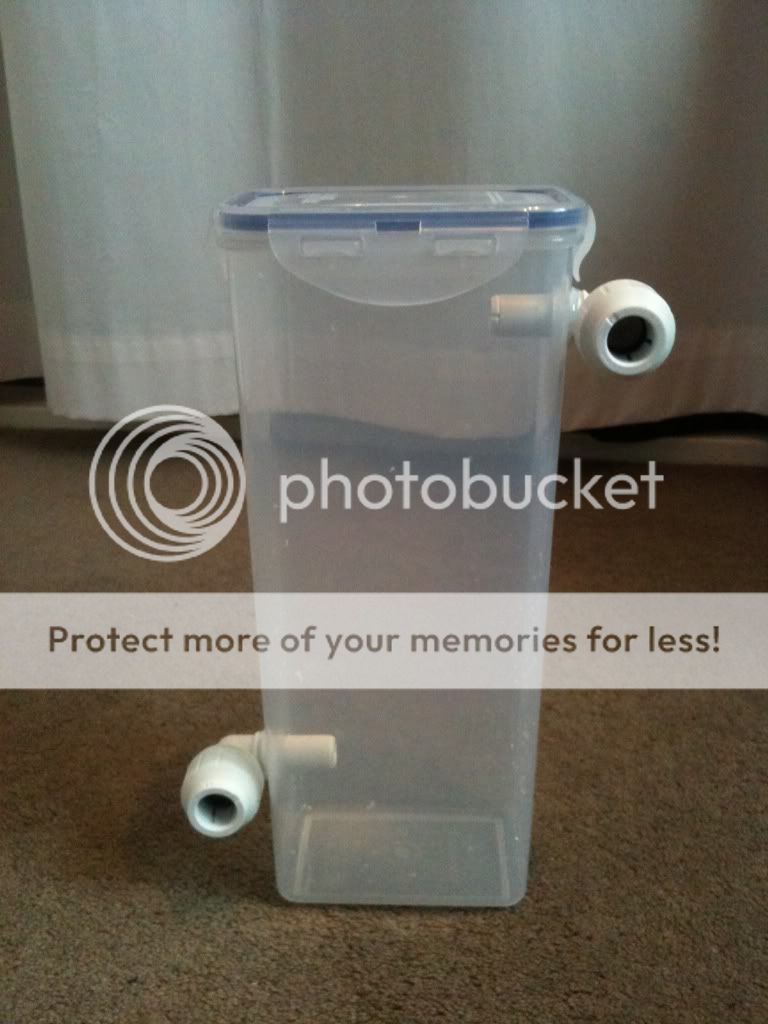

 the silicone just won't give a good enough seal so I've been back to wickes and got two 15mm tank connectors which are used for cold water storage tanks but are the same as bulkhead fittings so no silicone required