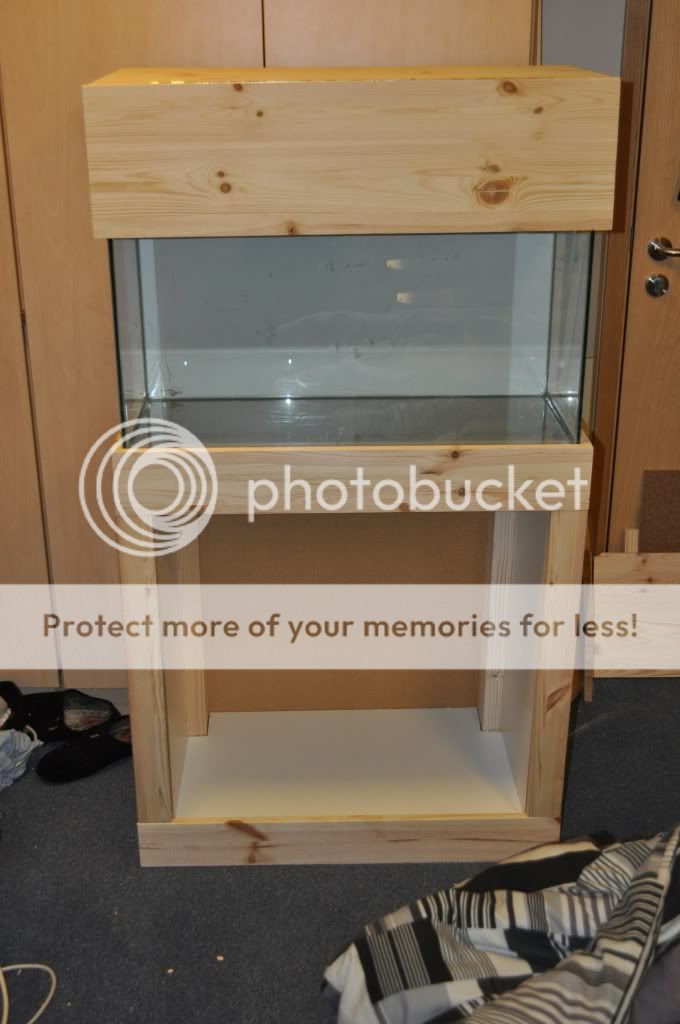
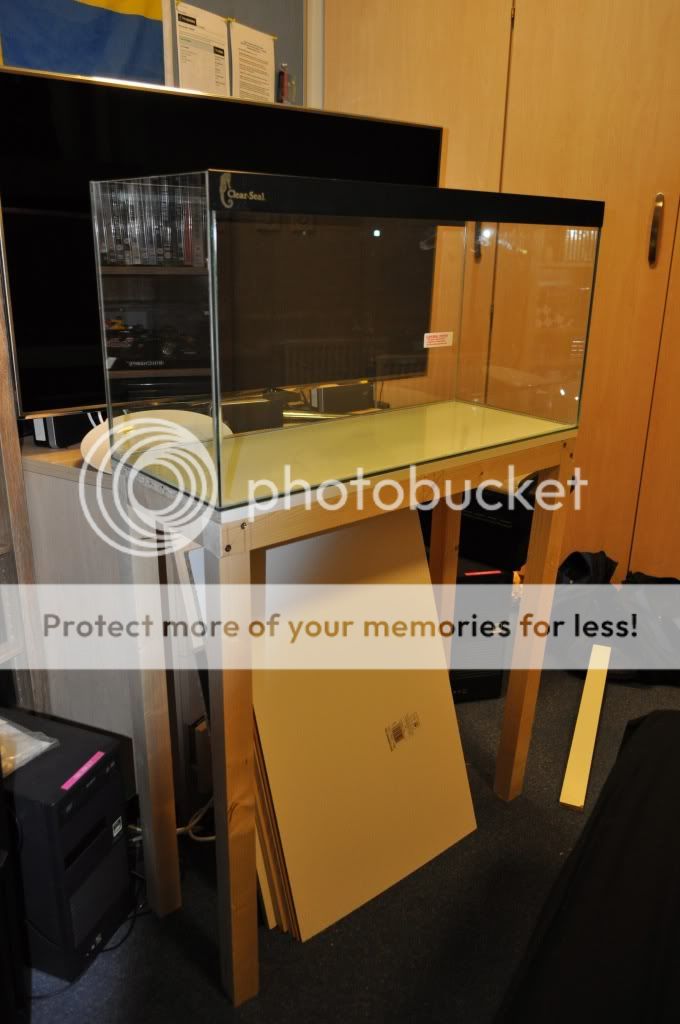
Hello all and welcome to my new project, an 88L tank, which is going to be my new planted nano tank with a few small fish.
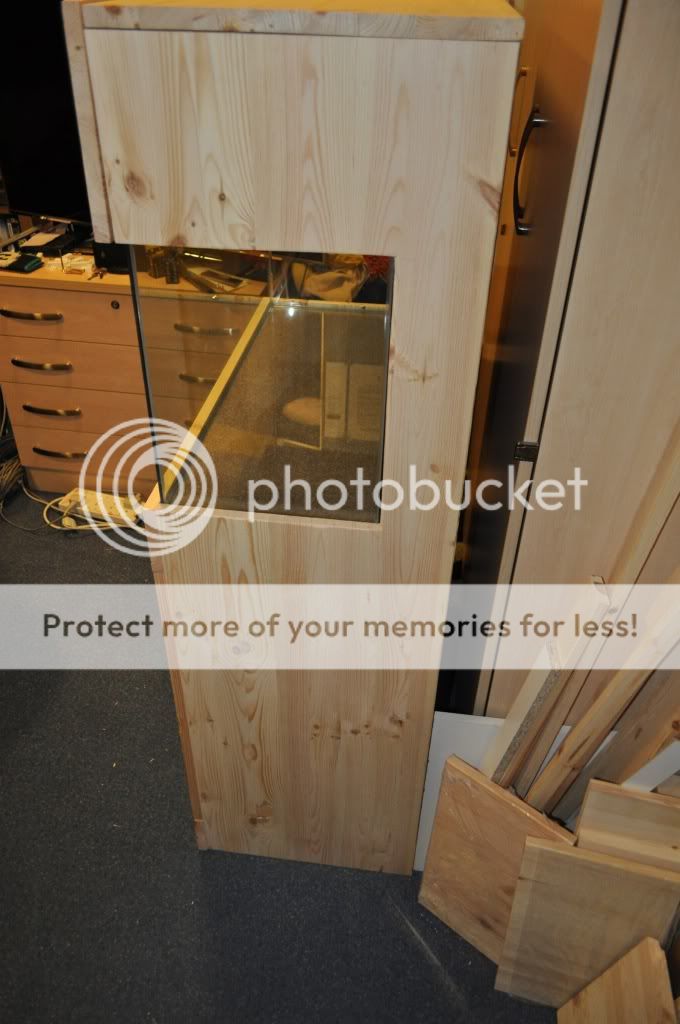
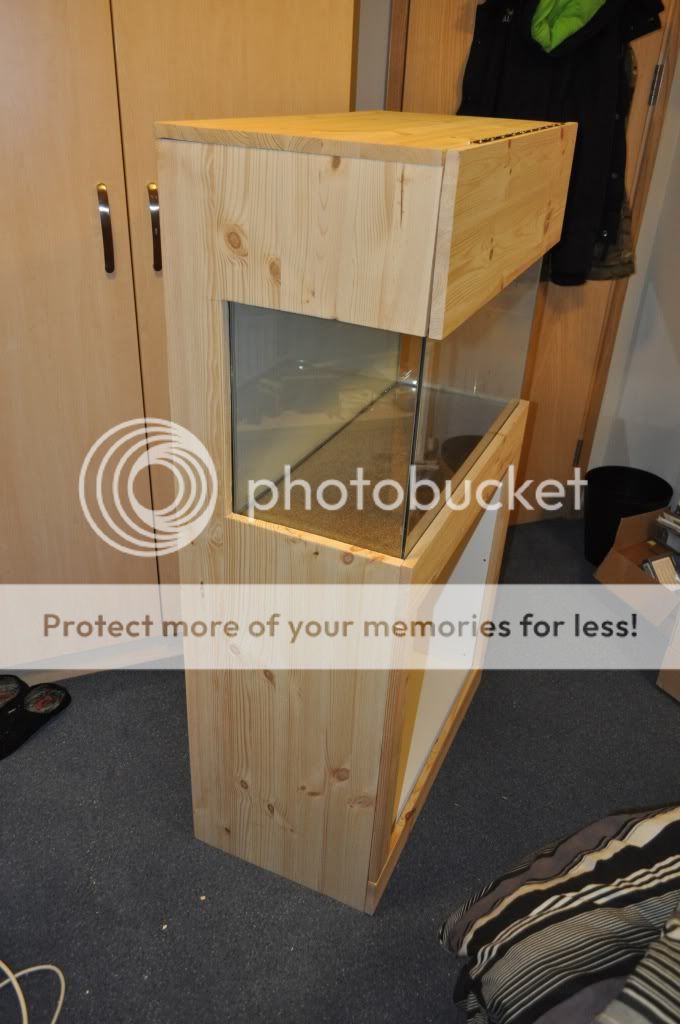
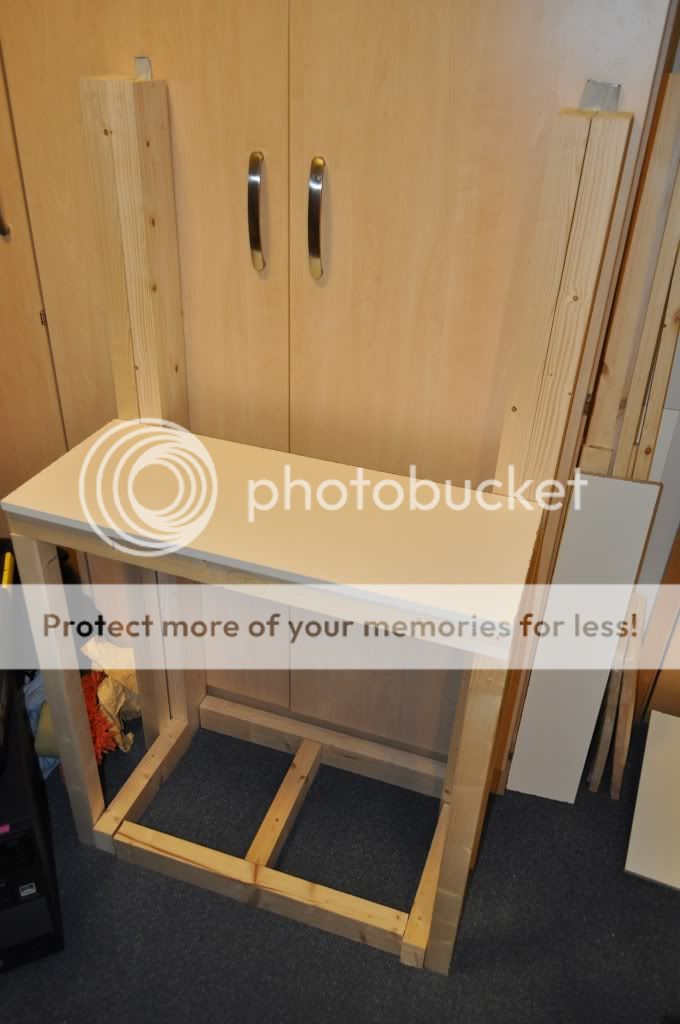
But firstly I will be building a cabinet for it, this will be made of solid pine wood, with 18mm thick pine panel's on the outside hopefully it will look stunning once complete

i shall try and break it down and show absolutely everything i do as much as i think is needed, hopefully this will allow anyone to follow this and do this for them self's
Planning
so obviously you need to plan such a project for this i used Google Sketch up it is both easy and free to use allows me to get exact dimensions and other bits n bobs you may need to look at when designing anything like this.
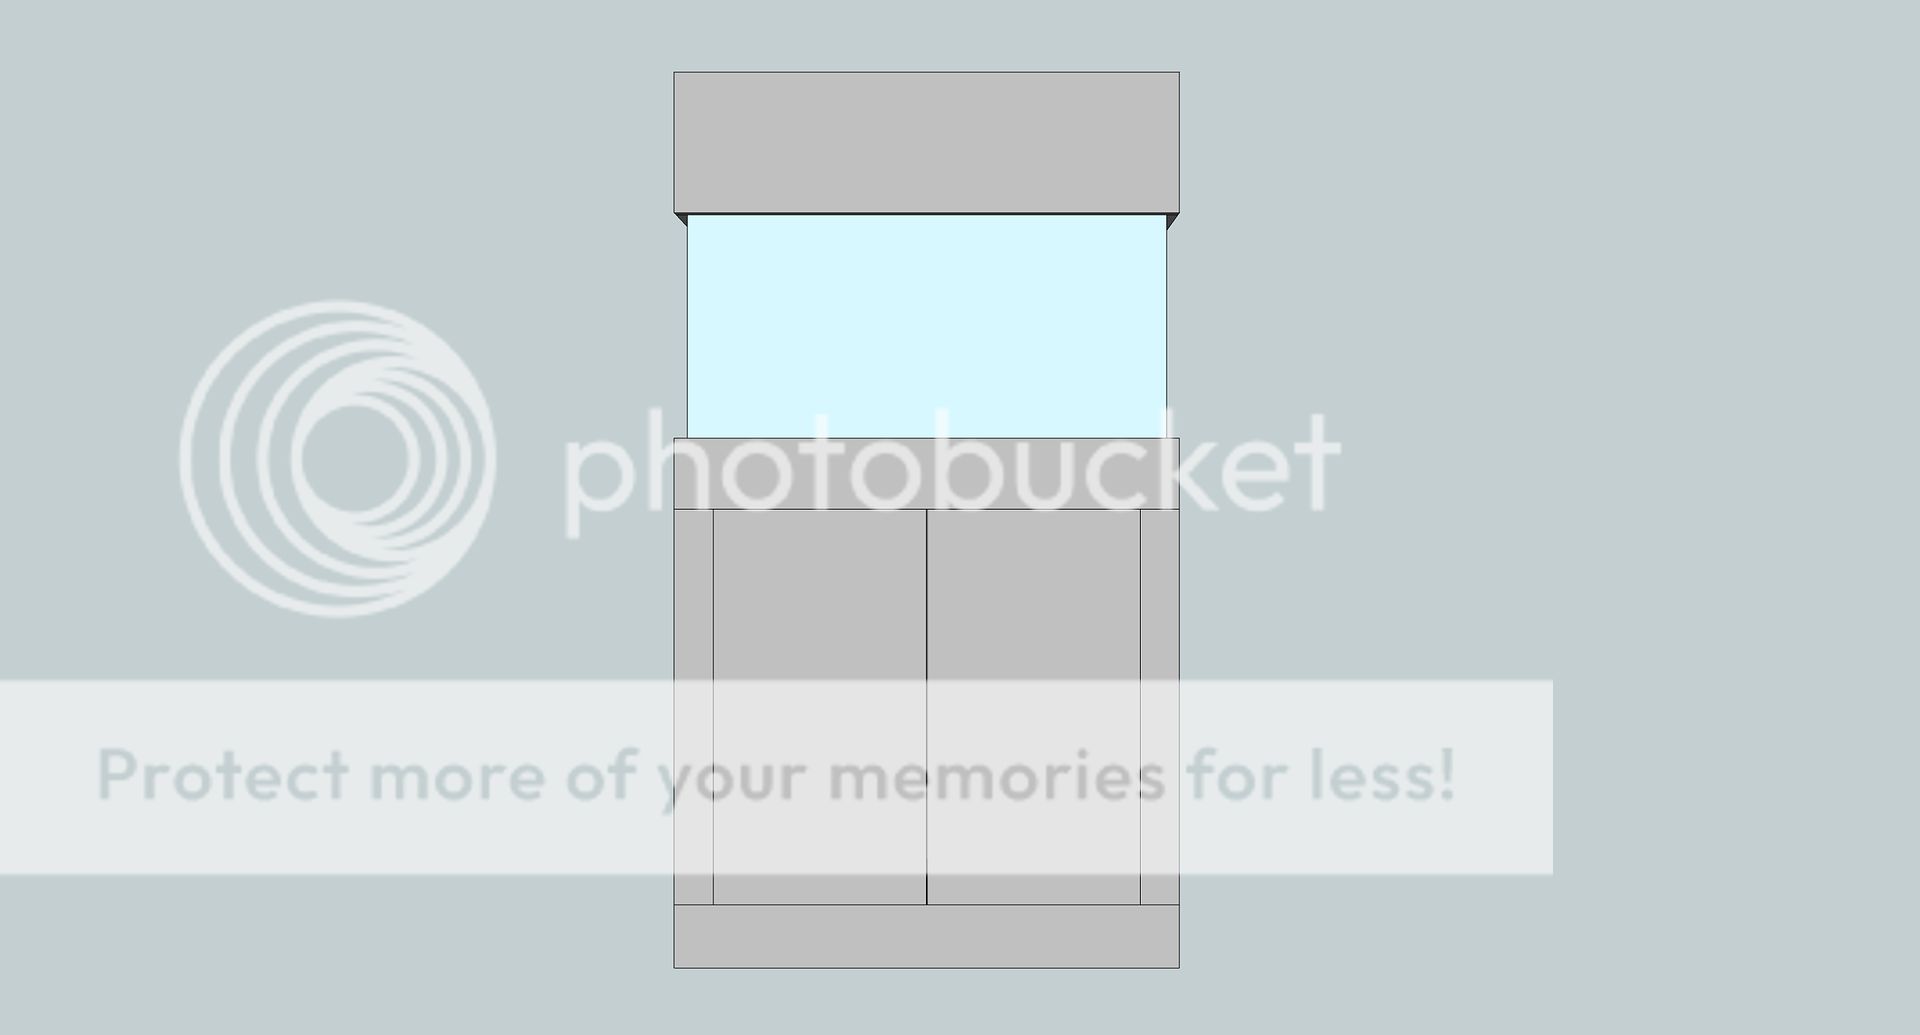
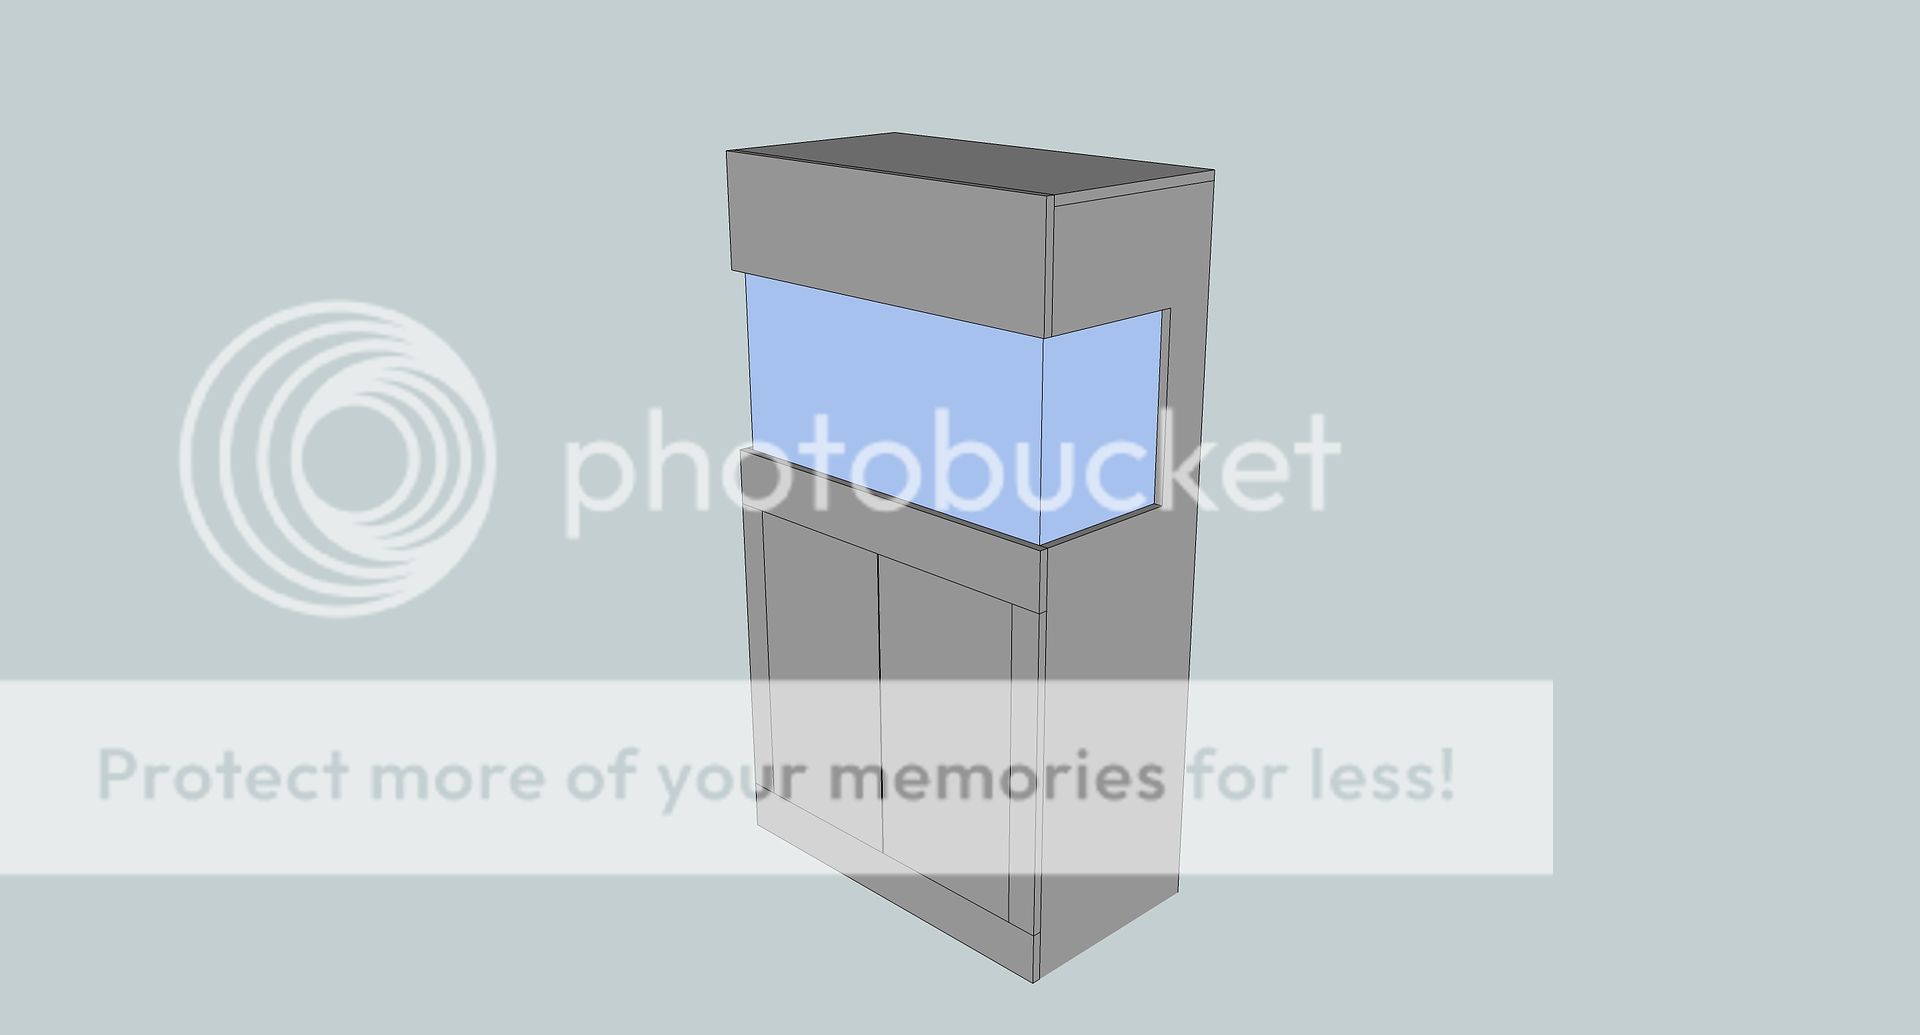
There will be 3 doors
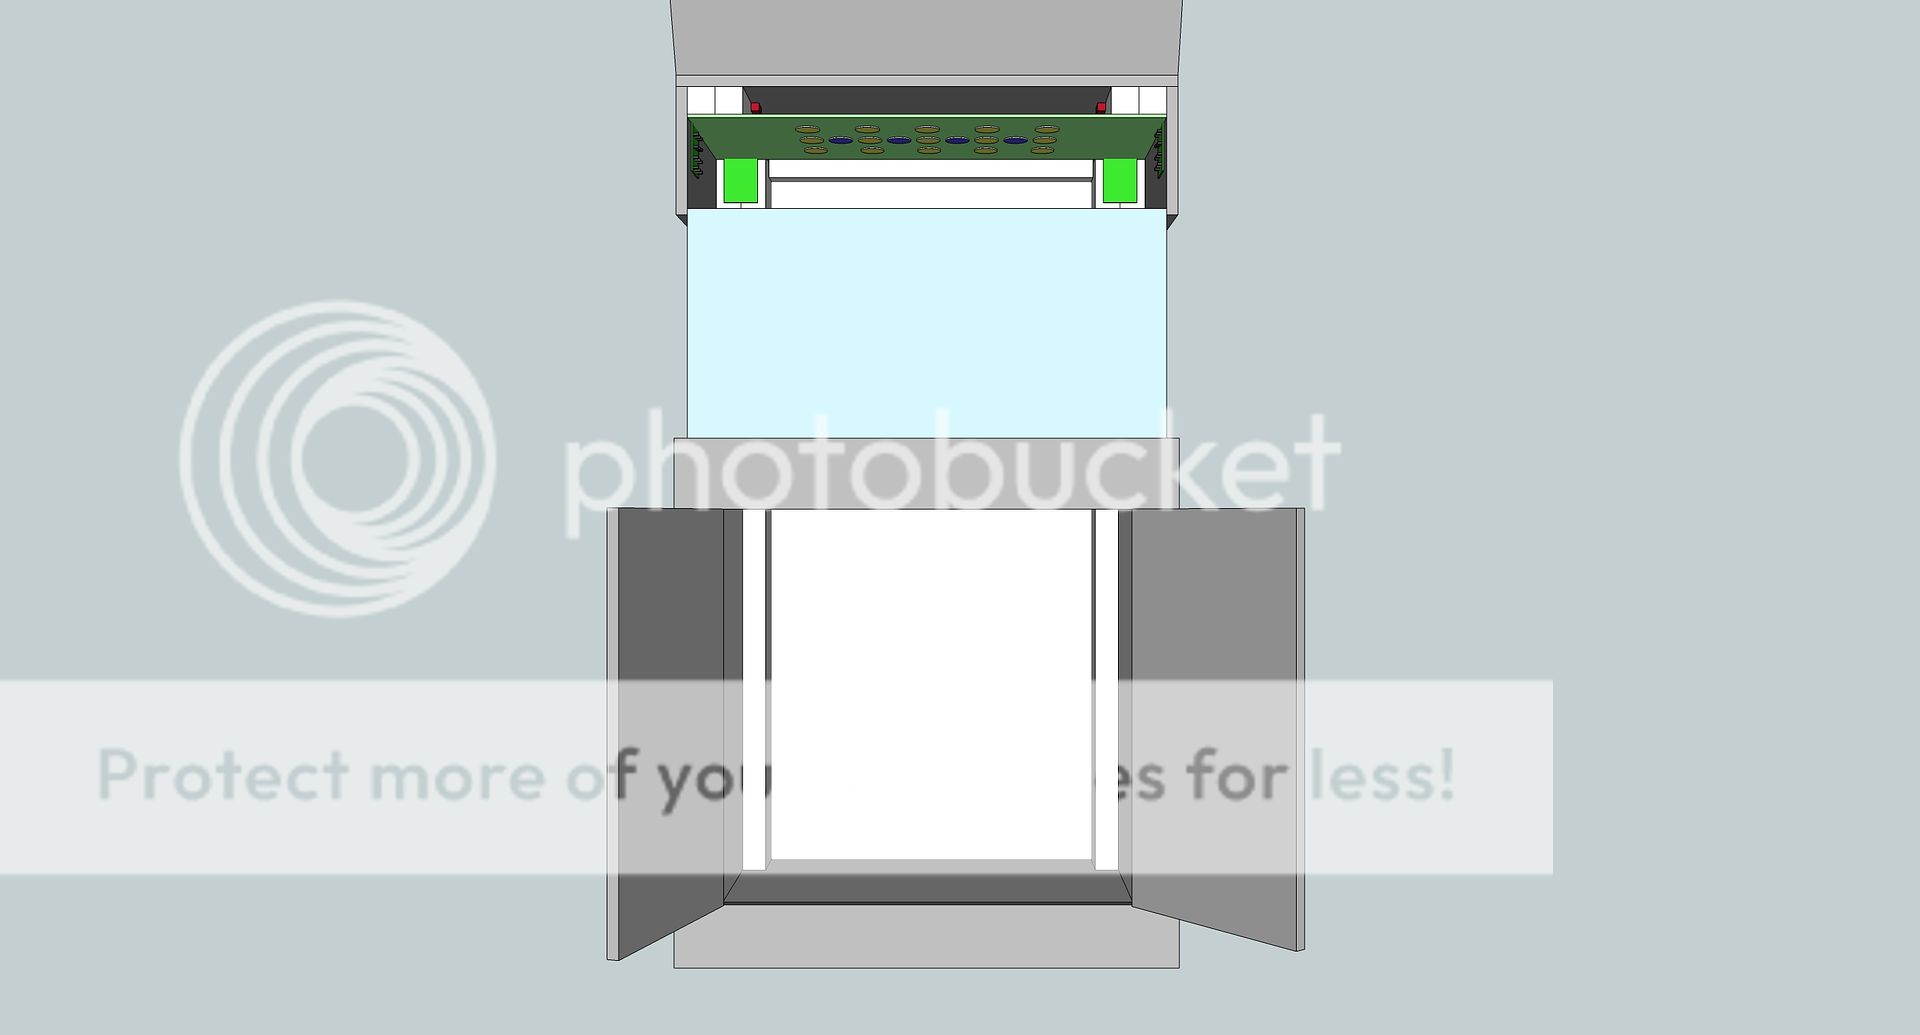
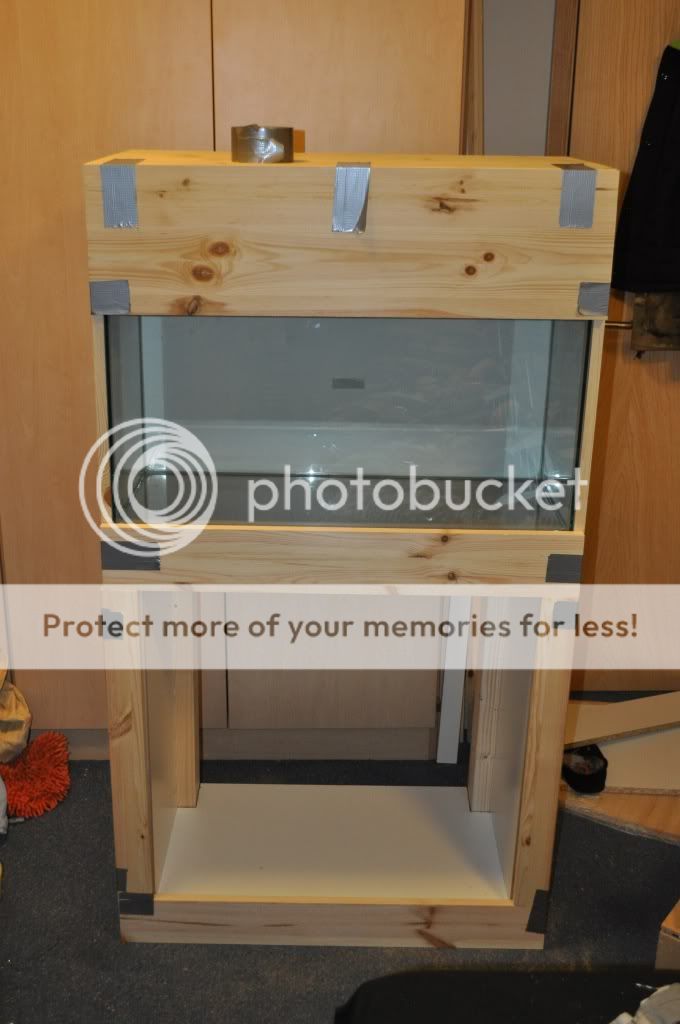
The cabinet will be 1415mm tall thats just over 1.4m and will be 798mm wide, almost 0.8m wide.
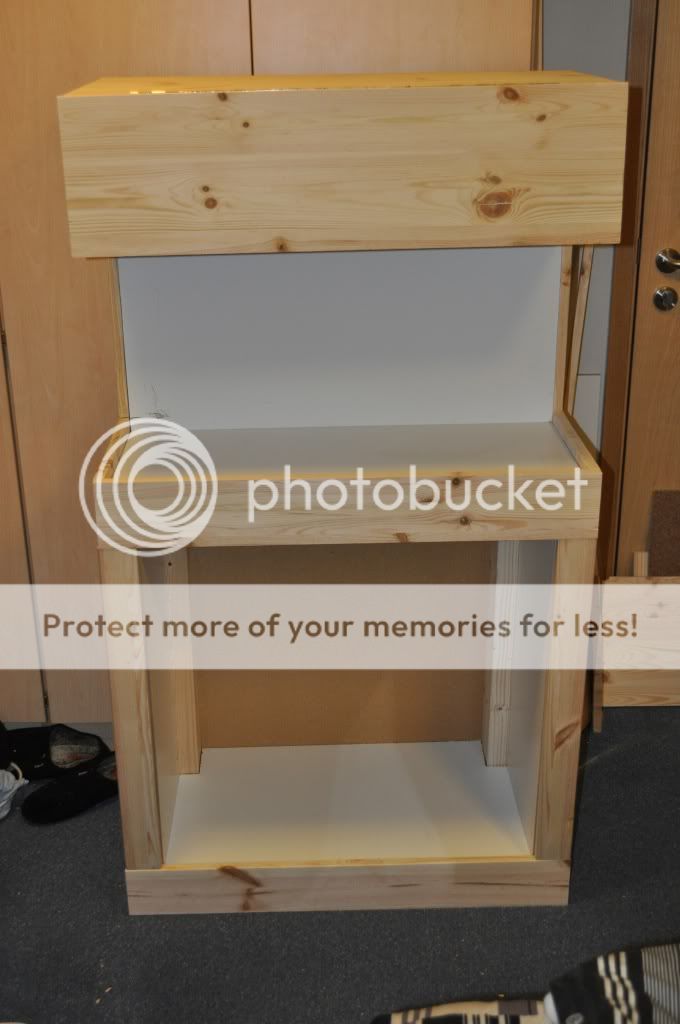
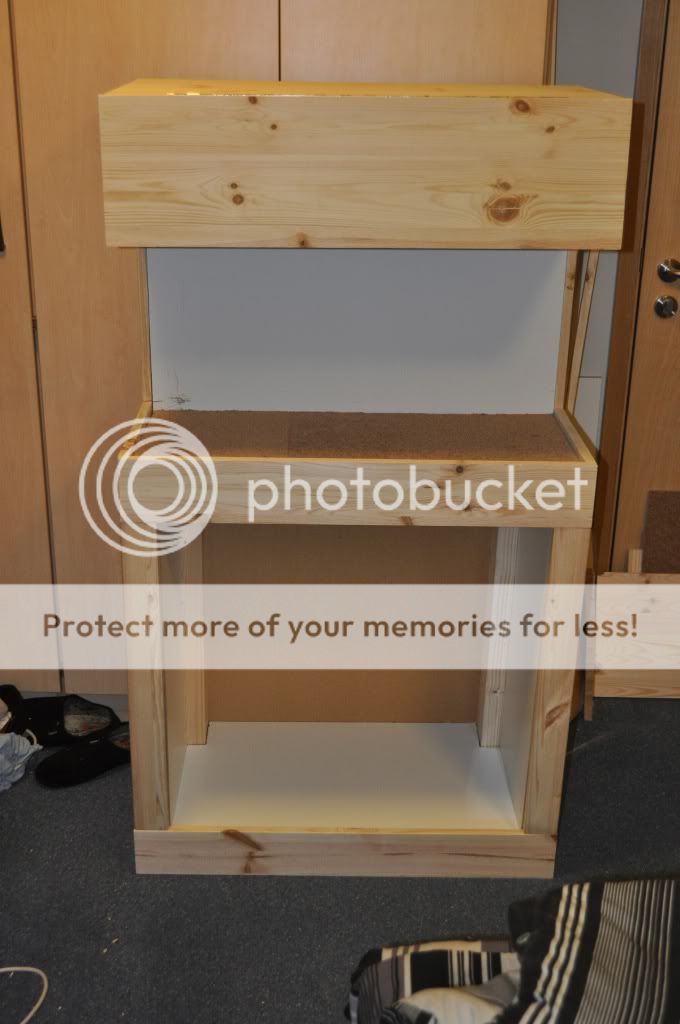
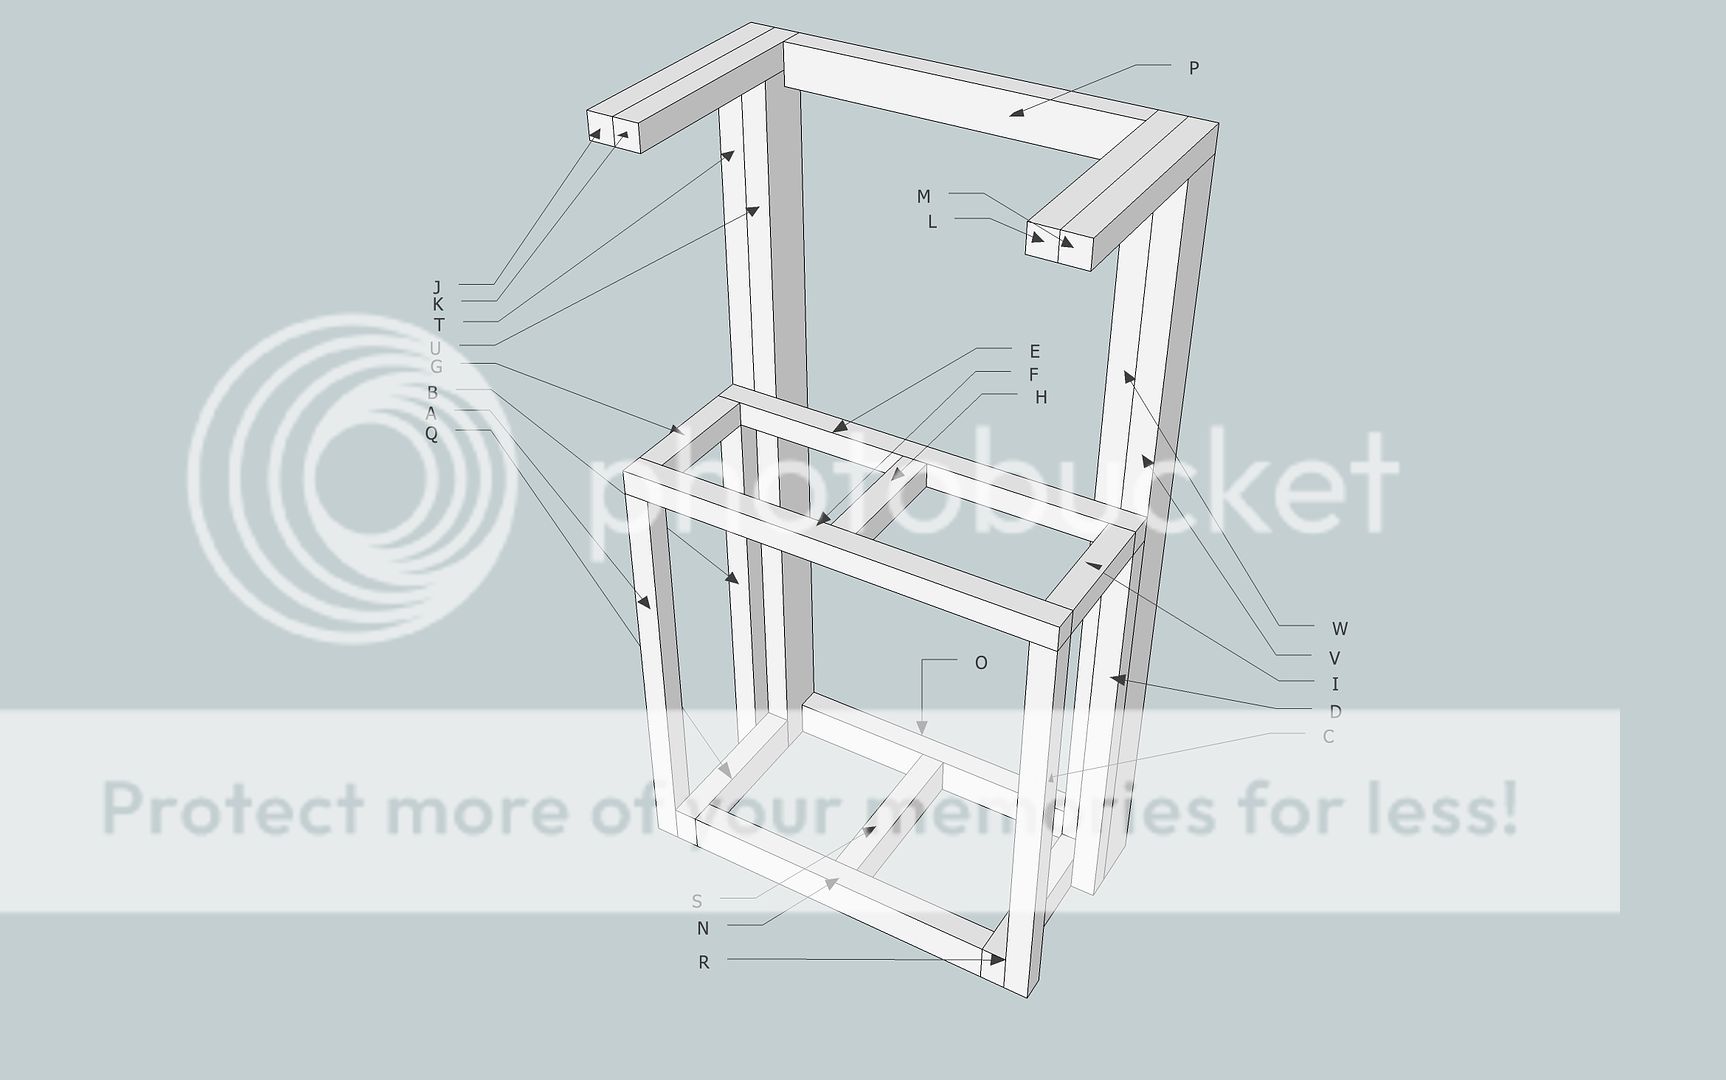
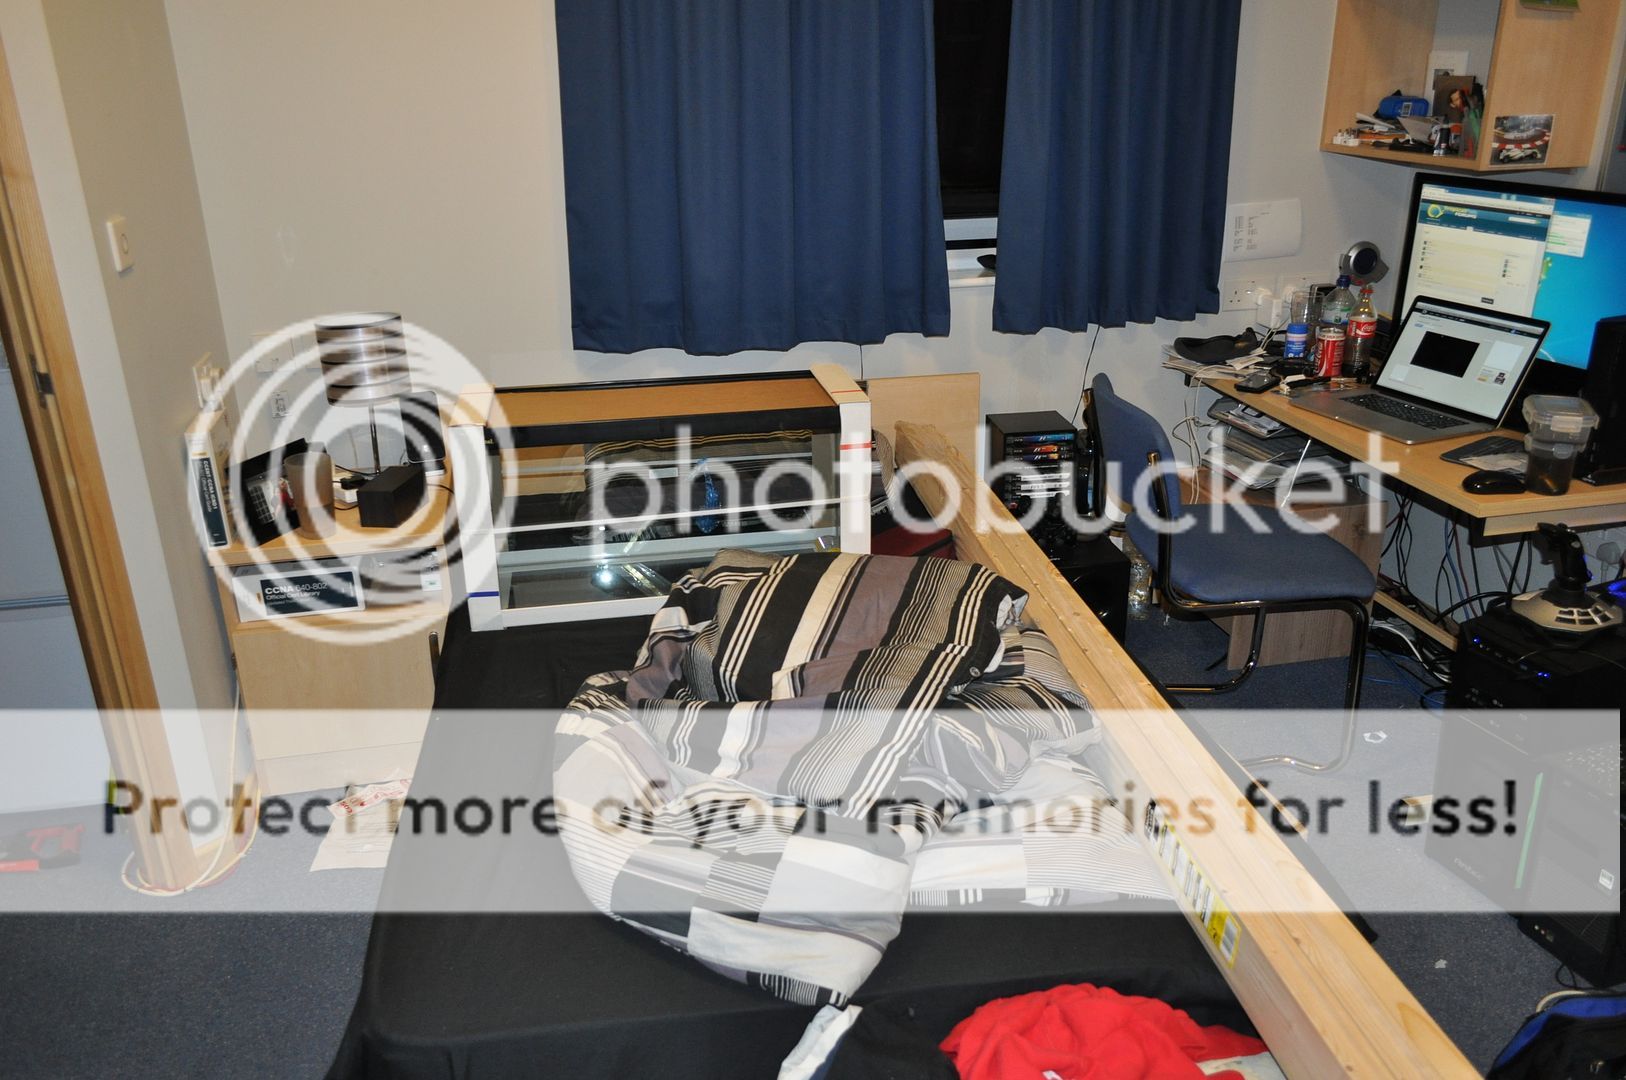
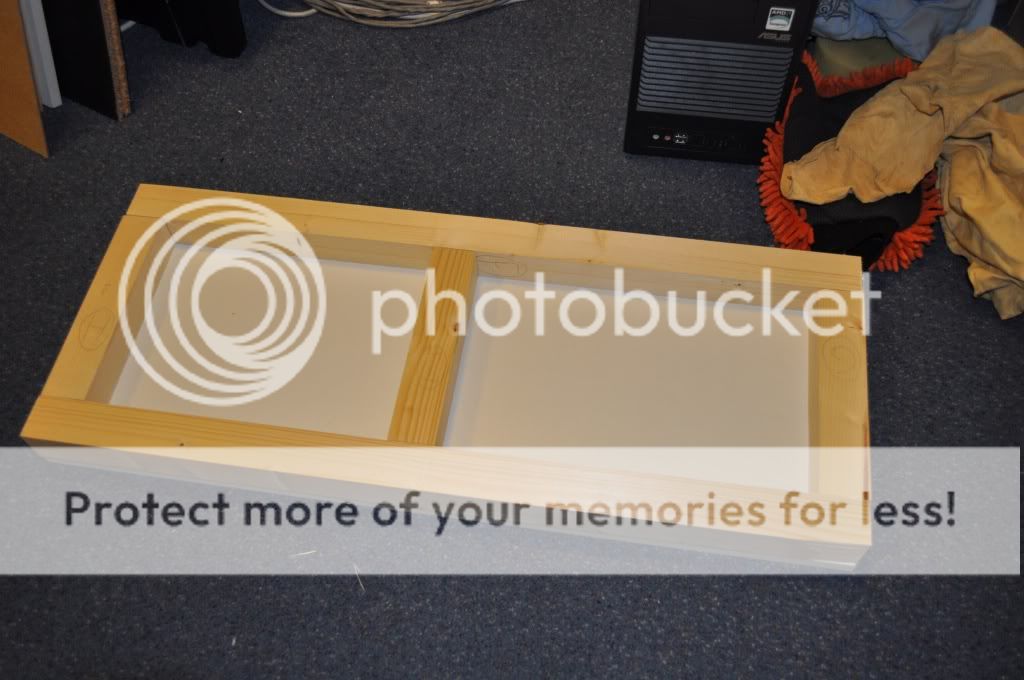
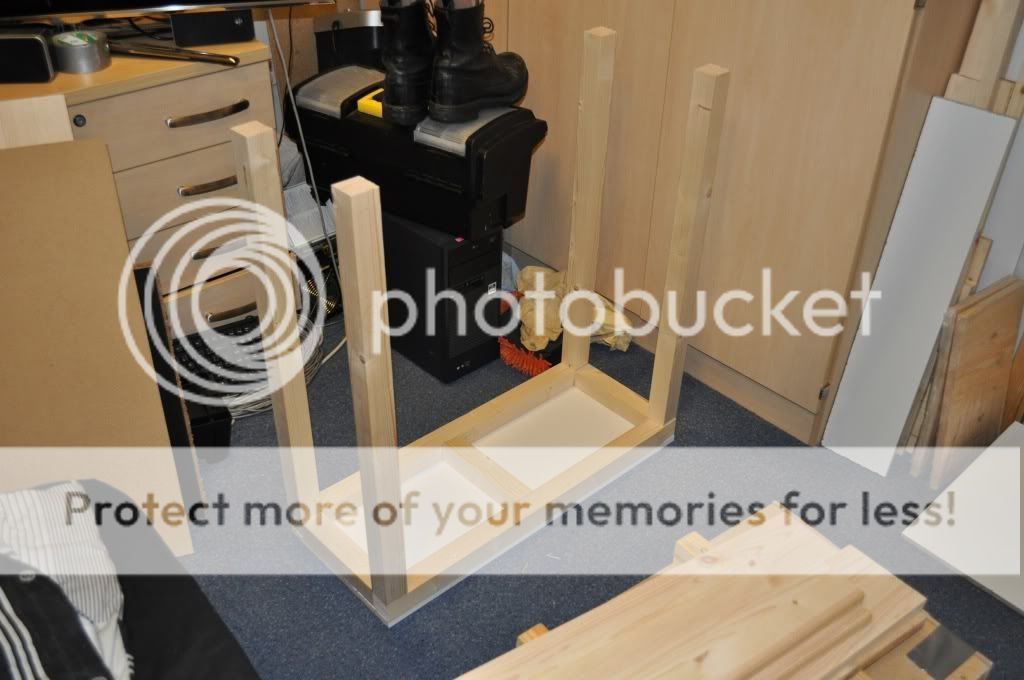
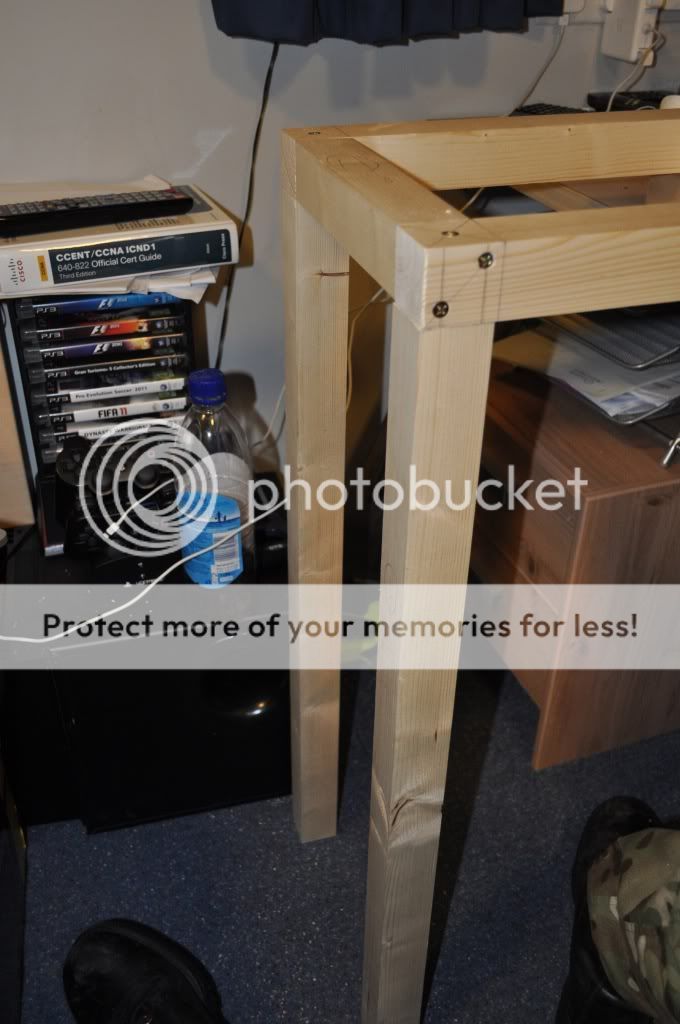
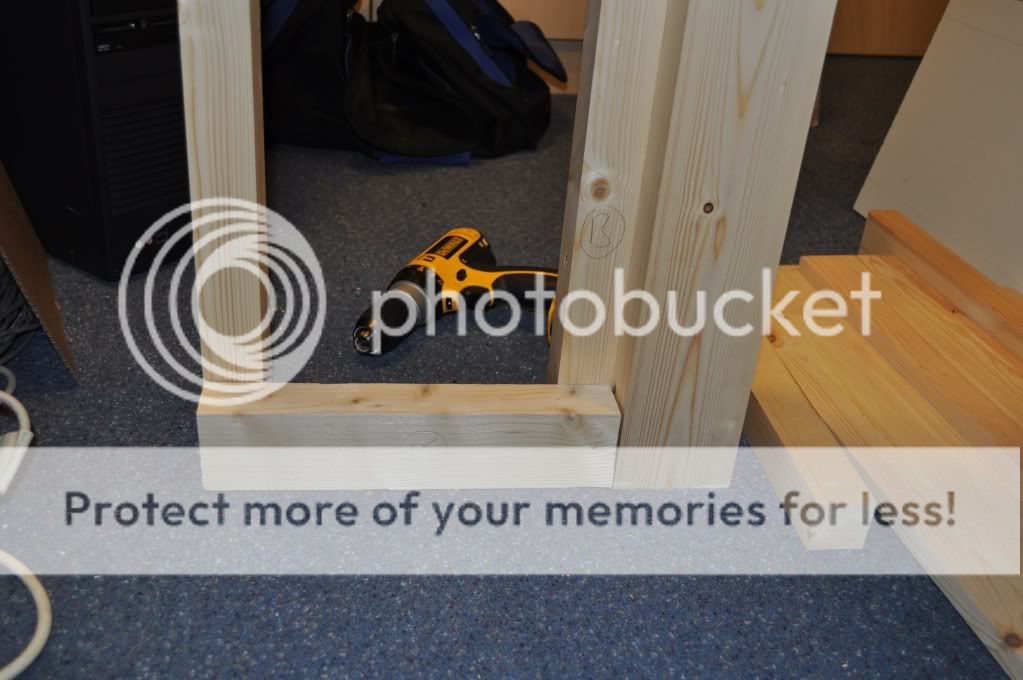
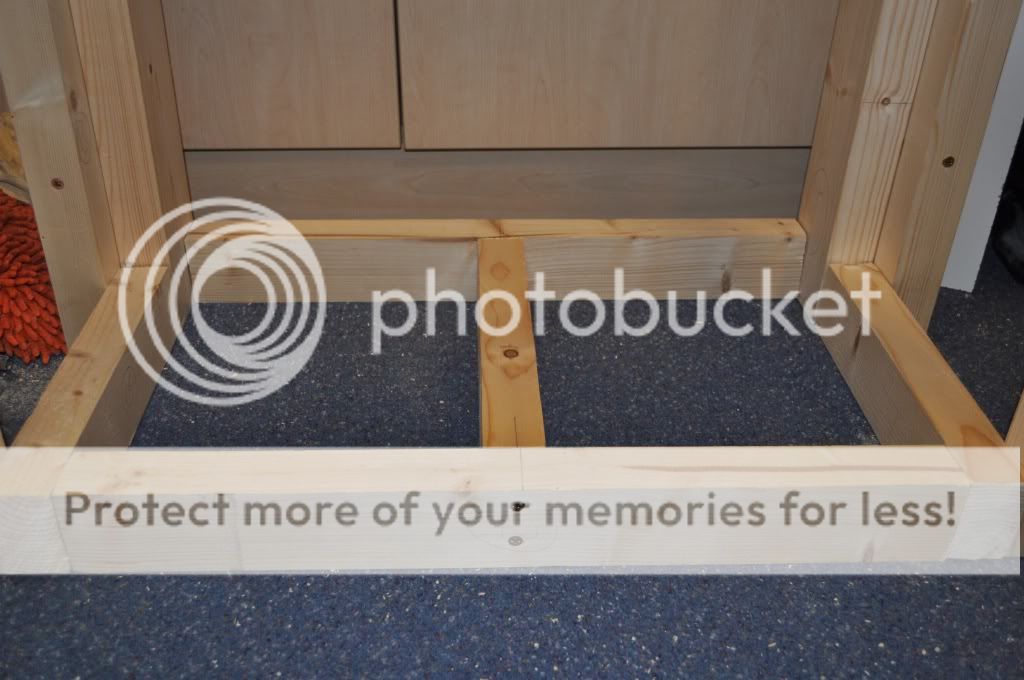
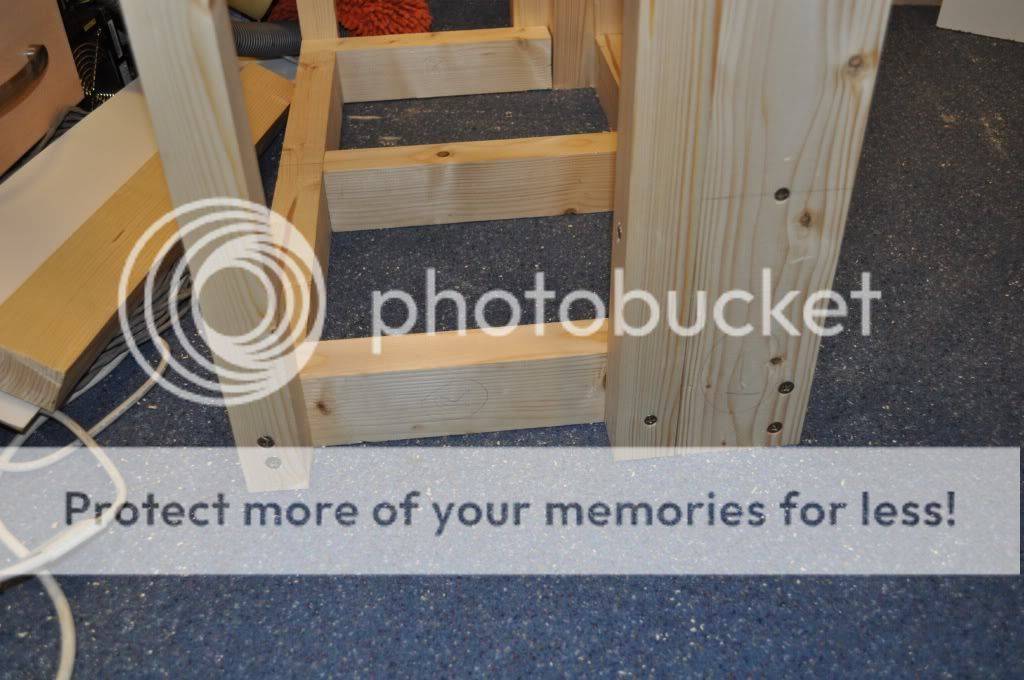
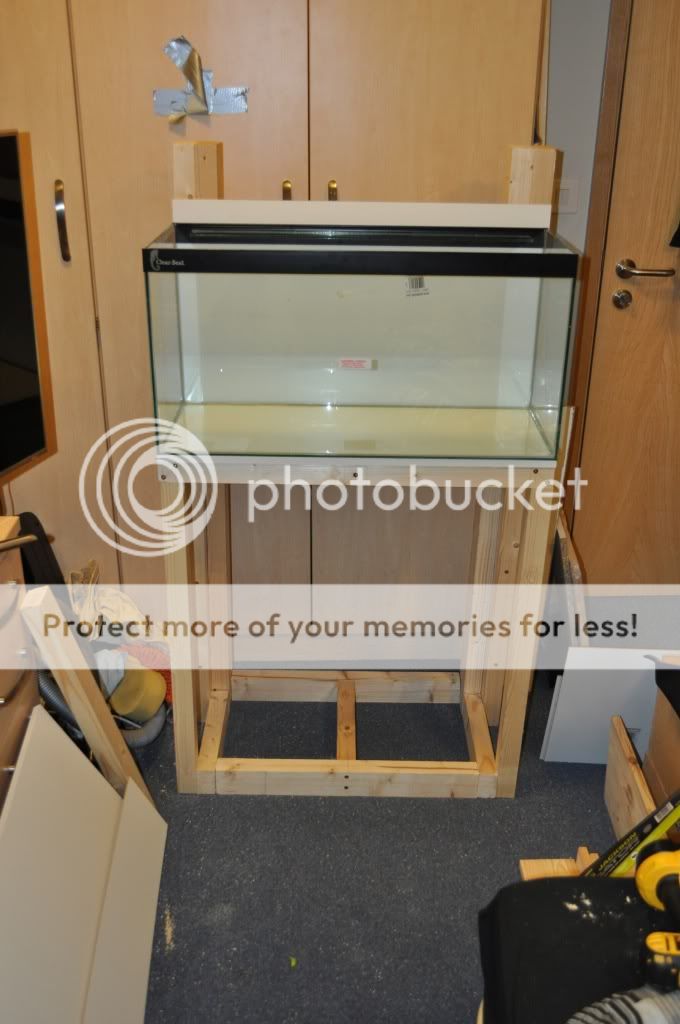
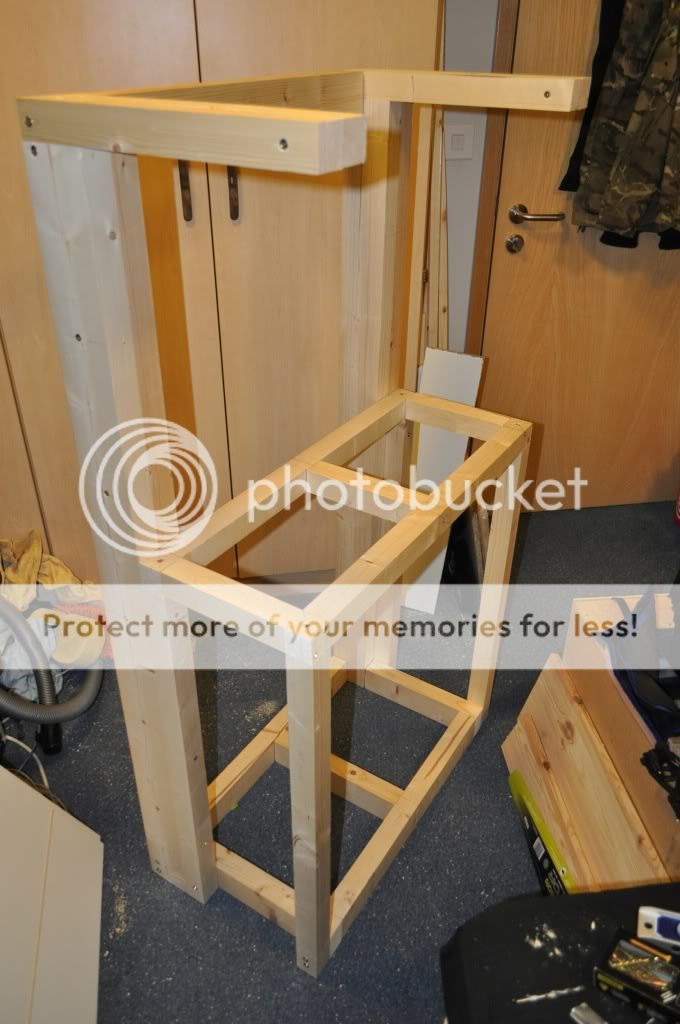
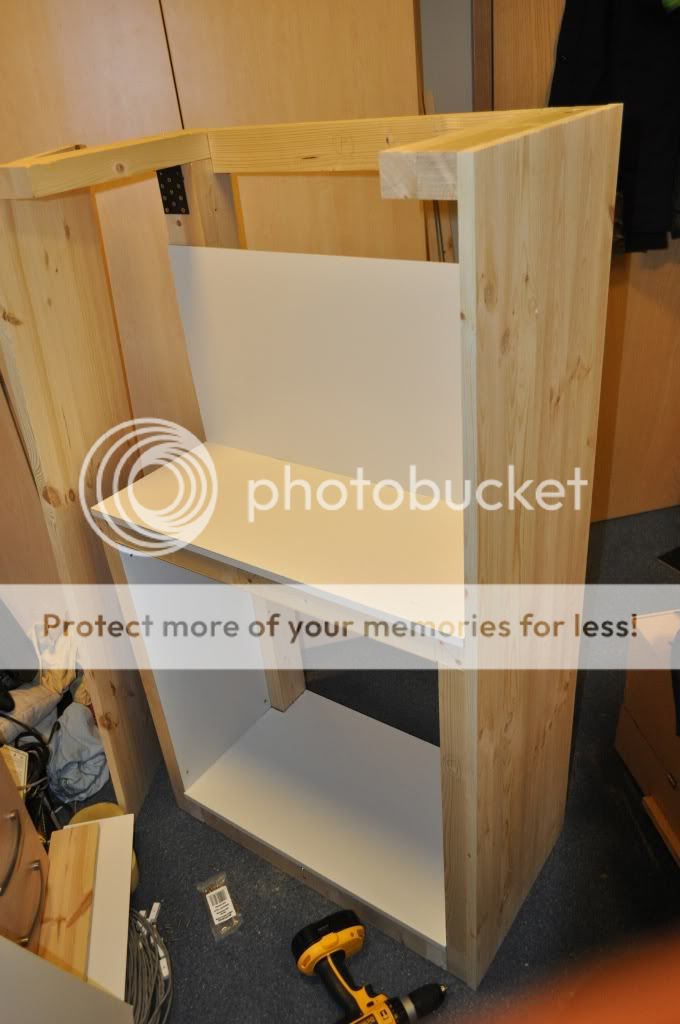
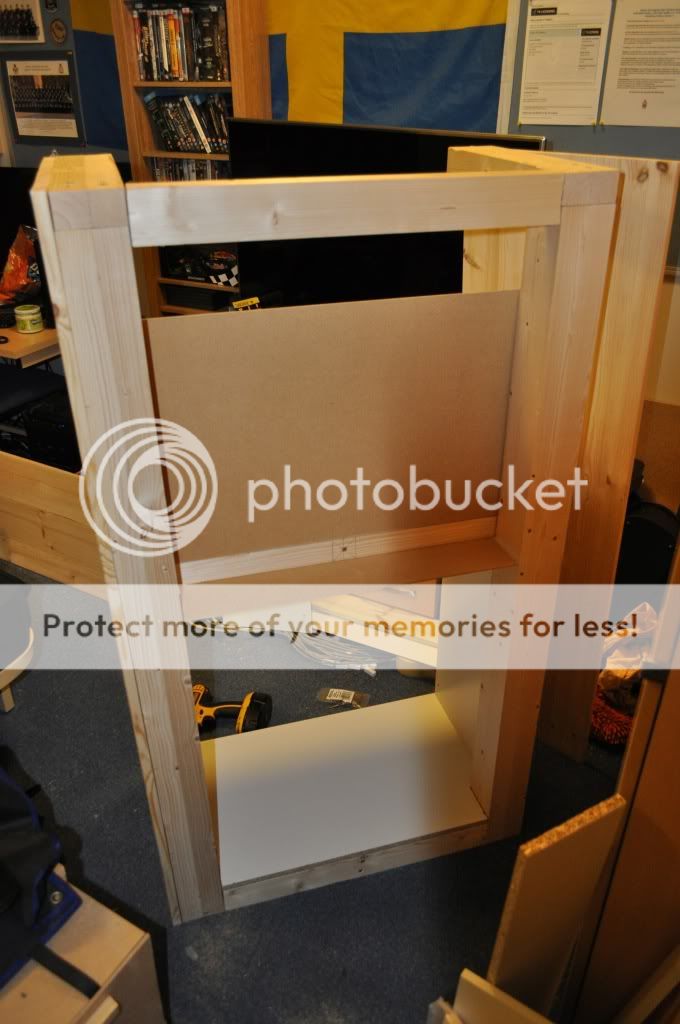
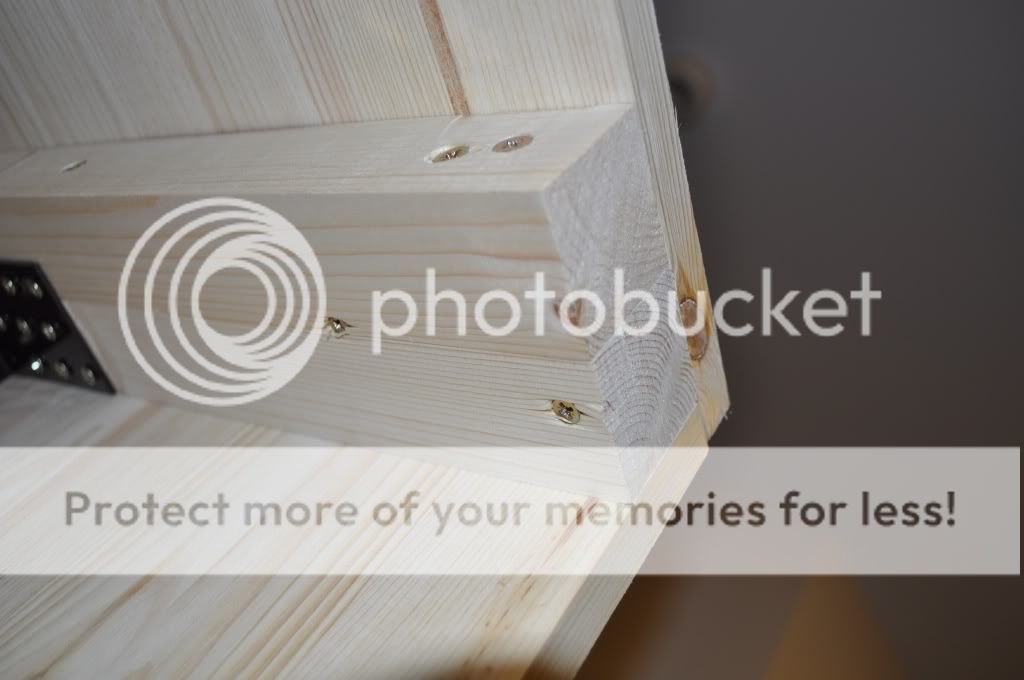
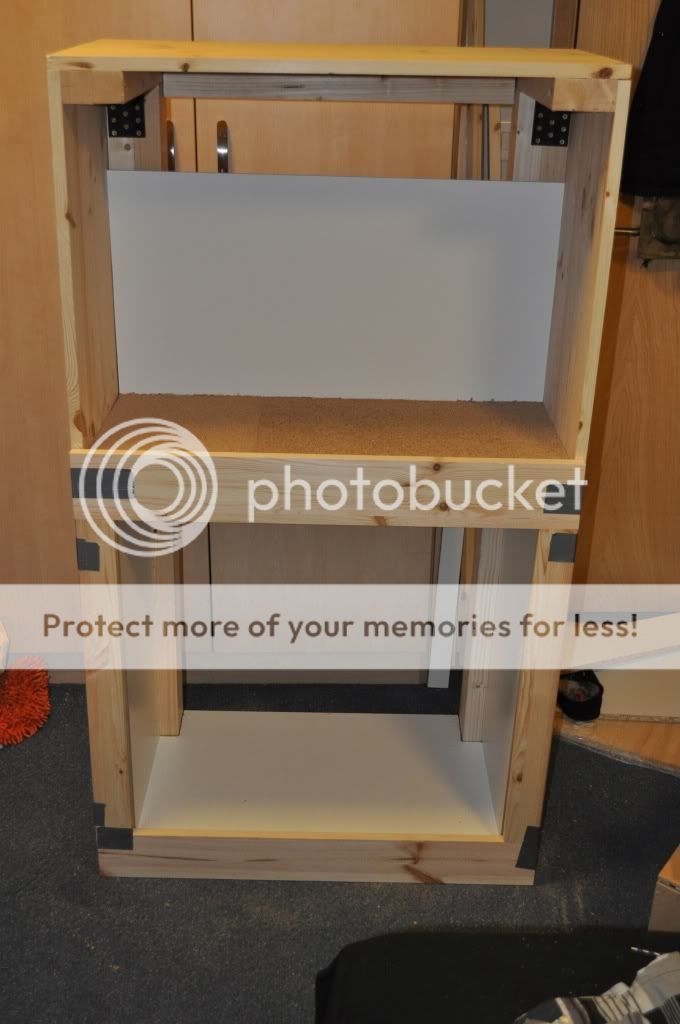
But before i can do the outside i need a skeleton a frame for everything to sit on or attach to, this will be my frame
(ignore the letters they are for my reference only once i cut the wood, i will label them up so i know where they will go later on)
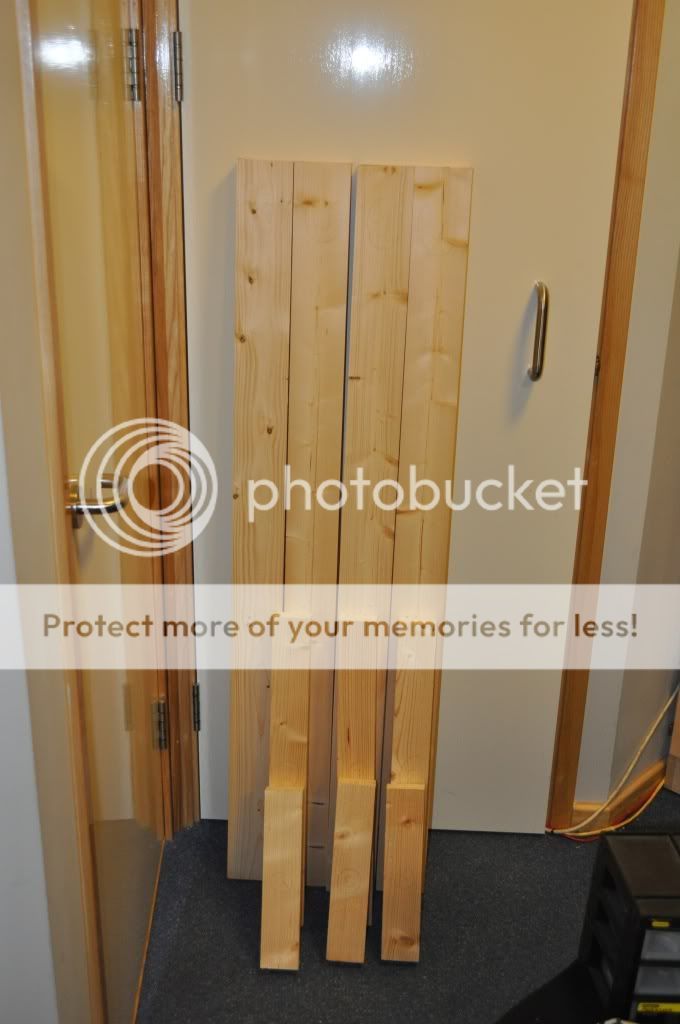
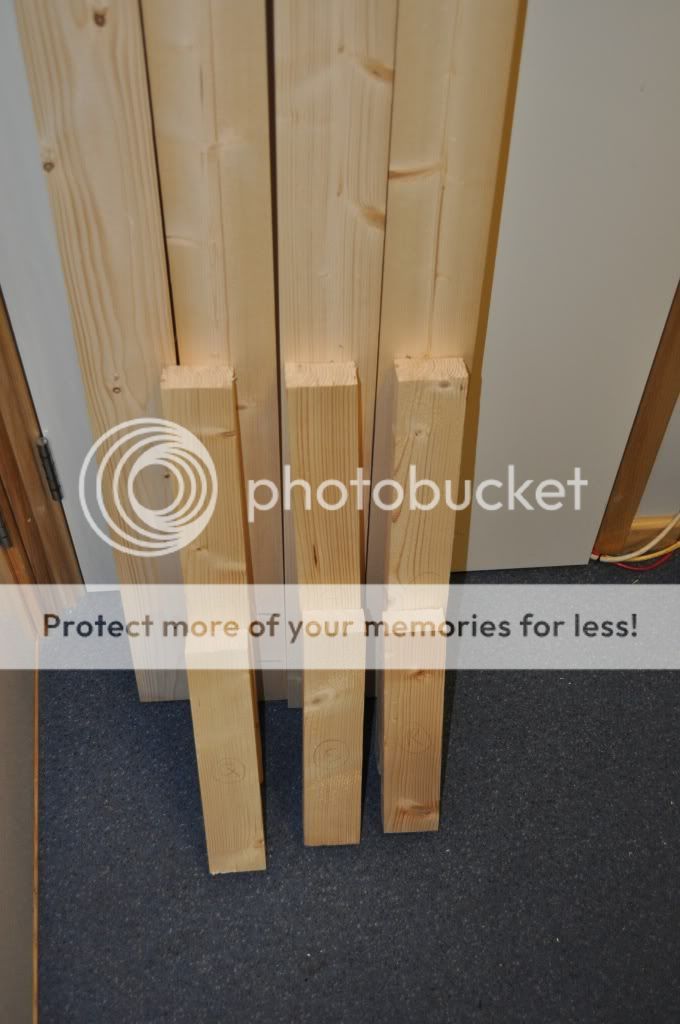
I will be using a range of wood,
......More to follow
But firstly I will be building a cabinet for it, this will be made of solid pine wood, with 18mm thick pine panel's on the outside hopefully it will look stunning once complete
i shall try and break it down and show absolutely everything i do as much as i think is needed, hopefully this will allow anyone to follow this and do this for them self's
Planning
so obviously you need to plan such a project for this i used Google Sketch up it is both easy and free to use allows me to get exact dimensions and other bits n bobs you may need to look at when designing anything like this.
There will be 3 doors
- one for the top that will be a free hinge allowing it to fold back on it self which will give me maximum space ontop to get my hand in and do maintenance.
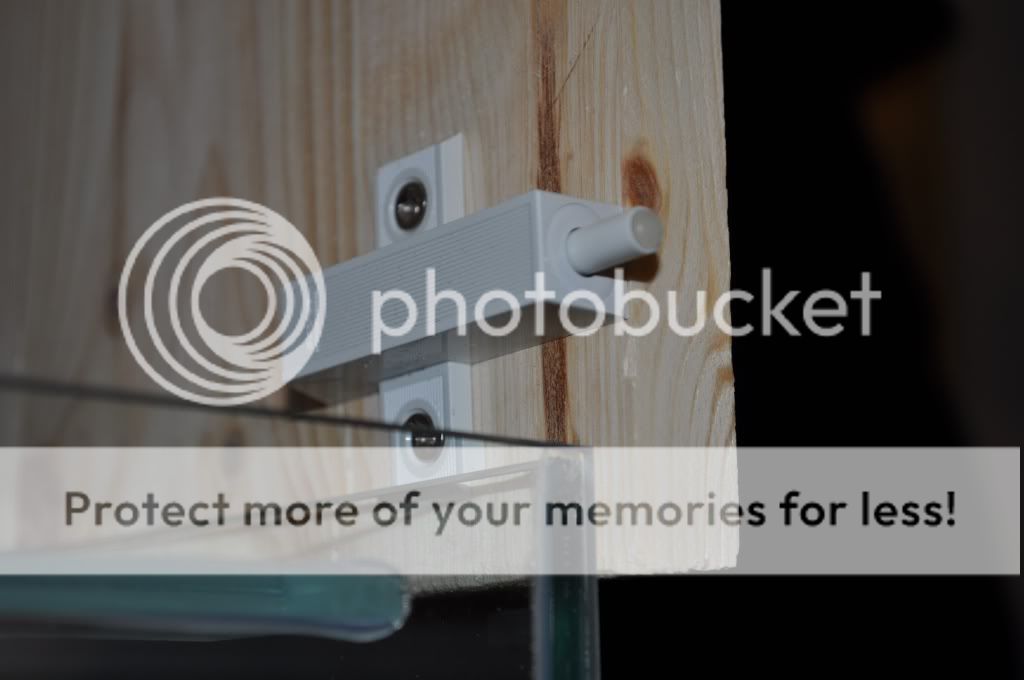
- and two swing doors for the bottom cabinet, these i will use soft close hinges to help with quality and prevent slamming and damage in the future.
The cabinet will be 1415mm tall thats just over 1.4m and will be 798mm wide, almost 0.8m wide.
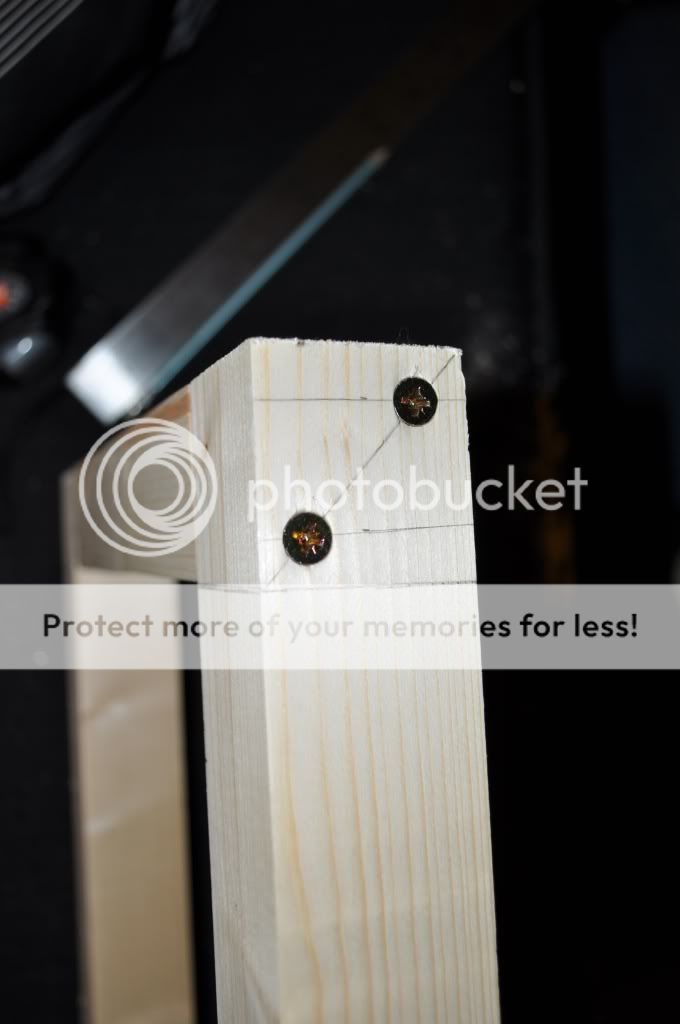
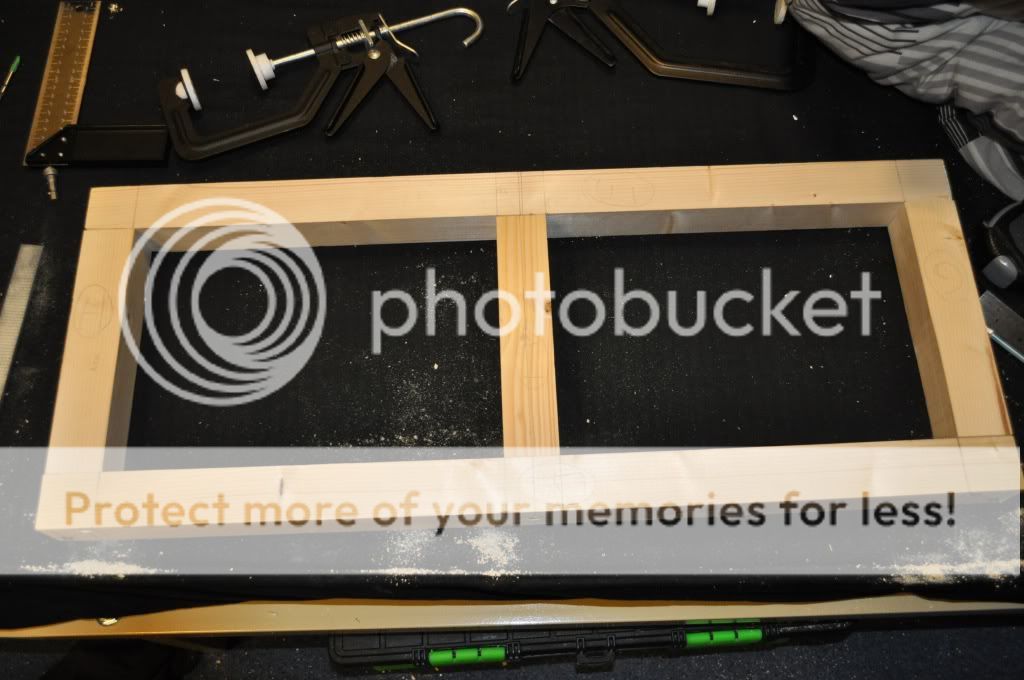
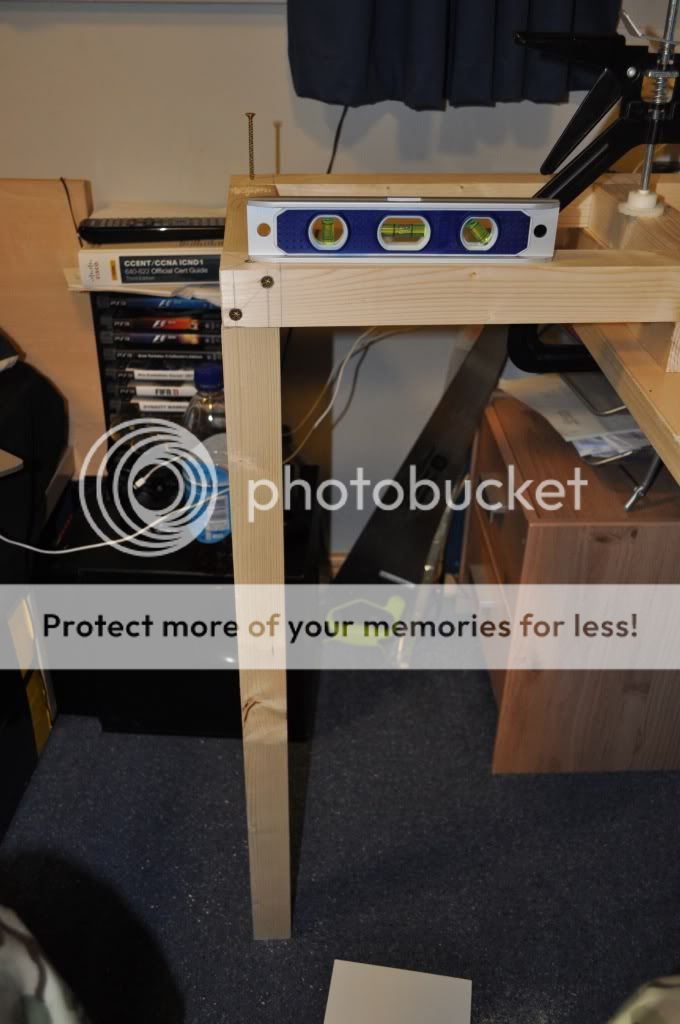
But before i can do the outside i need a skeleton a frame for everything to sit on or attach to, this will be my frame
(ignore the letters they are for my reference only once i cut the wood, i will label them up so i know where they will go later on)
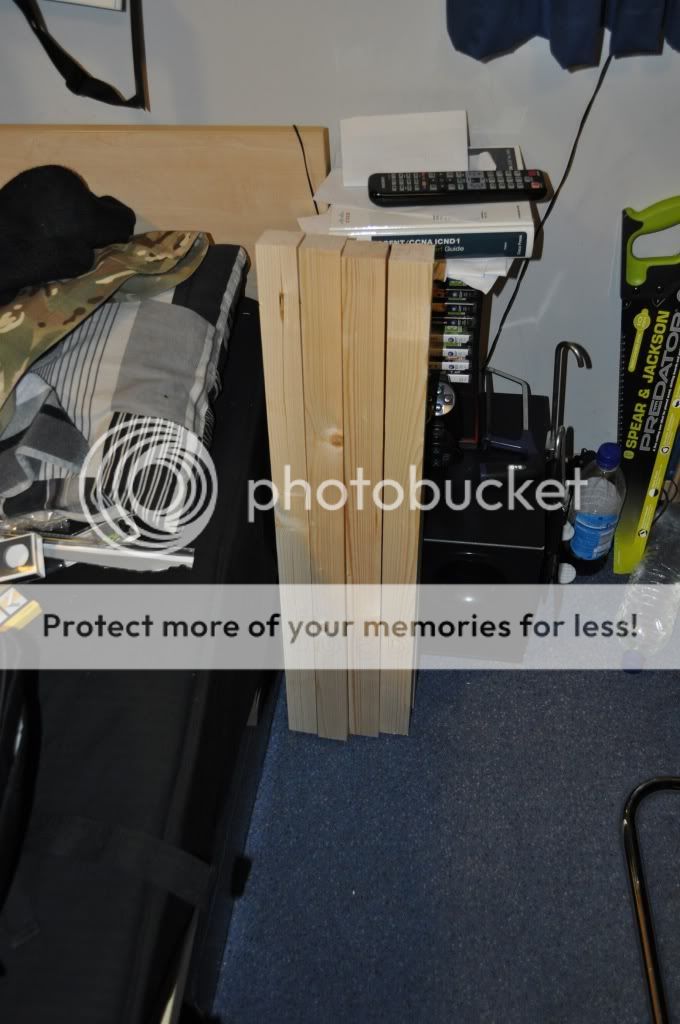
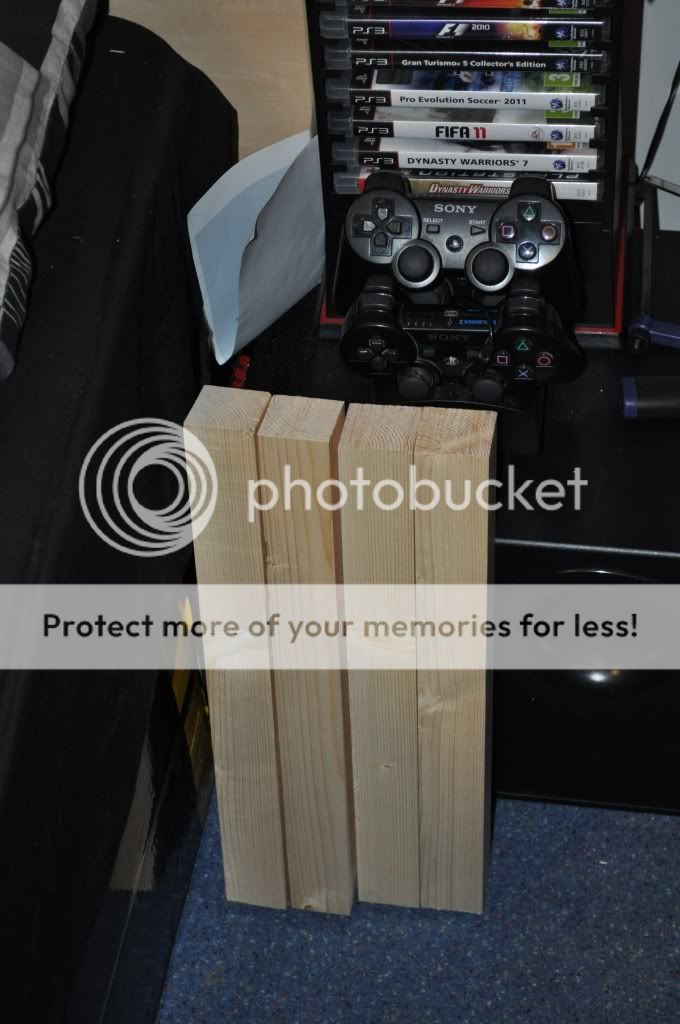
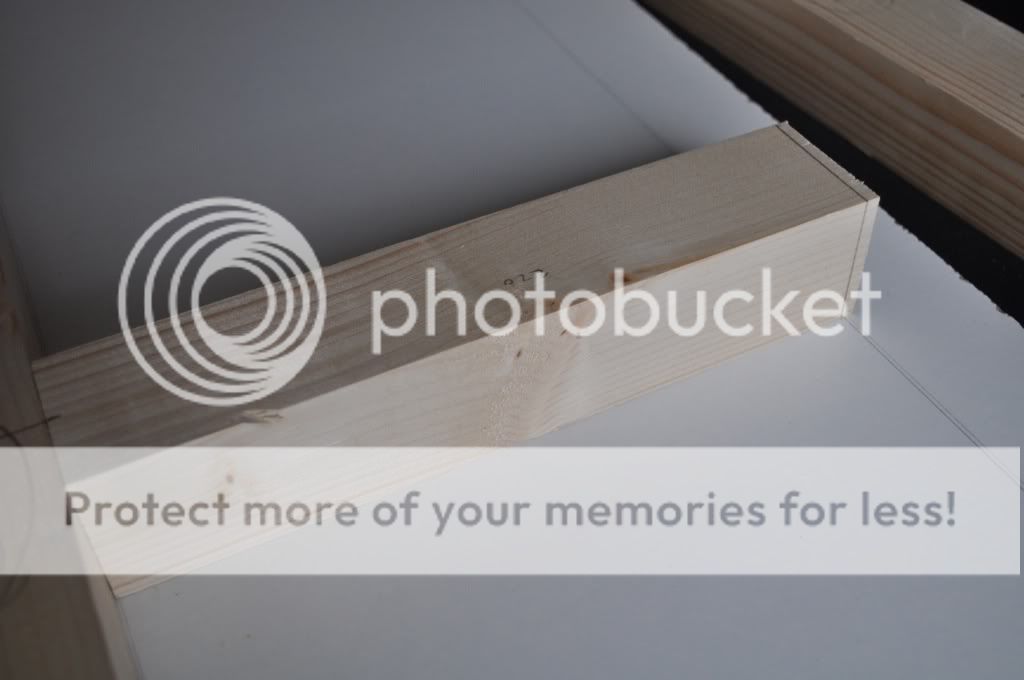
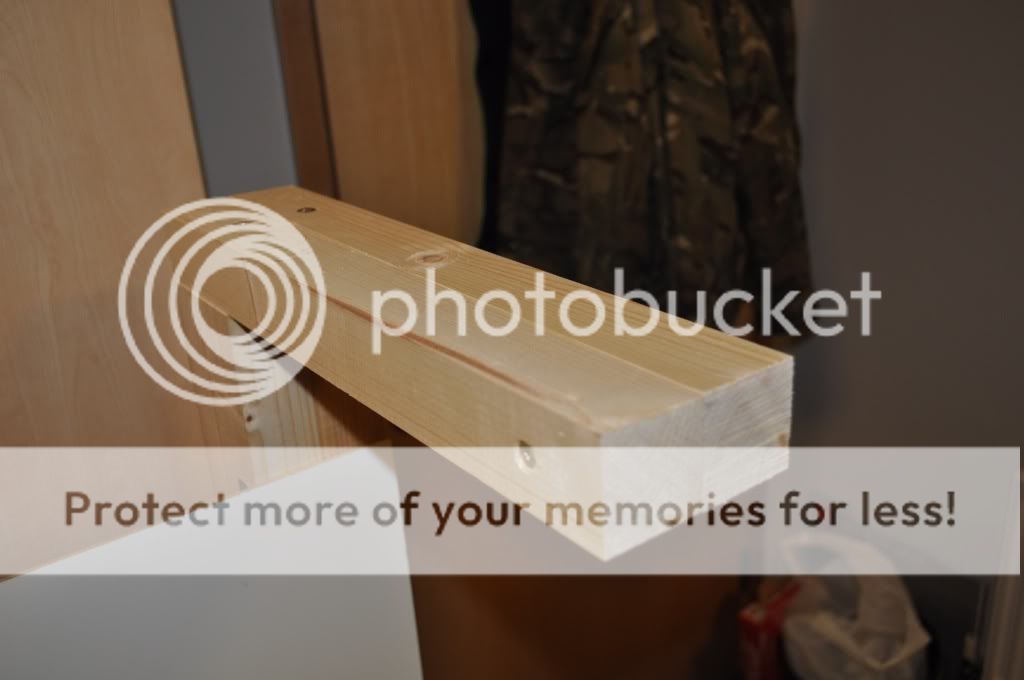
I will be using a range of wood,
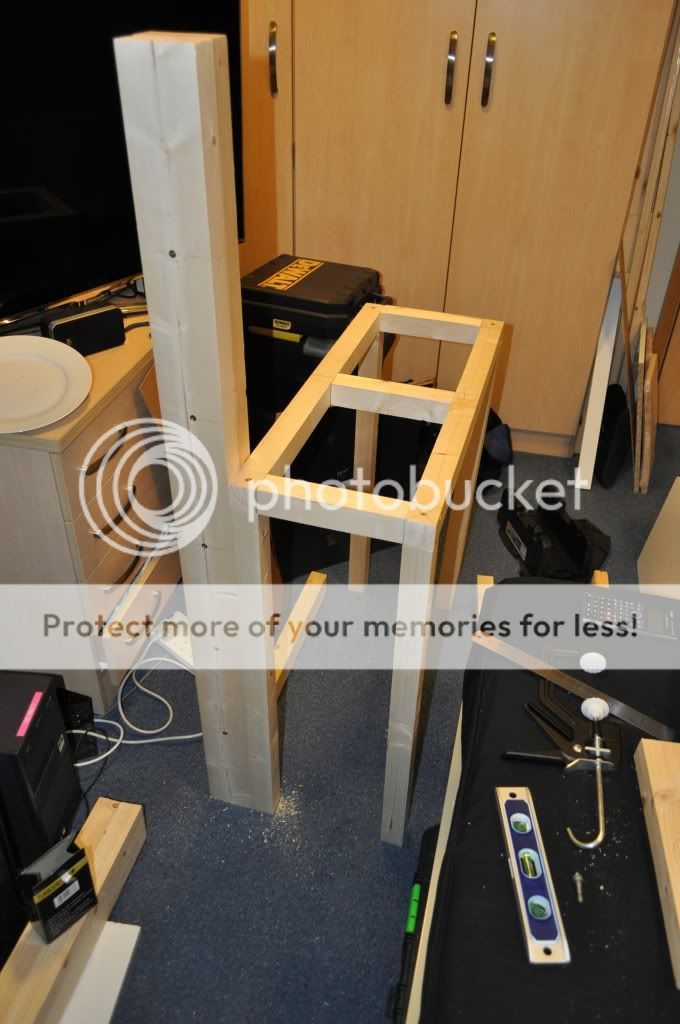
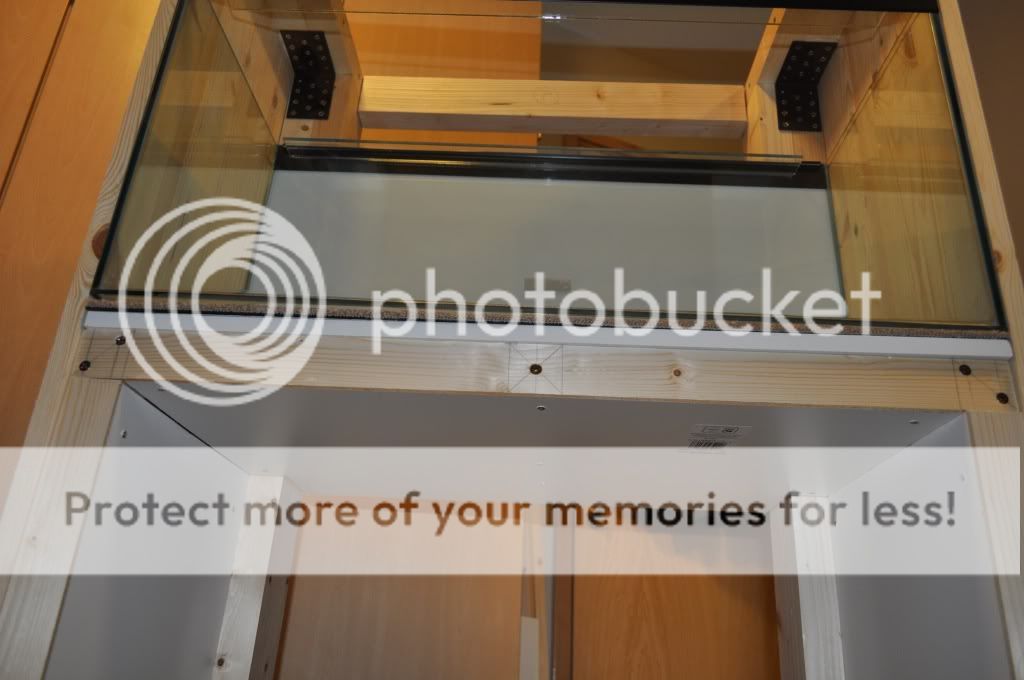
- 44x44mm wood used for the actually cabinet and to support the tank.
- 44x70mm wood used as the floor base of the cabinet and support at the top
- 44x96mm wood used as the backbone at the back this will support the top part of the cabinet and everything will bolt to this, i chose 96mm as it will allow me 96mm of room behind the tank to put cables and pipes and equipment behind the tank
......More to follow
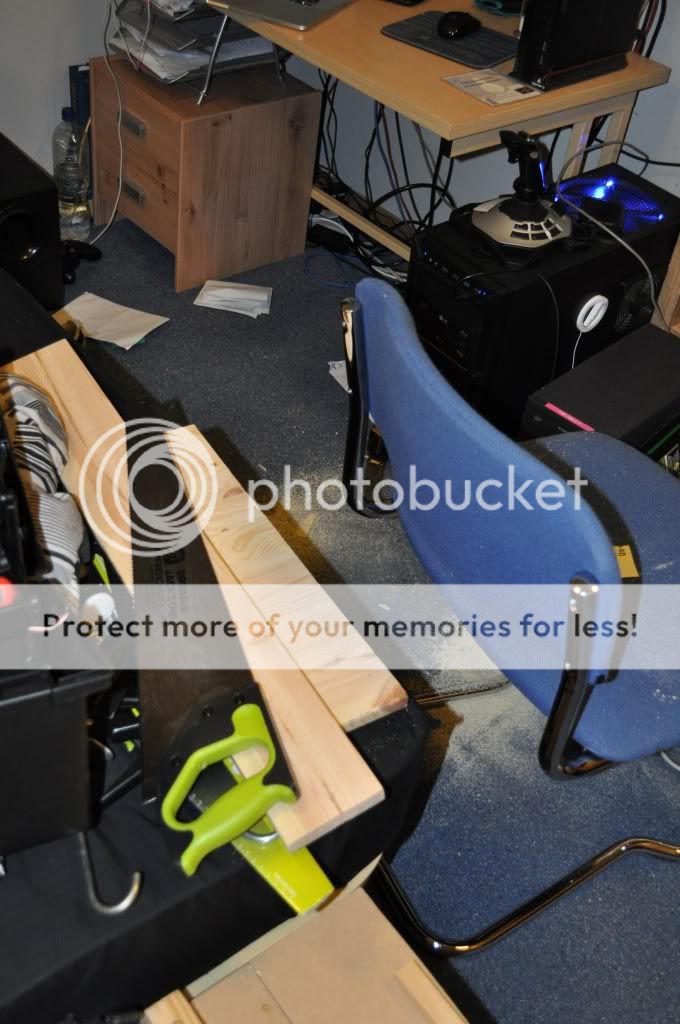


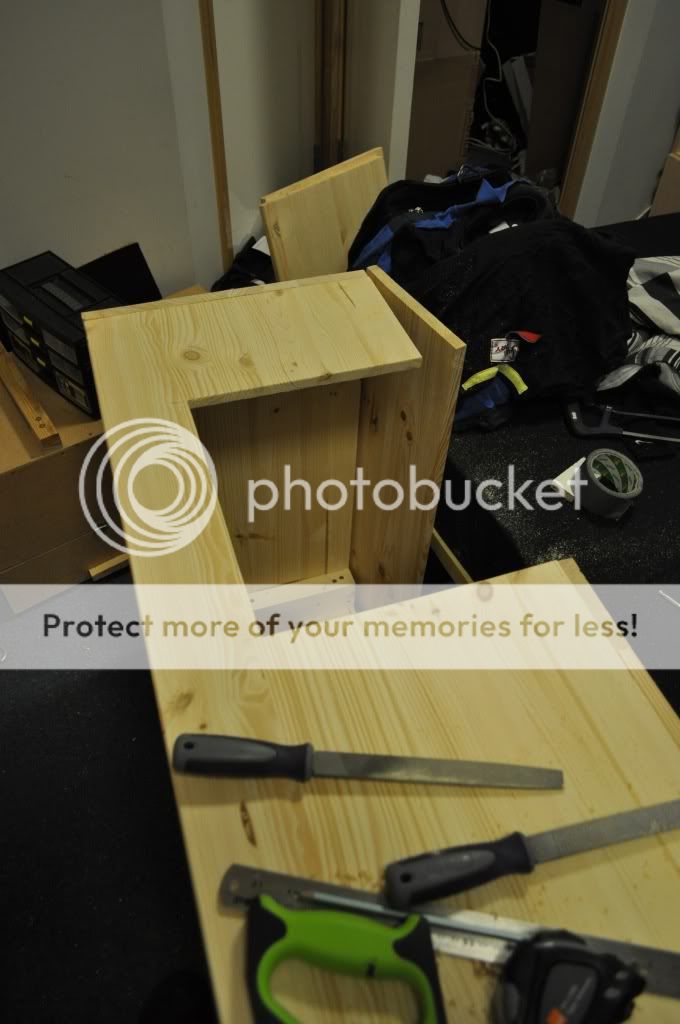
") the right tools really do make the job easier
the right tools really do make the job easier 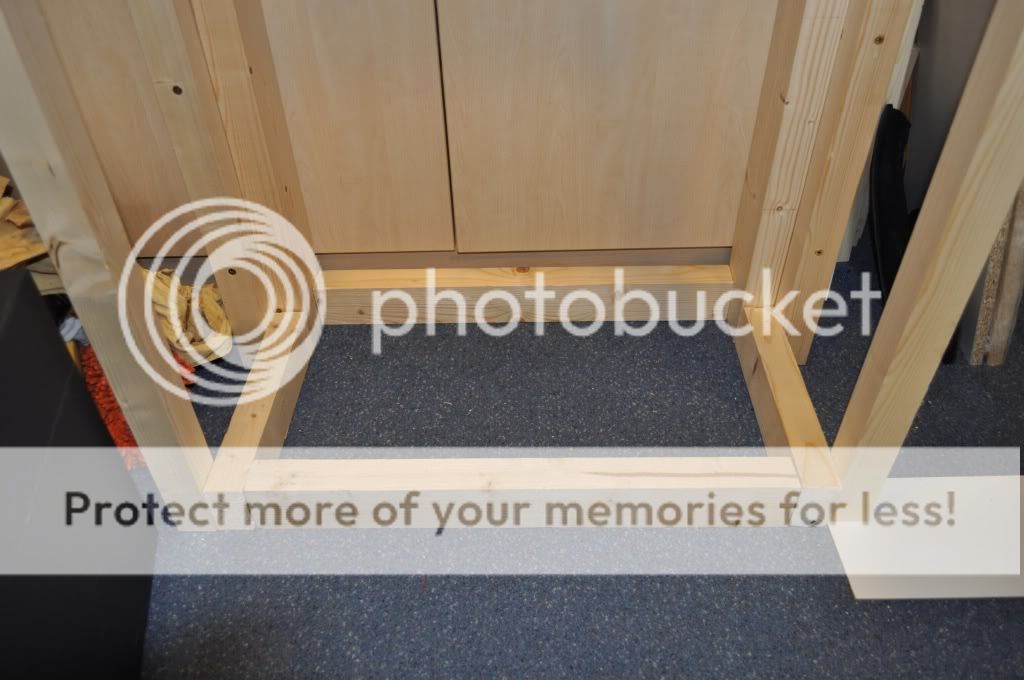


 /www.ukaps.org/forum/threads/lighting-in-the-planted-aquarium.2271/.

 i was so nurvouse doing this as if i had screwed up that was £50 to £100 down the drain