Four requisites for hatching BS cysts.
Salt, Heat, Light, Water movement (Turbidity)
Non Technical way.
Hydrate eggs in your saltwater mix for 90 mins (no aeration)before you start
1 litre of ordinary tapwater 6x5ml spoonfuls of cooking salt + small amount of Bicarb. pH around 8-8.2
Heated to around 76'F (lower temp, cysts take longer to hatch)
Light on 24/7
Aeration on 24/7
Cysts will hatch in 24hrs or less.
Otherwise read my thread on de-capsulation.
De-capsulating Brineshrimp Eggs
A step by step pictorial
The problem with hatching brineshrimp eggs using conventional methods means that once hatched you are left with literally millions of unwanted shell casings, these inadvertently get fed along with the newly hatched shrimp to your fry and corals, they are in fact quite sharp and can kill fry. So what can we do to keep fry losses to a minimum whilst separating those unwanted egg casings?
We can dissolve the outer shell of the Brineshrimp cyst by a process known as De-Capsulation.
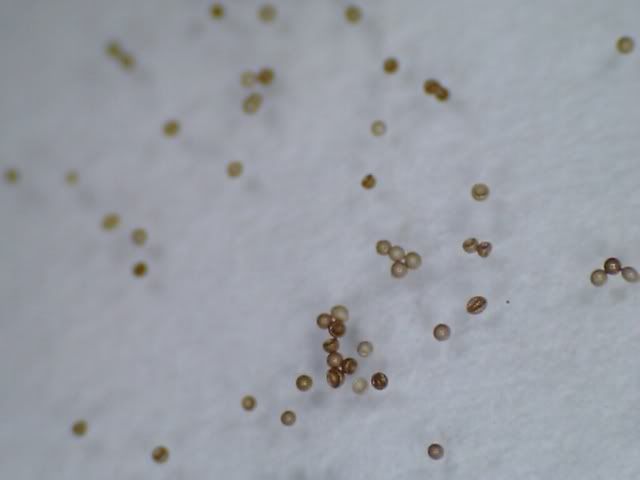
If you examine a Brineshrimp cyst under a strong lens or microscope you will see that it has the look of a deflated ball, lots of little dimples and a large indentation.
Before we begin the de-capsulation process we will need to make the outer shell spherical. Before we can start the process the outer shell must be fully hydrated. We do this by hydrating the amount of eggs you wish to de-capsulate in a water solution.
Here is a picture of Brineshrimp Cysts before actual Hydration, I have seperated a little group to illustrate the concave shape of most of the eggs before immersing in water.
This picture shows the dramatic difference in the shape of the cyst after they have been immersed in water for 90 mins
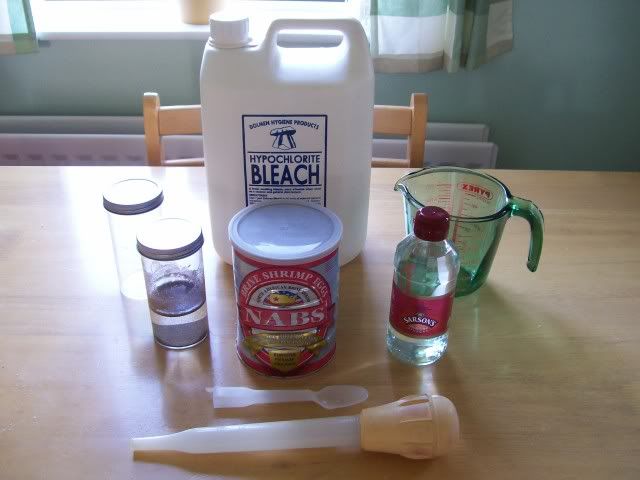
The items we will be using are

Household Bleach (non Fragranced)
White Vinegar
2x Small beakers with lids
Cotton Handkerchiefs or Brineshrimp sieve
Brineshrimp eggs/cysts
Airpump & Airline
Brineshrimp hatchery.
As I only de-capsulate the amount of eggs I need for any one feeding, I will show you my methods and you can scale these up or down as need be to suit your own situation.
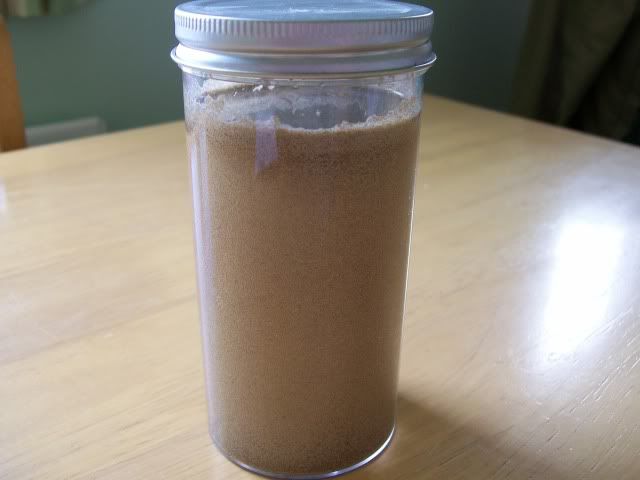
Take a small plastic beaker (mine holds around 250ml) and fill this to about a third of its volume with normal tap water, add to this one level teaspoon of Brineshrimp Eggs and replace the cap on the beaker. Shake the mixture vigorously and keep shaking this solution periodically over the course of 90 minutes or so to fully hydrate the eggs.
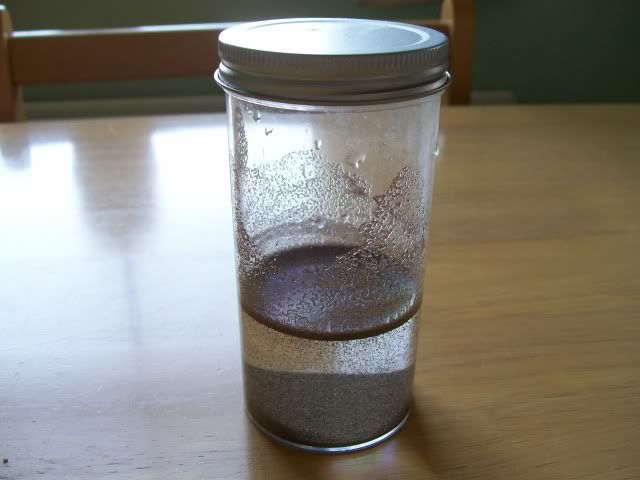
Eggs Settled
Eggs in Suspension (keep shaking the jar periodically)
Once you’ve done that remove the cap and add household bleach until the container is around three quarters full. Replace the cap and shake once and let the eggs settle for a few moments then shake the jar to really mix the bleach and the eggs in the solution.
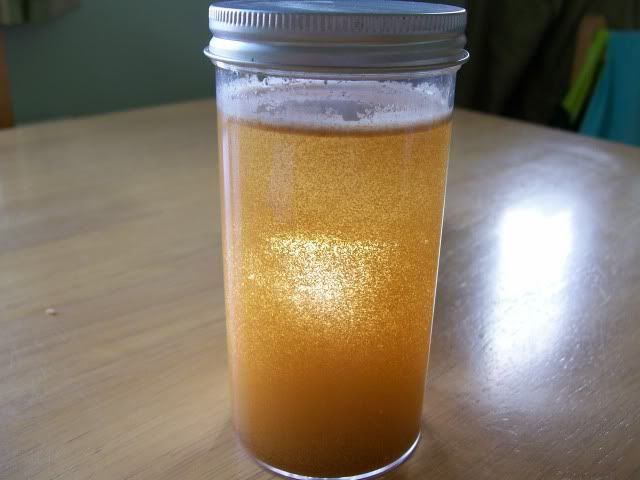
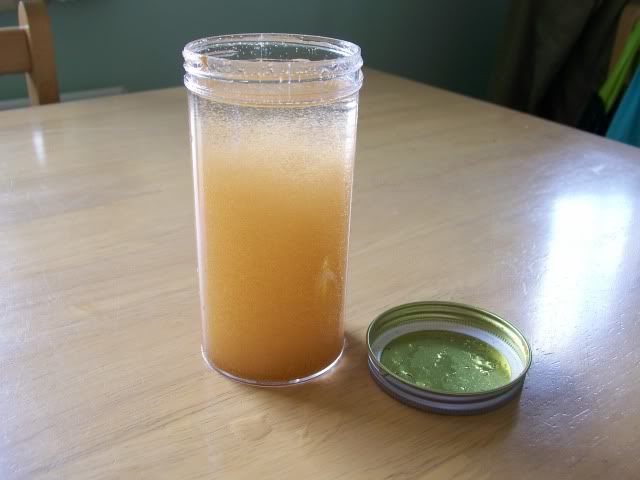
Notice the reaction starting to take place (foaming at the top of the liquid)
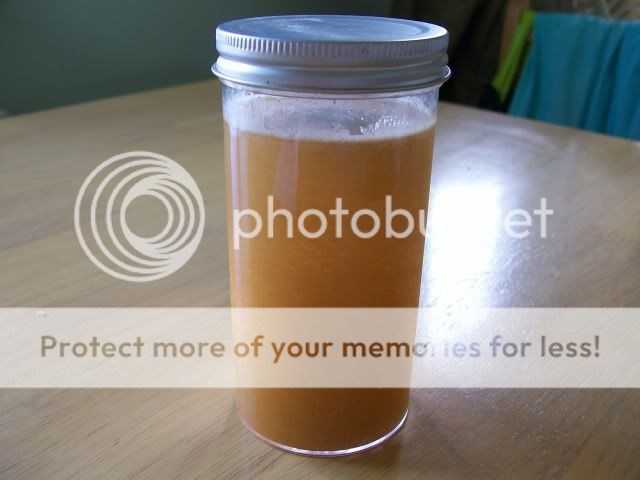
Within a few minutes you should notice a reaction taking place, the colour of the cyst should change from brown to grey to white to orange depending on the strength of the chemicals and the thickness of the shell.
Start of the reaction process
It's working
Almost finished!
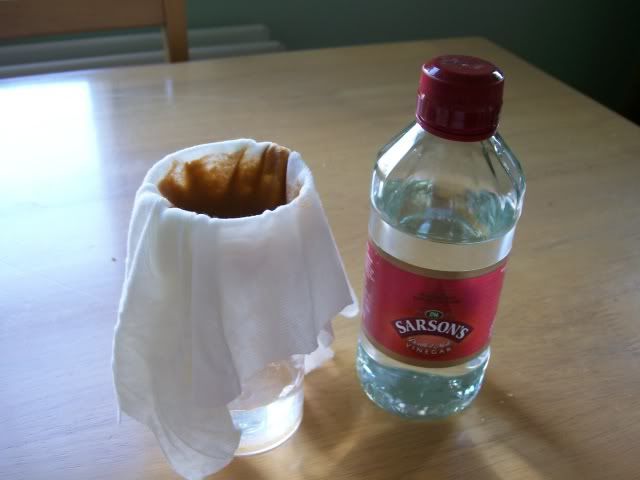
When you notice that most of the cysts are orange in colour (90%) STOP! The process immediately by pouring the solution into a cotton hankie draped over another jar. Now, pour a small amount of white vinegar over de-capsulated eggs and once you’ve done this rinse the eggs under the tap to rid them of the entire bleach and vinegar residue.
Rinse with White Vinegar and with plenty of tap water
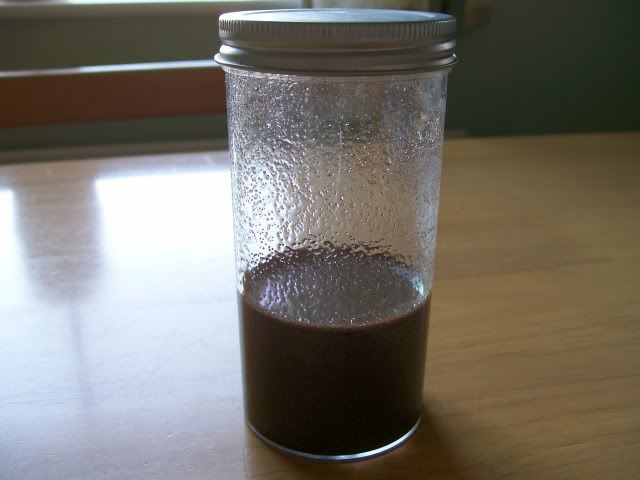
Finished Product - The Amber Nectar.
Once you have your de-capsulated eggs you can hatch them in the normal way, only this time you will have none of the annoying egg casings to contend with.
Ready for hatching using the normal conventional method.
This may seem a awful lot of trouble to go to in order to feed your fry or corals. Believe me it is well worth the effort, as you will attain a visually higher hatch rate along with clean no mess feeding.
Why don’t you try it some time, see for yourself.
Larger amounts of eggs can be used along with large amounts of chemical agents for aquarists who need higher volume hatches to feed their fry. De-capsulated Brineshrimp can also be stored in a heavy brine solution (which effectively dehydrates the membrane thus allowing the aquarist to store the eggs for up to a month in the fridge. Of course you dont even have to hatch the nauplii you can feed the unhatched shrimp in the membrane, some say its better nutritionally for the fry. I'll leave you to decide.....
I hope this article was of some help to those aquarists who are fed up with hatching Brineshrimp and the constant battle of trying to separate shrimp from shell.
Regards
BigC
Regards
C