
Realtree
Fish Addict
Jan 15 2010
This is the first time I have ever attempted a diary nevermind a tank makeover project.
To be honest I have never done anymore than the most basic DIY tasks , so this is going to be quite an adventure
As my malawi obssesssion has iintensified (greatly) I have been desperate to get my growing on juvis a bigger permanent home.
The major problem was that there was no way i could afford my "dream tank" brand new or in fact what i would call a reasonable price secondhand.My only option was to find something as cheap as possible and to do a makeover on it.
A few weeks before christmas after scanning adverts for months I found a tank for sale in Cambridge which seemed to fit the bill.
Dimensions
54" x 24" x 18"
volume
100 USG
constructed from 10mm glass throughout
Price
£50
included in the price was 2 external filters (eheim and cascade) 2 x arcadia starter units so i feel I got a decent buy.
As you can see from the pic its going to be a long job with lots of TLC required
Yesterday I stripped off all the nasty wood effect stuff which in turn has revealed a major cleanup job is required
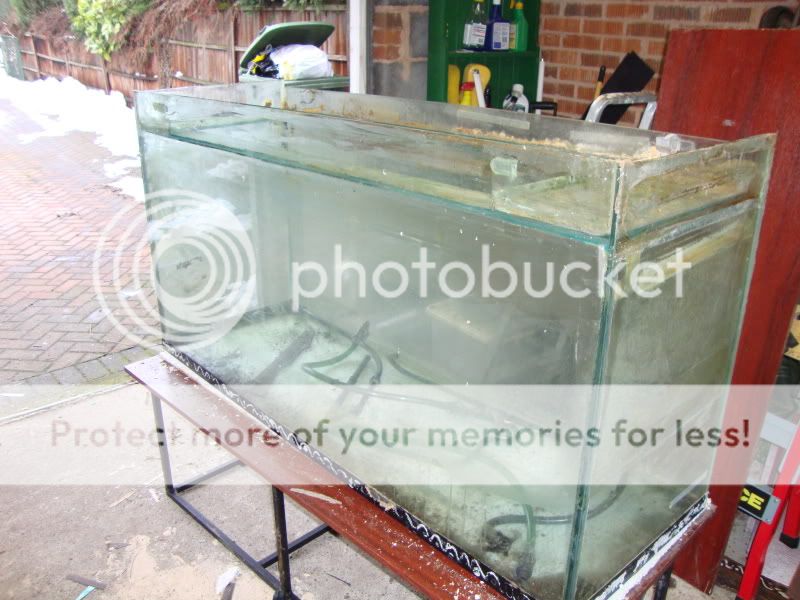
The tank sits on a metal stand which I have the idea of making into an internal frame of a cabinet type thing
I am cleaning with vinegar and very fine wire wool and a stanley knife blade for the more stubborn areas
I have already found a few scratches which look like the dreaded curse of the magnetic algea cleaner
Jan 18 2010
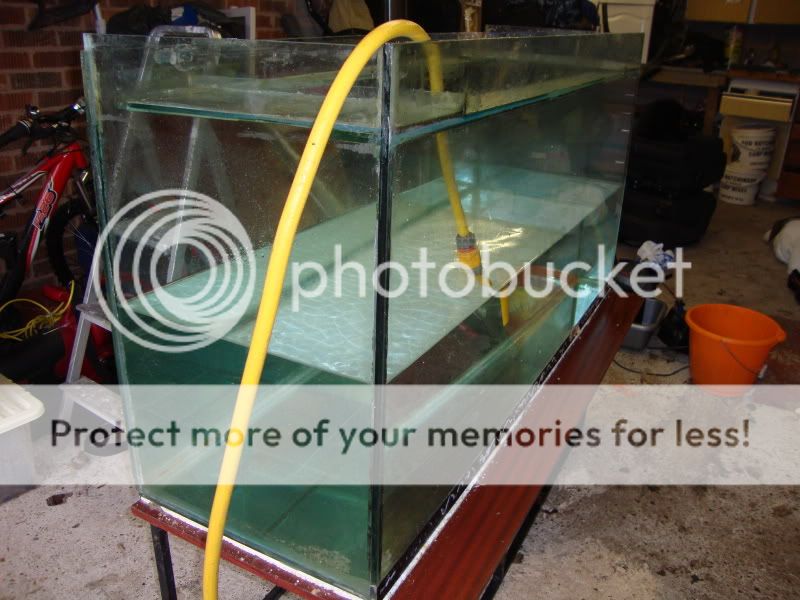
Tank nearly clean now and watertested
I am having problems with areas of grime/algae which has got into and on the silicon - which will be most noticable on the front and back edges. Does anyone have any tips for cleaning this up ?
My idea about using the metal stand as an internal frame for a cabinet stand has hit a problem. The stand is only 46cm high and my fluval 405s require 54cm
I am going to price up making a wooden stand and also look at raising the frame as you say and pricing that - both options may be similar as i am planning to use doors and panels I already have so the stand as a whole will need to be customised for them to fit.
here's a couple more pics
second one I decided to tease myself by putting a few rocks in
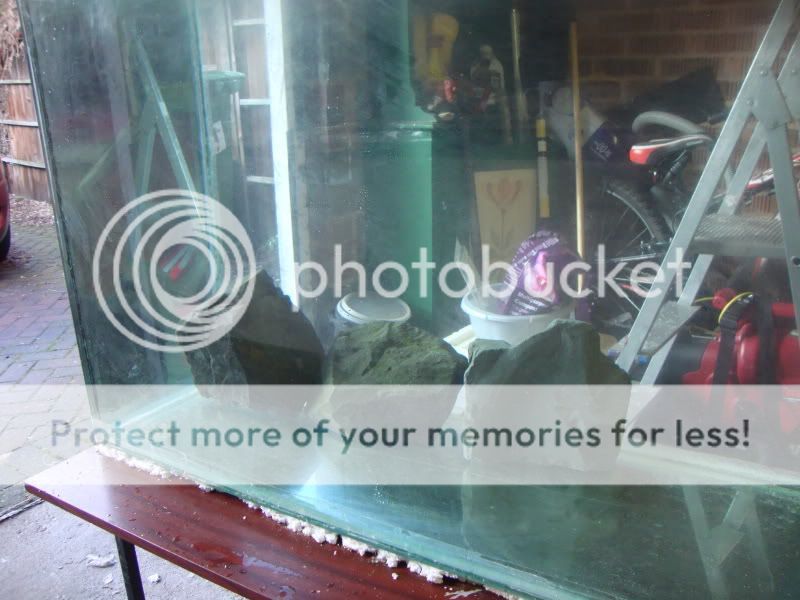
Jan 19 2010
The rock is in my garden it has a purpley blue look to it it is extremely heavy tho - i would guess the piece nearest the corner in the pic is approx 6 kg I don't think it is granite - I've got to borrow a lump hammer as some of my pieces are just about at my picking up limit .
I think that if required i would be able to mix welsh slate in with it as it seems to be identical in colour -which in turn should give me loads of rockwork building options
Jan 20 2010
I have decided to aquascape the back wall with slate tiles but unsure wether to build the slate tiles on a frame and drop it in or silicon them to the back wall ?
Also I am a bit worried about the overall weight as this is the largest tank I have dealt with and the weight of the rocks scares me
Just to show you how clever I am I thought I'd share this with you
The mystery heavy rock in my garden which is the same colour as welsh slate is in fact . . . . . . . . . . . . . . . . . . . . . . . . . . . . . . . welsh slate doh
I thought welsh slate only came in flat layered pieces never ever imagined it as a boulder type rock
Apparently it is cut to make it flat
You live and learn, yep you live and learn.
Jan 21 2010
Have been playing with the look of the cabinet/stand today
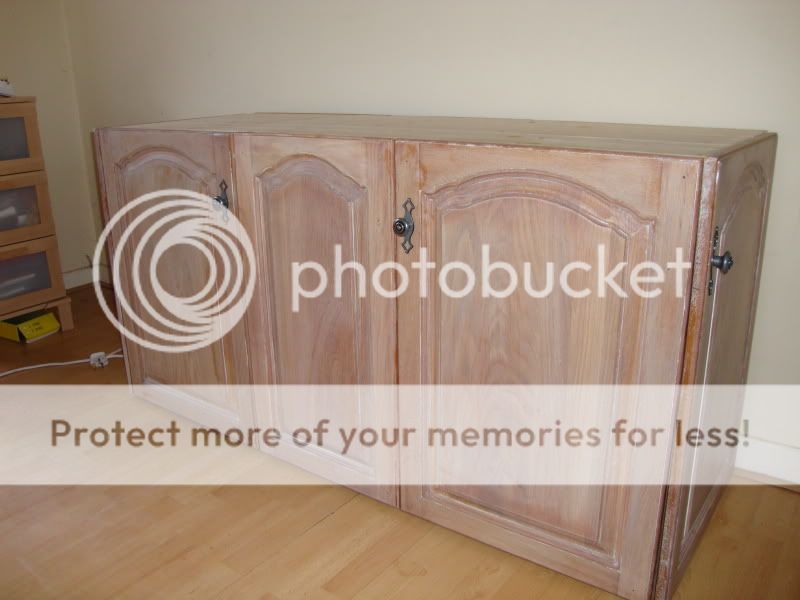
Decided to use these oak doors (pic 1) but will strip them and then lime them to give the effect in pic 2
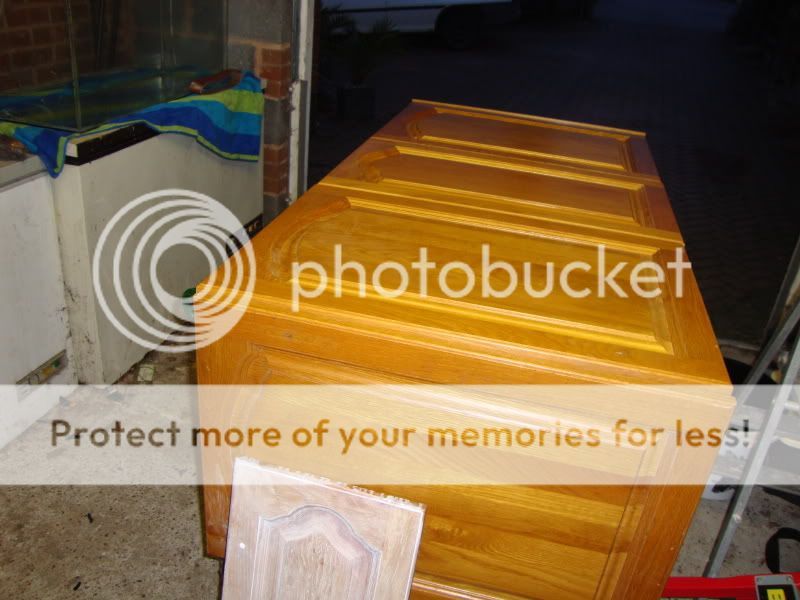
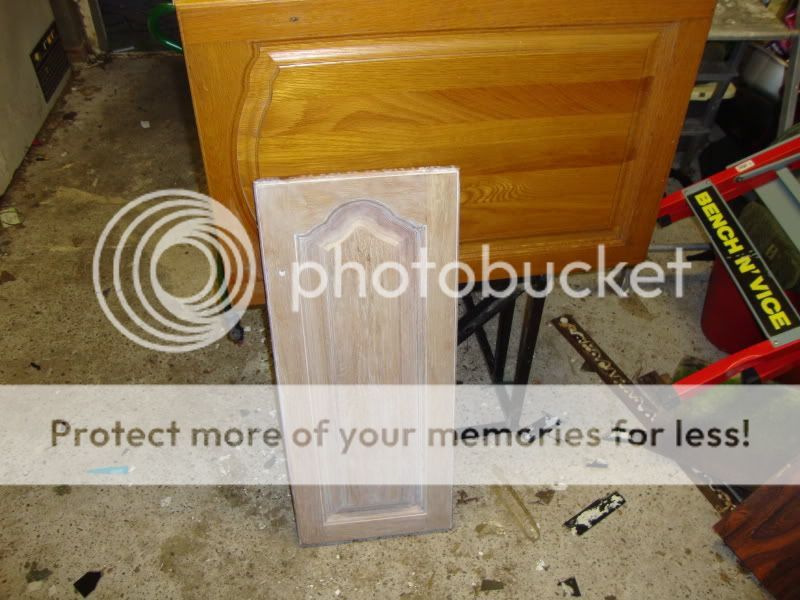
As you can see 2 x 500mm + 1 x 400mm fit the front perfectly and 1 x 500mm on each end the same
Due to space in the room where the tank is to be housed I am going to have opening doors on each end and false doors on front
[u]Jan 22 2010[/u]
Scratching my head about how to put a lid / hood on the tank
Scratches and inaccesable grime make it a definite need as an open top and light would look messy.
Unsure how to go about building a hood which was easily removed if need be and had some sort of lid for feeding and regular maintenance.
Also thinking of putting blue leds in centre of hood for moonlight effect - daylight tube will be housed on back wall on glass brace.
[u]Jan 25 2010[/u]
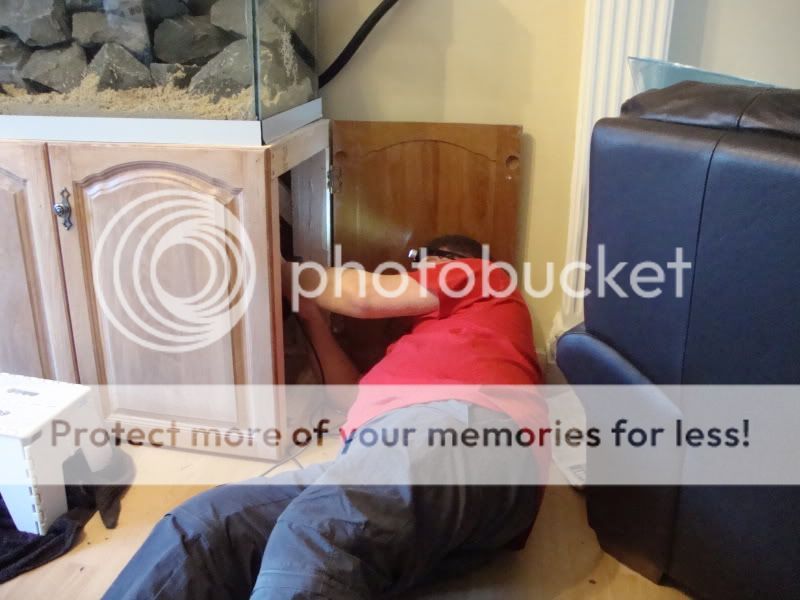
have spent the weekend stripping the doors have got to lime them now and my dad bless him has put together the stand framework.
Its a pretty sustantial bit of kit being made out of 3 x 2 and lots of cross braces. He has also put me a shelf in at one end. The whole thing is quite heavy before the weight of the doors and top is added. When complete is going to be a good solid bit of furniture
[IMG]http://img.photobucket.com/albums/v243/realtree/DSC00996.jpg
My dads a diamond - frustrating thing is I hadn't realised how skilled he is with wood (he's a bricky by trade) got a few more jobs in mind for him now
The clever bit with the doors is that I can put them on the frame approx 1/2" high which will cover the edge of any wood I use for the top so it doesn't have to match as it will not be seen.This also will creat a slight lip for the tank to sit in.
I want to finish the look of the tank off with some edging fixed on top and bottom and sides but I am unsure what to use.
I am also unsure if I could get a limed wood appearance or if not matt black would be ok.
Have thought of formica - but is there anything cheaper / easier ?
Feb 9 2010
Cabinet stand virtually complete now just need to spray varnish it and hang the doors on sides
pics to follow
Have been working on the aquascape background
Using aquarium sealant I have been sticking reclaimed welsh slate roof tiles to measured sections of melamine (reclaimed from skip lol)
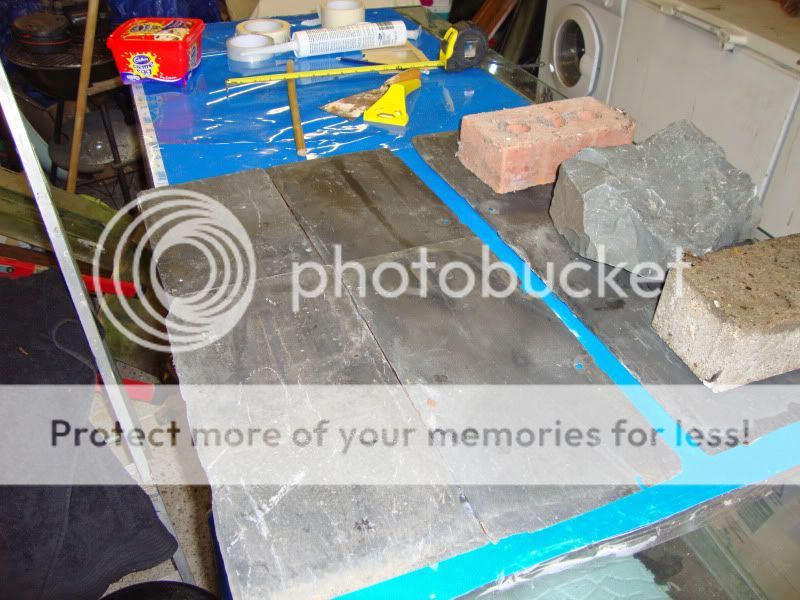
which will give an overall look of
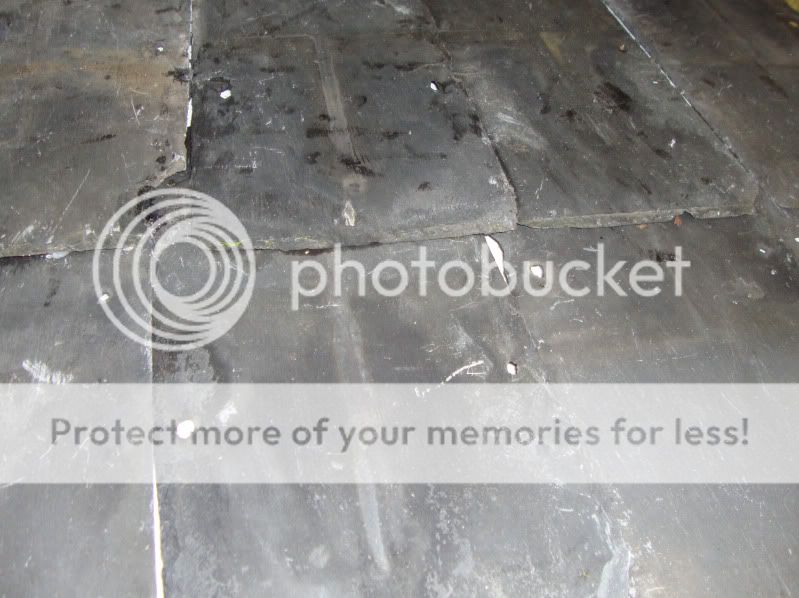
this combined with my welsh slate boulders should give me the effect I am looking for
Feb 24 2010
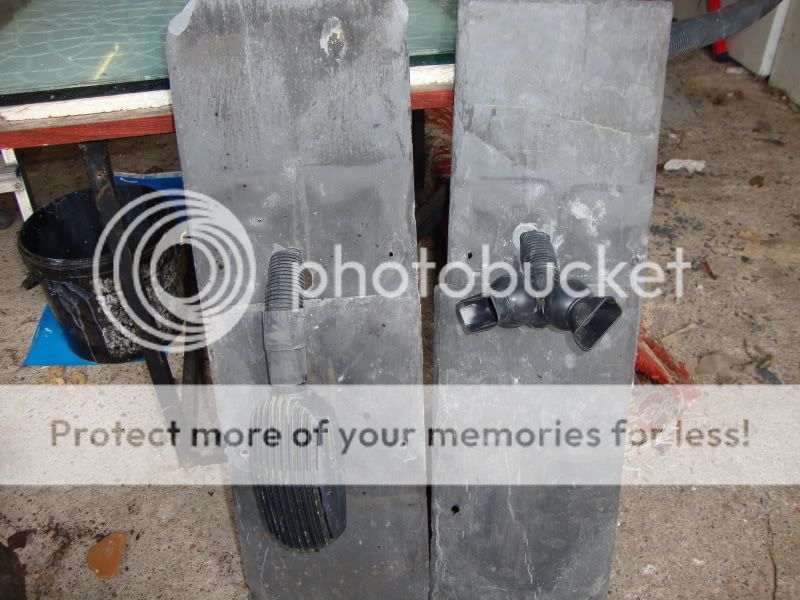
Drilled the slate background to hide Fx5 pipework (traded in 405s)
Have managed to source some black acrylic edging cut to size by a local firm (proper result - cost me £9 to edge the tank top and bottom) So I can now have the open top set up I wanted. Also purchased a blue led strip from ebay
Mar 28 2010
Apologies for not posting for a while. Unforeseen circumstaces forced the project onto the back burner for a while. I did manage to do little bits here and there along the way and completed the stand.
But this weekend came The Final Push
The tank itself had become an obsession which started off with an extreme clean but eventually got me doing a full reseal before I was happy.
I did manage to source plastic edging locally - black gloss acrylic for the edging and a clear acrylic sheet for the top for heat retention and to stop "jumpers" - all this cut to size by the company cost me £23 - Result
This meant I could now follow my open top plan
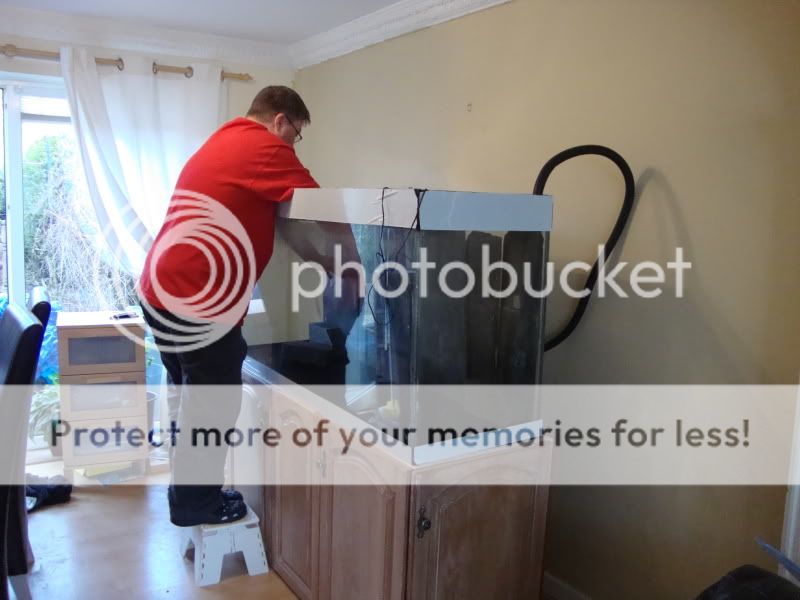
I wish I had videoed the effort it took to position both the stand and the tank in my dining room. As both pieces were so heavy seperately it was only possible to move them several inches at a time.
My stroke of luck was that I have wooden flooring so we placed each the tank and the stand on a section of heavy pile carpet (pile down) and pulled like idiots sliding them across the flooring into place - How the hell did the Eygptians build those pyramids ??
Now the aquascaping could begin
Firstly on top of the filter gridding I placed into position the welsh slate tile backing and then with the help of my son the welsh slate boulders - no mean feat as some of the boulders weigh over 10 kg and the tank is in total 29" deep.
I then covered the remainder of the tank bottom and into rock crevices with a couple of inches of coral sand.
My next job was of wiring the stand to take my FX5(decided to trade in my 405s) on one side and heater, lighting ,etc on the other
Lighting consists of a double over the top style tube pendant and 2 x 24 led blue strips aqua sealed to rear brace bar for night moonlighting effect. Both running off digital timers concealed in stand.
COMPLETED TANK

I have spent the remainder of the day gawping at and watching my babies absolutely loving their new home a new home that I built
This is the first time I have ever attempted a diary nevermind a tank makeover project.
To be honest I have never done anymore than the most basic DIY tasks , so this is going to be quite an adventure
As my malawi obssesssion has iintensified (greatly) I have been desperate to get my growing on juvis a bigger permanent home.
The major problem was that there was no way i could afford my "dream tank" brand new or in fact what i would call a reasonable price secondhand.My only option was to find something as cheap as possible and to do a makeover on it.
A few weeks before christmas after scanning adverts for months I found a tank for sale in Cambridge which seemed to fit the bill.
Dimensions
54" x 24" x 18"
volume
100 USG
constructed from 10mm glass throughout
Price
£50
included in the price was 2 external filters (eheim and cascade) 2 x arcadia starter units so i feel I got a decent buy.
As you can see from the pic its going to be a long job with lots of TLC required
Yesterday I stripped off all the nasty wood effect stuff which in turn has revealed a major cleanup job is required
The tank sits on a metal stand which I have the idea of making into an internal frame of a cabinet type thing
I am cleaning with vinegar and very fine wire wool and a stanley knife blade for the more stubborn areas
I have already found a few scratches which look like the dreaded curse of the magnetic algea cleaner
Jan 18 2010
Tank nearly clean now and watertested
I am having problems with areas of grime/algae which has got into and on the silicon - which will be most noticable on the front and back edges. Does anyone have any tips for cleaning this up ?
My idea about using the metal stand as an internal frame for a cabinet stand has hit a problem. The stand is only 46cm high and my fluval 405s require 54cm
I am going to price up making a wooden stand and also look at raising the frame as you say and pricing that - both options may be similar as i am planning to use doors and panels I already have so the stand as a whole will need to be customised for them to fit.
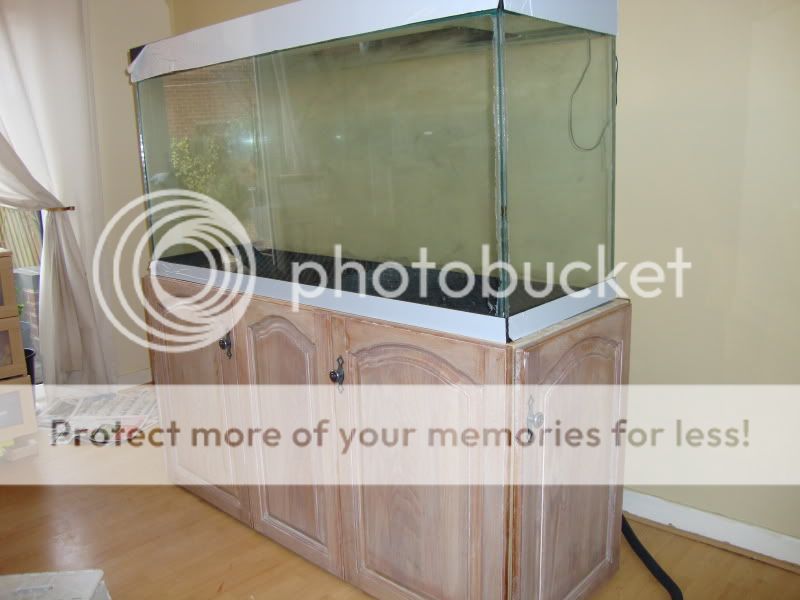
here's a couple more pics
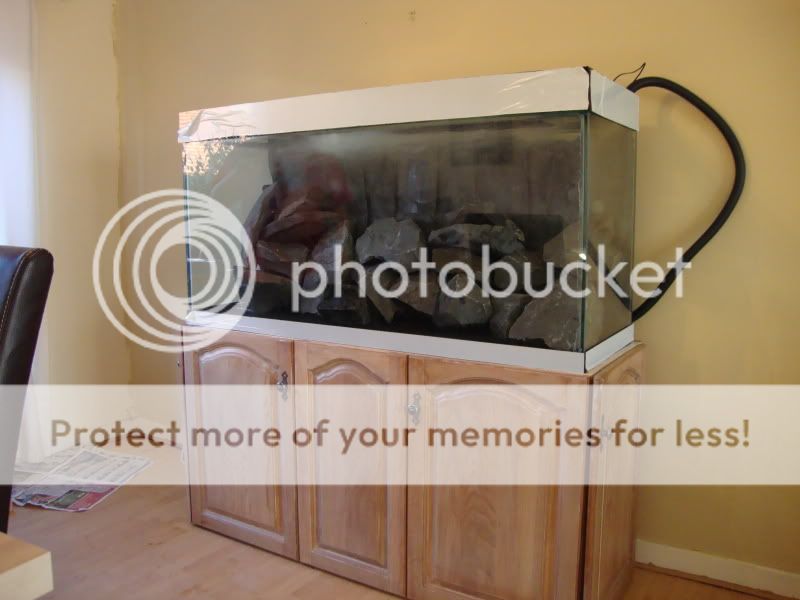
second one I decided to tease myself by putting a few rocks in
Jan 19 2010
The rock is in my garden it has a purpley blue look to it it is extremely heavy tho - i would guess the piece nearest the corner in the pic is approx 6 kg I don't think it is granite - I've got to borrow a lump hammer as some of my pieces are just about at my picking up limit .
I think that if required i would be able to mix welsh slate in with it as it seems to be identical in colour -which in turn should give me loads of rockwork building options
Jan 20 2010
I have decided to aquascape the back wall with slate tiles but unsure wether to build the slate tiles on a frame and drop it in or silicon them to the back wall ?
Also I am a bit worried about the overall weight as this is the largest tank I have dealt with and the weight of the rocks scares me
Just to show you how clever I am I thought I'd share this with you
The mystery heavy rock in my garden which is the same colour as welsh slate is in fact . . . . . . . . . . . . . . . . . . . . . . . . . . . . . . . welsh slate doh
I thought welsh slate only came in flat layered pieces never ever imagined it as a boulder type rock
Apparently it is cut to make it flat
You live and learn, yep you live and learn.
Jan 21 2010
Have been playing with the look of the cabinet/stand today
Decided to use these oak doors (pic 1) but will strip them and then lime them to give the effect in pic 2
As you can see 2 x 500mm + 1 x 400mm fit the front perfectly and 1 x 500mm on each end the same
Due to space in the room where the tank is to be housed I am going to have opening doors on each end and false doors on front
[u]Jan 22 2010[/u]
Scratching my head about how to put a lid / hood on the tank
Scratches and inaccesable grime make it a definite need as an open top and light would look messy.
Unsure how to go about building a hood which was easily removed if need be and had some sort of lid for feeding and regular maintenance.
Also thinking of putting blue leds in centre of hood for moonlight effect - daylight tube will be housed on back wall on glass brace.
[u]Jan 25 2010[/u]
have spent the weekend stripping the doors have got to lime them now and my dad bless him has put together the stand framework.
Its a pretty sustantial bit of kit being made out of 3 x 2 and lots of cross braces. He has also put me a shelf in at one end. The whole thing is quite heavy before the weight of the doors and top is added. When complete is going to be a good solid bit of furniture
[IMG]http://img.photobucket.com/albums/v243/realtree/DSC00996.jpg
My dads a diamond - frustrating thing is I hadn't realised how skilled he is with wood (he's a bricky by trade) got a few more jobs in mind for him now
The clever bit with the doors is that I can put them on the frame approx 1/2" high which will cover the edge of any wood I use for the top so it doesn't have to match as it will not be seen.This also will creat a slight lip for the tank to sit in.
I want to finish the look of the tank off with some edging fixed on top and bottom and sides but I am unsure what to use.
I am also unsure if I could get a limed wood appearance or if not matt black would be ok.
Have thought of formica - but is there anything cheaper / easier ?
Feb 9 2010
Cabinet stand virtually complete now just need to spray varnish it and hang the doors on sides
pics to follow
Have been working on the aquascape background
Using aquarium sealant I have been sticking reclaimed welsh slate roof tiles to measured sections of melamine (reclaimed from skip lol)
which will give an overall look of
this combined with my welsh slate boulders should give me the effect I am looking for
Feb 24 2010
Drilled the slate background to hide Fx5 pipework (traded in 405s)
Have managed to source some black acrylic edging cut to size by a local firm (proper result - cost me £9 to edge the tank top and bottom) So I can now have the open top set up I wanted. Also purchased a blue led strip from ebay
Mar 28 2010
Apologies for not posting for a while. Unforeseen circumstaces forced the project onto the back burner for a while. I did manage to do little bits here and there along the way and completed the stand.
But this weekend came The Final Push
The tank itself had become an obsession which started off with an extreme clean but eventually got me doing a full reseal before I was happy.
I did manage to source plastic edging locally - black gloss acrylic for the edging and a clear acrylic sheet for the top for heat retention and to stop "jumpers" - all this cut to size by the company cost me £23 - Result
This meant I could now follow my open top plan
I wish I had videoed the effort it took to position both the stand and the tank in my dining room. As both pieces were so heavy seperately it was only possible to move them several inches at a time.
My stroke of luck was that I have wooden flooring so we placed each the tank and the stand on a section of heavy pile carpet (pile down) and pulled like idiots sliding them across the flooring into place - How the hell did the Eygptians build those pyramids ??
Now the aquascaping could begin
Firstly on top of the filter gridding I placed into position the welsh slate tile backing and then with the help of my son the welsh slate boulders - no mean feat as some of the boulders weigh over 10 kg and the tank is in total 29" deep.
I then covered the remainder of the tank bottom and into rock crevices with a couple of inches of coral sand.
My next job was of wiring the stand to take my FX5(decided to trade in my 405s) on one side and heater, lighting ,etc on the other
Lighting consists of a double over the top style tube pendant and 2 x 24 led blue strips aqua sealed to rear brace bar for night moonlighting effect. Both running off digital timers concealed in stand.
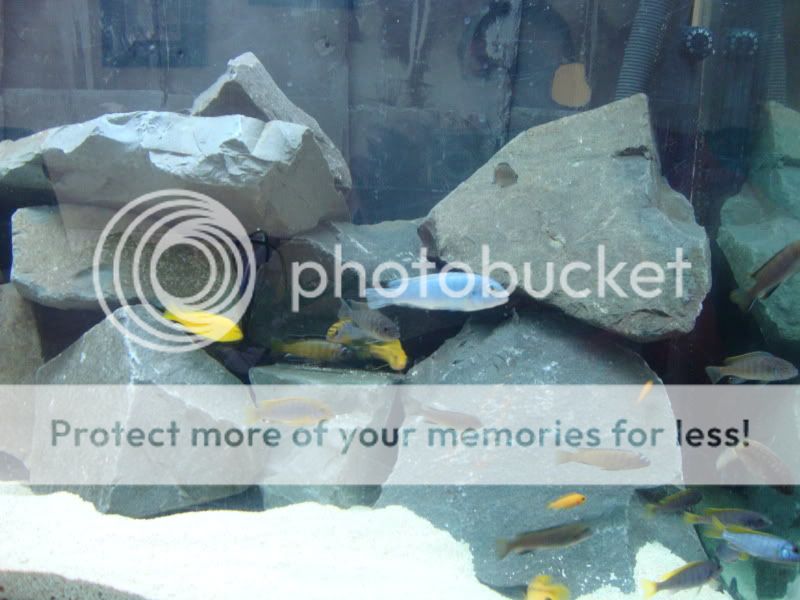
COMPLETED TANK
I have spent the remainder of the day gawping at and watching my babies absolutely loving their new home a new home that I built


 can't believe i actually managed to complete the image in my head.
")