Apparently I signed up here four years, probably when I had my last tank, but I got bored and decided that I had to do something daft...
After selling my 4ft tank a couple of years ago I picked up a 2x2x2 tank but never got round to setting it up and ended up giving it to one of my mates as part payment for doing my clutch. He then gave me his old tank but it's a poncy little thing and I don't like poncy little things; and that's when I really should have stopped thinking, but no!
So an idea formed and eBay appeared on my laptop followed by some bidding. 28 lengths of 4x2 ranging from 2.5ft to 7ft, for £25. I managed to fit it all in the MR2 as well and just about managed to get home before it started raining as half of it was hanging out of the T-Bar!
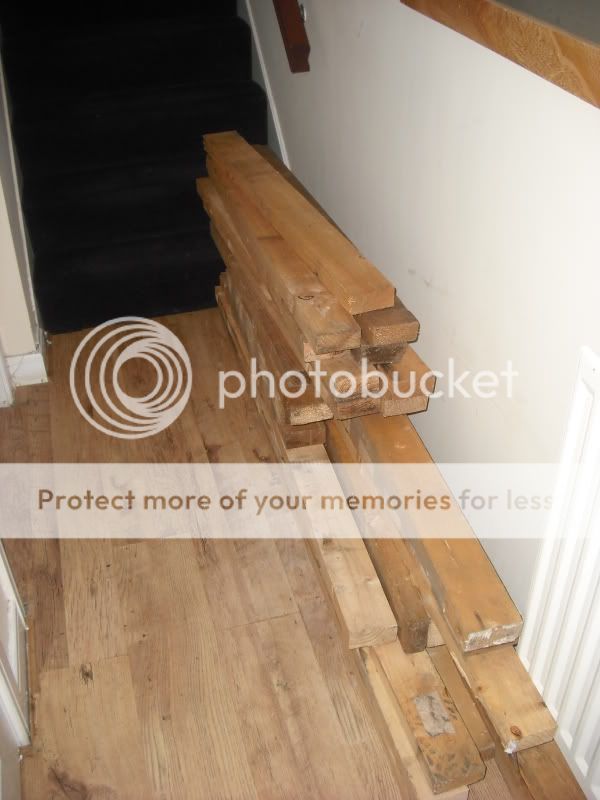
I've also got a couple of crested geckos and a whites tree frog, so the build idea was to incorporate their vivs, which was the determining factor for the overall size. Just over 6ft long and 2.6ft high to allow me to split the underneath and fit in three 18x18x24 vivs; which was one of the reasons I went for 4x2 timber. So the build started
Top and bottom frames, 22 inches deep if I remember correctly.
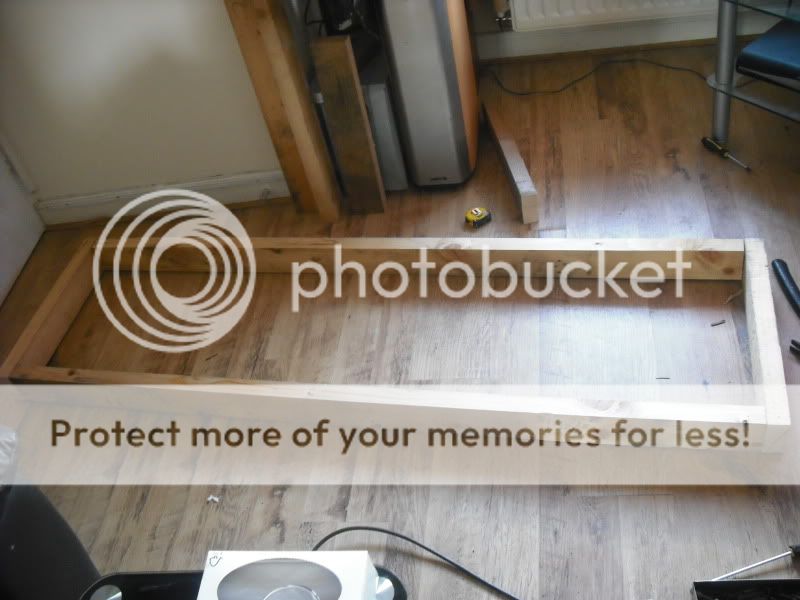
Then add lots of lovely struts to strengthen it
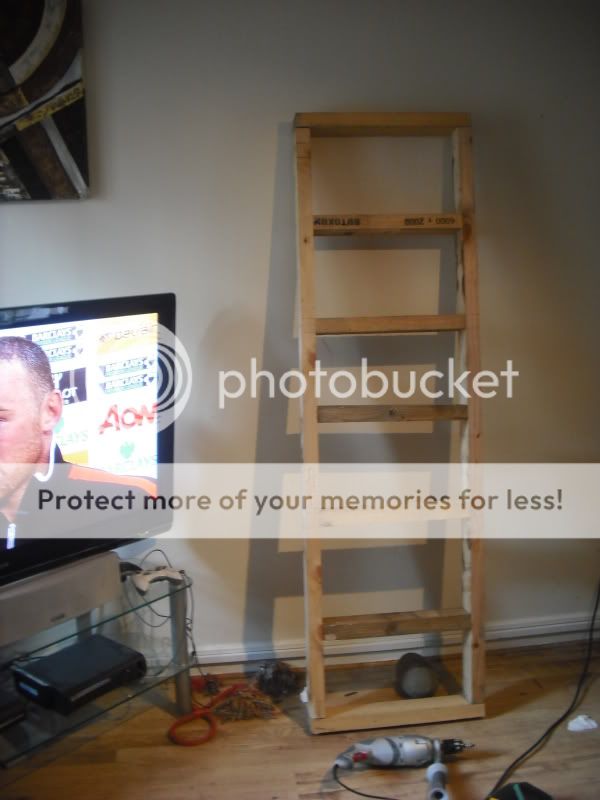
some aren't straight but the lager was going down pretty smoothly so they were as straight as I could see at the time. Then attach some sides
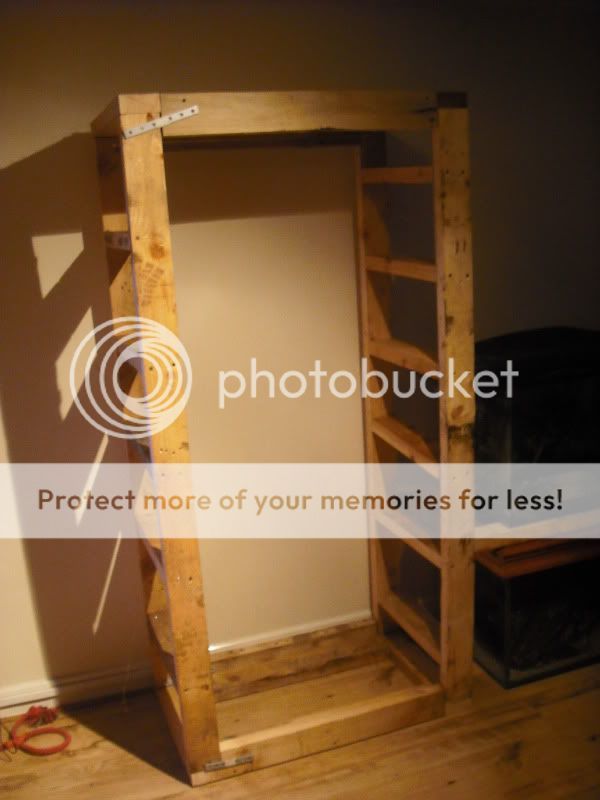
They kind of look bigger than you expect when you see it taking shape, but it was too late by this time. The plan also changed, with it being so high I decided to put the tank on the bottom and the vivs on the top, so if anything did happen it wouldn't have far to fall. It also meant I didn't have to do it as big, but at least if it comes to it, I can move in there myself.
So I had the frame
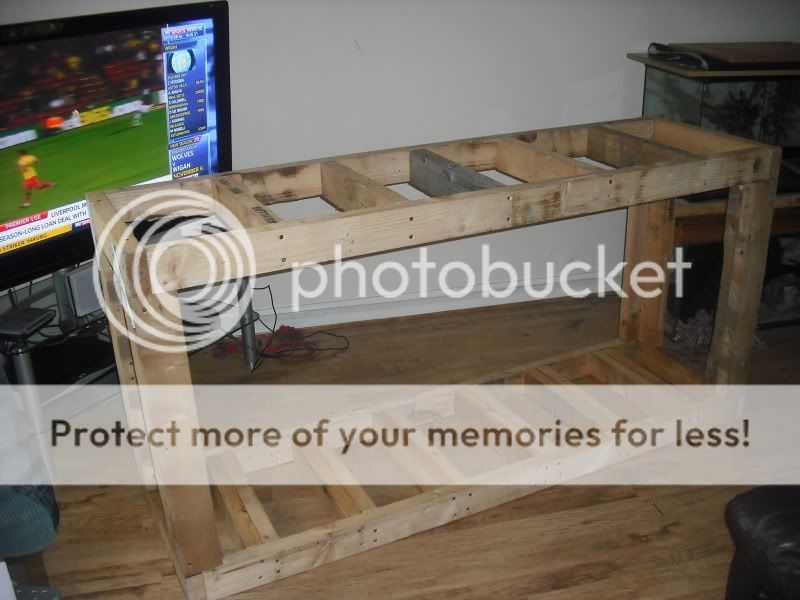
and off to B&Q for some 18mm MDF. Not the best choice obviously but it'll be primed and painted and protected so hopefully it'll be fine if it gets wet. Due the the car and lack of room, I had to get creative on the cutting, but then it started going together
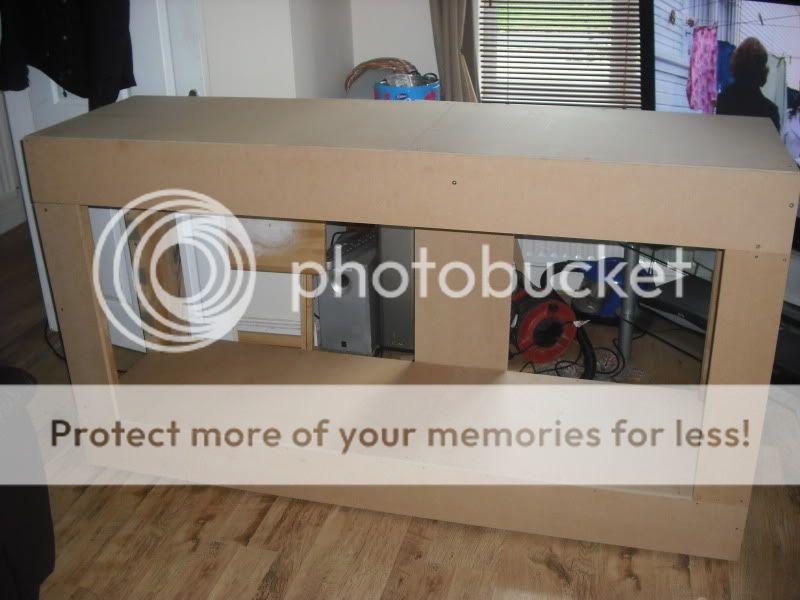
Sides on
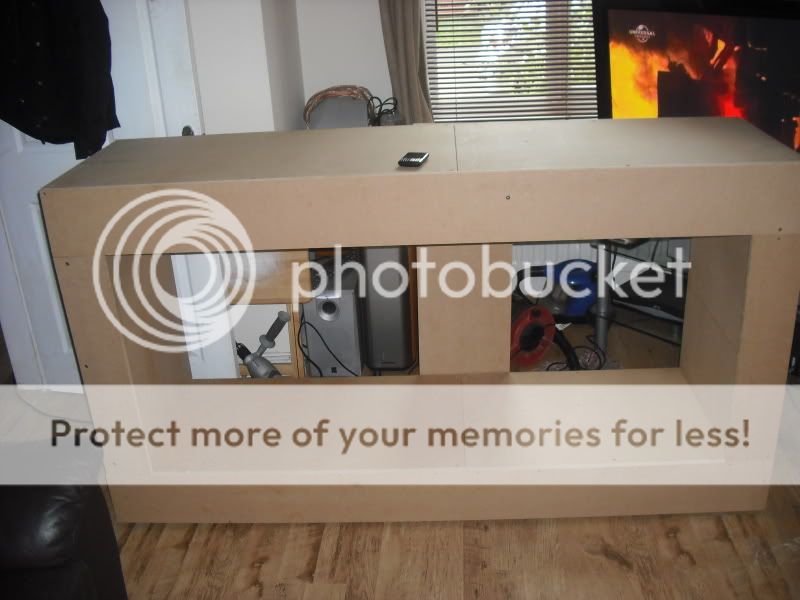
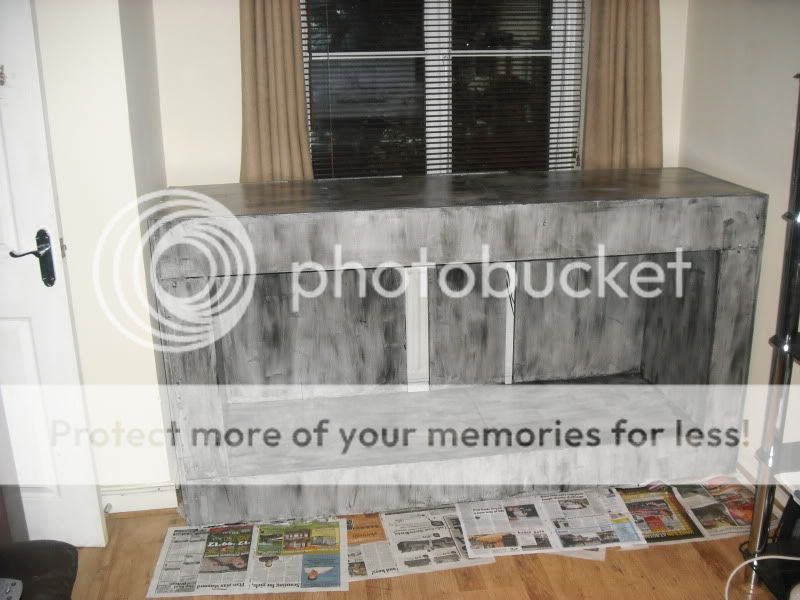
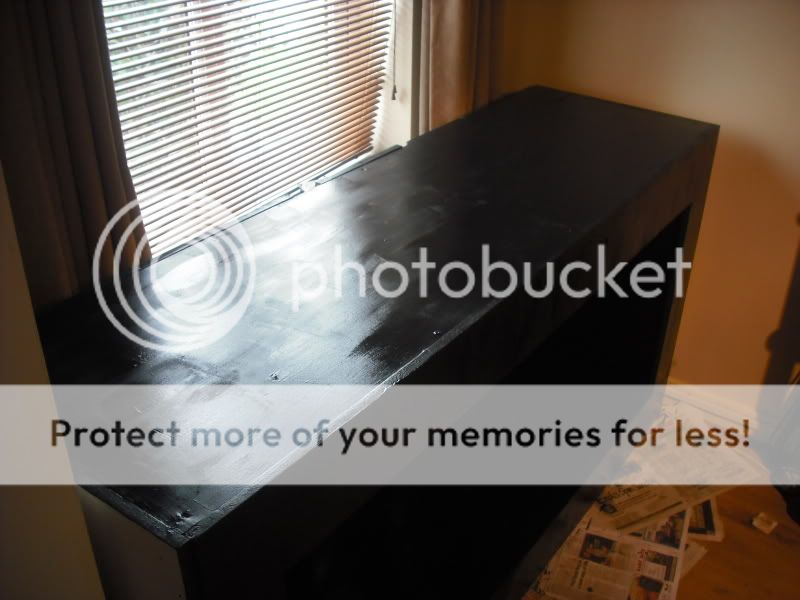
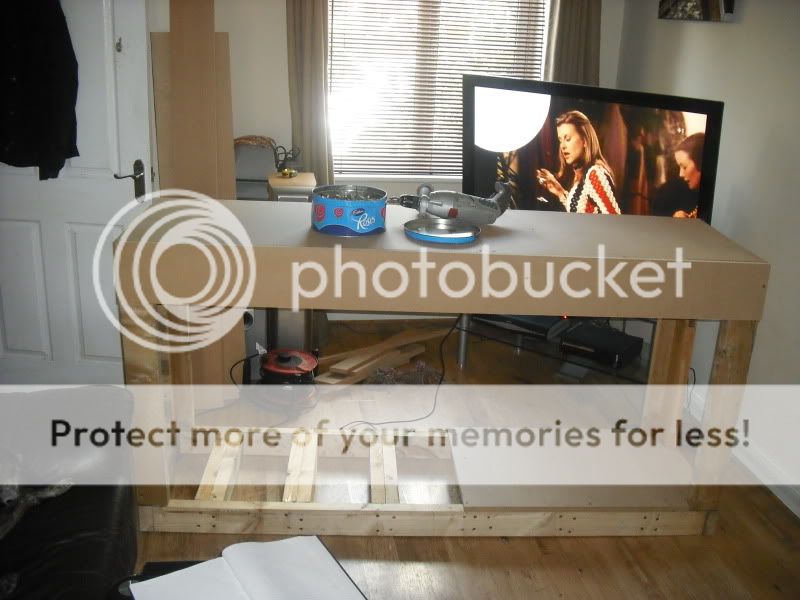
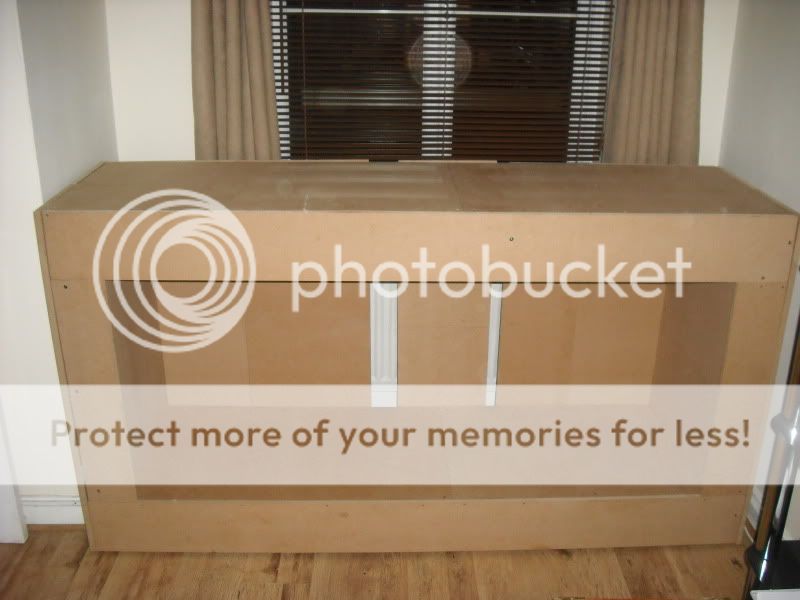
and finished the MDF today
To keep the shape before I got the back cut I attached a piece of scrap MDF I had and managed to thread a screw which won't come out; hence the gaps. So I'm sticking to my excuse that they're for cables!
Although I have a plan to cover them. As my tank isn't as deep as the cabinet I can get away with a couple of off cuts of the 4x2 and attach a 60x18x18 sheet of ply painted black and grey as a background. I also want to drill holes in it and fit blue LED's for night lights so the light comes through the tank rather than down it. Not sure how it'll look but only time will tell!
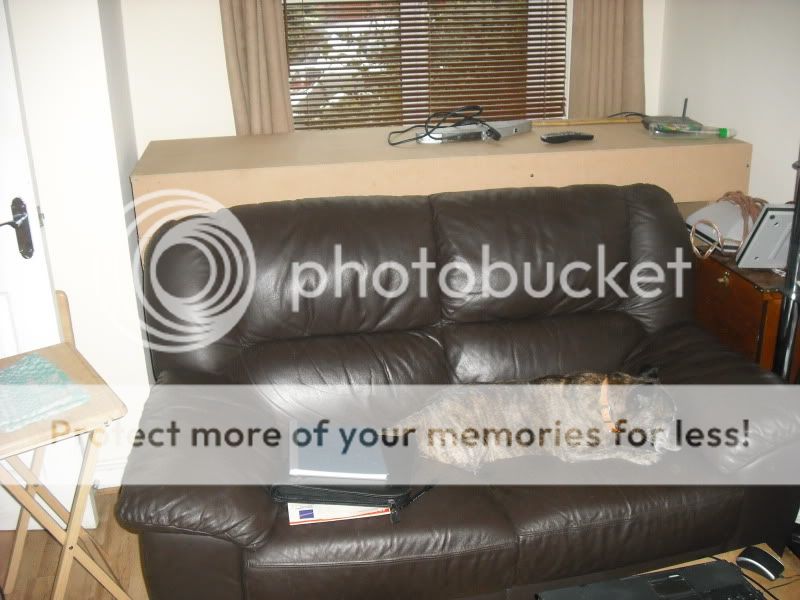
I had to re-arrange the room to fit it in till it's in use. I said it was big but you can tell properly on this picture
So the next job is the 'this is what happens when you use reclaimed timber' job and filling in all the gaps... That'll be fun! then it's painting time before fitting the tank and deciding what to fill it with.
the tank incidentally is this
http /www.ebay.co.uk/itm/280727629198?ssPageName=STRK:MEWAX:IT&_trksid=p3984.m1438.l2649
I won't need everything it comes with so I can sell some on to recoup some of the money. Although I'd prefer something higher so that's the tank I'll be using unless I find a cheap taller one before I finish the stand.
Knew I'd forget something; it's also on 11 heavy duty castors which hold about 100kg each. I put it on castors because I want to redo my floor at some point and it'll need to be moved; they're on the frame but hidden by the skirt.
After selling my 4ft tank a couple of years ago I picked up a 2x2x2 tank but never got round to setting it up and ended up giving it to one of my mates as part payment for doing my clutch. He then gave me his old tank but it's a poncy little thing and I don't like poncy little things; and that's when I really should have stopped thinking, but no!
So an idea formed and eBay appeared on my laptop followed by some bidding. 28 lengths of 4x2 ranging from 2.5ft to 7ft, for £25. I managed to fit it all in the MR2 as well and just about managed to get home before it started raining as half of it was hanging out of the T-Bar!
I've also got a couple of crested geckos and a whites tree frog, so the build idea was to incorporate their vivs, which was the determining factor for the overall size. Just over 6ft long and 2.6ft high to allow me to split the underneath and fit in three 18x18x24 vivs; which was one of the reasons I went for 4x2 timber. So the build started
Top and bottom frames, 22 inches deep if I remember correctly.
Then add lots of lovely struts to strengthen it
some aren't straight but the lager was going down pretty smoothly so they were as straight as I could see at the time. Then attach some sides
They kind of look bigger than you expect when you see it taking shape, but it was too late by this time. The plan also changed, with it being so high I decided to put the tank on the bottom and the vivs on the top, so if anything did happen it wouldn't have far to fall. It also meant I didn't have to do it as big, but at least if it comes to it, I can move in there myself.
So I had the frame
and off to B&Q for some 18mm MDF. Not the best choice obviously but it'll be primed and painted and protected so hopefully it'll be fine if it gets wet. Due the the car and lack of room, I had to get creative on the cutting, but then it started going together
Sides on
and finished the MDF today
To keep the shape before I got the back cut I attached a piece of scrap MDF I had and managed to thread a screw which won't come out; hence the gaps. So I'm sticking to my excuse that they're for cables!
Although I have a plan to cover them. As my tank isn't as deep as the cabinet I can get away with a couple of off cuts of the 4x2 and attach a 60x18x18 sheet of ply painted black and grey as a background. I also want to drill holes in it and fit blue LED's for night lights so the light comes through the tank rather than down it. Not sure how it'll look but only time will tell!
I had to re-arrange the room to fit it in till it's in use. I said it was big but you can tell properly on this picture
So the next job is the 'this is what happens when you use reclaimed timber' job and filling in all the gaps... That'll be fun! then it's painting time before fitting the tank and deciding what to fill it with.
the tank incidentally is this
http
/www.ebay.co.uk/itm/280727629198?ssPageName=STRK:MEWAX:IT&_trksid=p3984.m1438.l2649I won't need everything it comes with so I can sell some on to recoup some of the money. Although I'd prefer something higher so that's the tank I'll be using unless I find a cheap taller one before I finish the stand.
Knew I'd forget something; it's also on 11 heavy duty castors which hold about 100kg each. I put it on castors because I want to redo my floor at some point and it'll need to be moved; they're on the frame but hidden by the skirt.
")