My Pond Build.

The April FOTM Contest Poll is open!
FishForums.net Fish of the Month
🏆 Click to vote! 🏆

BINKSY

Fish Crazy
Joined
Sep 3, 2006
Messages
299
Reaction score
0
Location
Oxford
Well i started some preparation work for my pond about a month and half ago, so thought it about time i posted some info and progress pics on it so far.

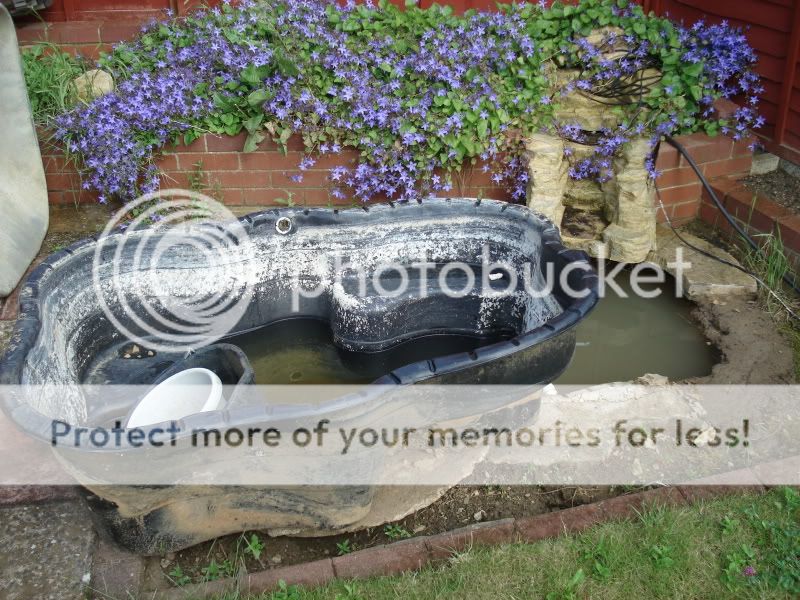
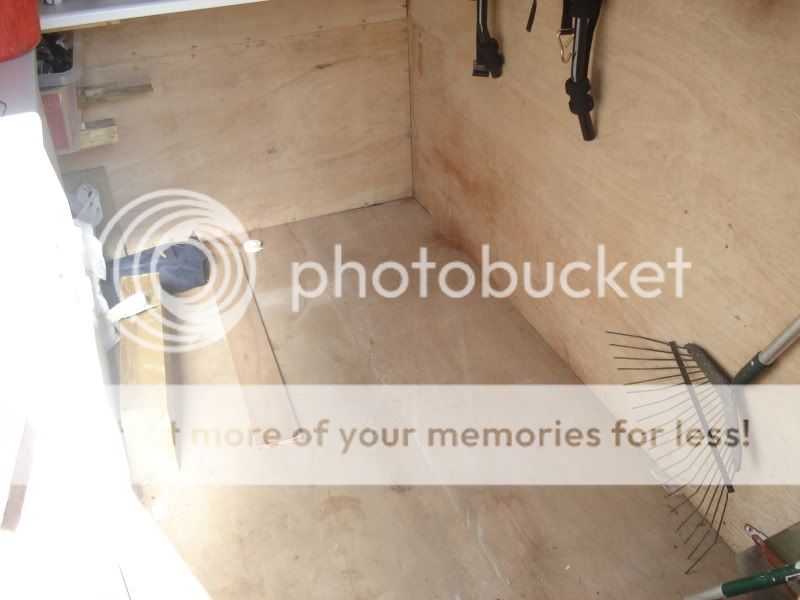
The pic shows how it looked before i did any work on it.

DSC00554.jpg


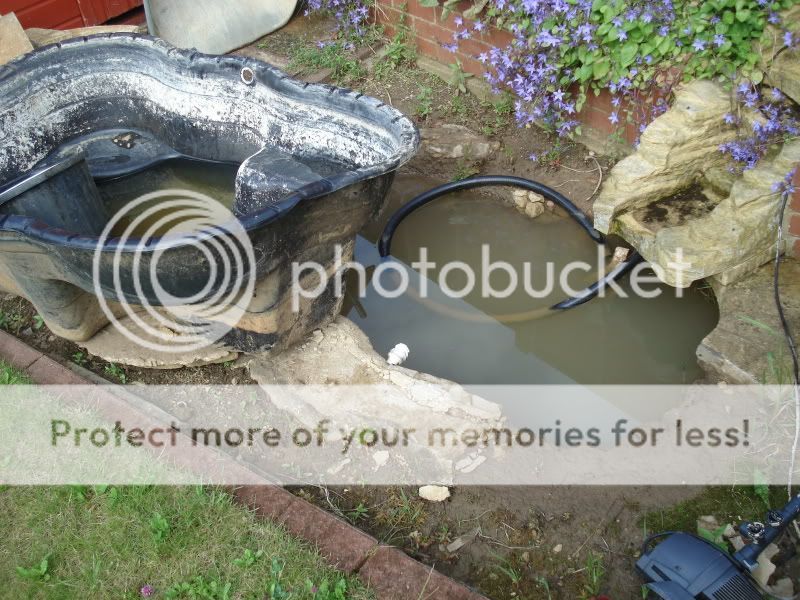
Took that pic after that old rubbish pre formed liner was took out. It had never been finished and the old edgings that was around it had come loose and therefore rainwater had got under the liner and pushed it all in.

DSC00553.jpg


This pic shows the rockery/raised flower bed and waterfall, Again before any work took place.

DSC00556.jpg


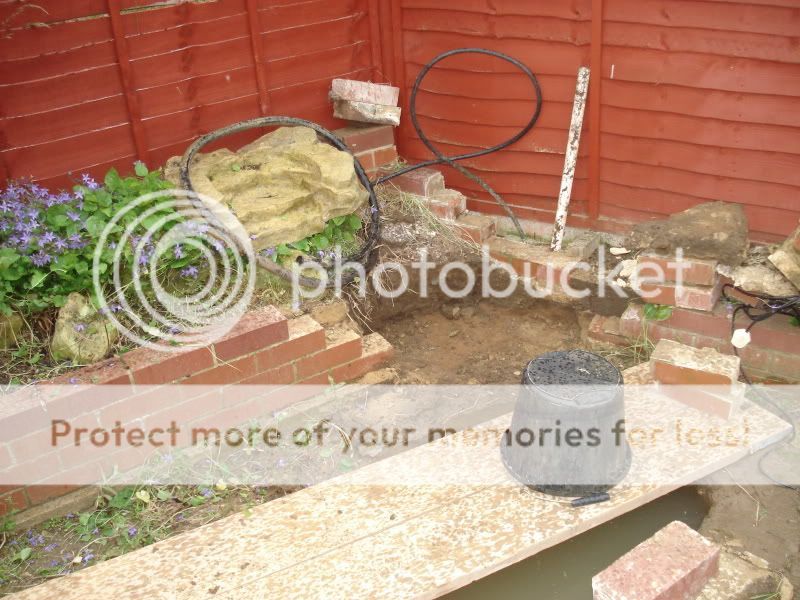
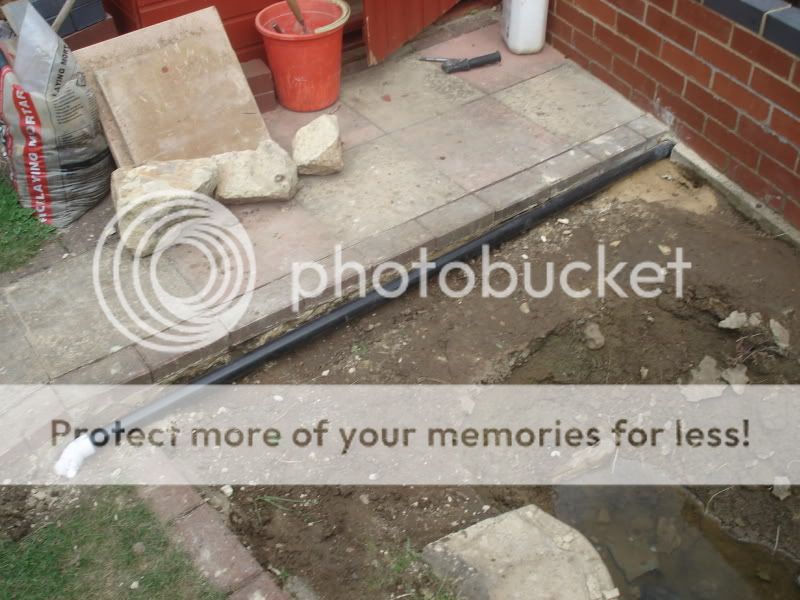
This shows the waterfall taken out and the brick wall that was to the right of the waterfall gone. Them scaffold planks that are across the hole came from work. I'm lucky to be around building sites at times.

DSC00557.jpg


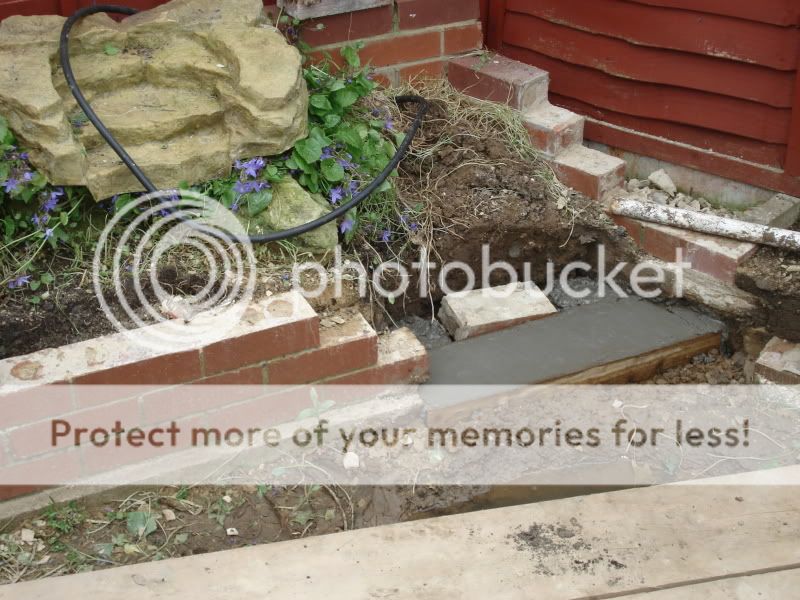
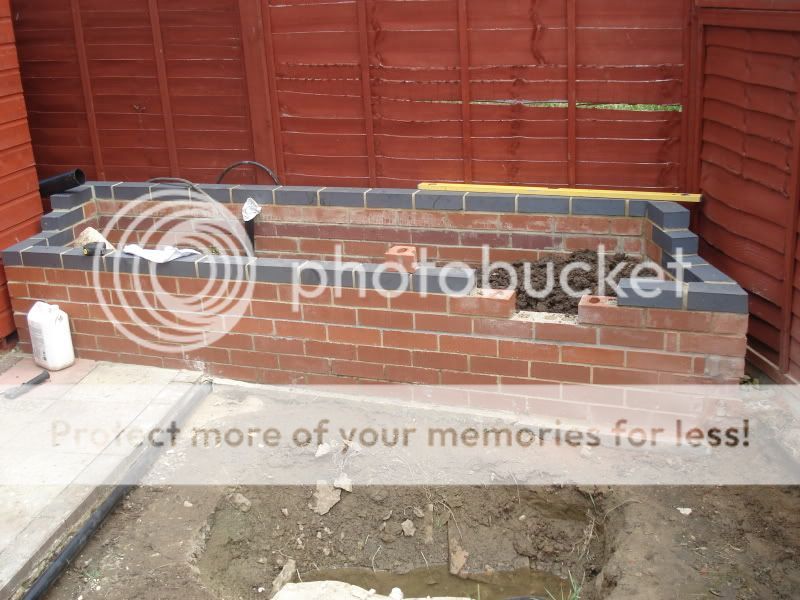
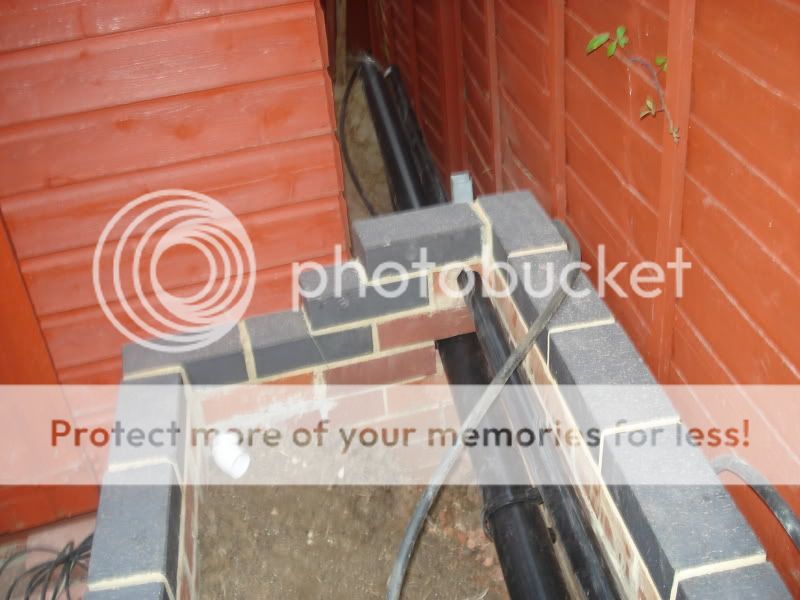
Here you can see i have concreted some footings to continue the wall where the waterfall was.

DSC00558.jpg
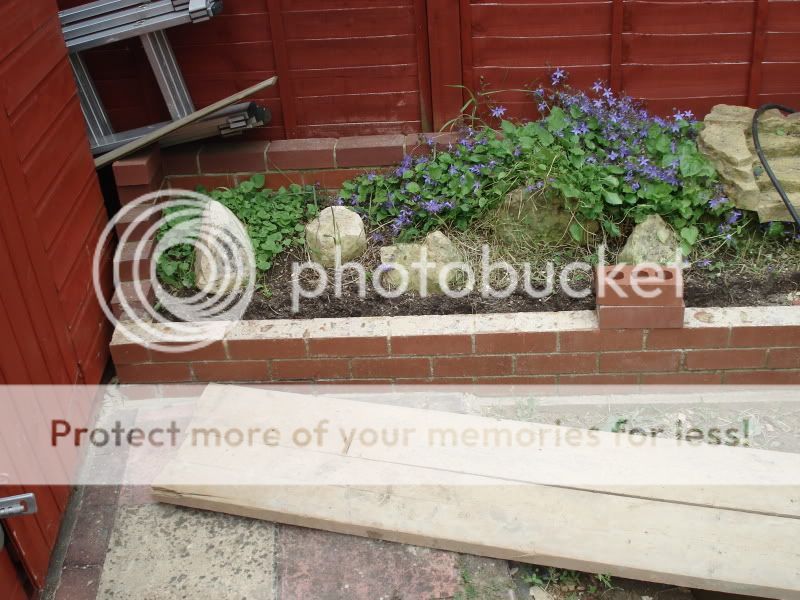
This pic shows you i have taken what was the top row of solid engineering bricks off, in order to build up the front wall of the rockery some more.

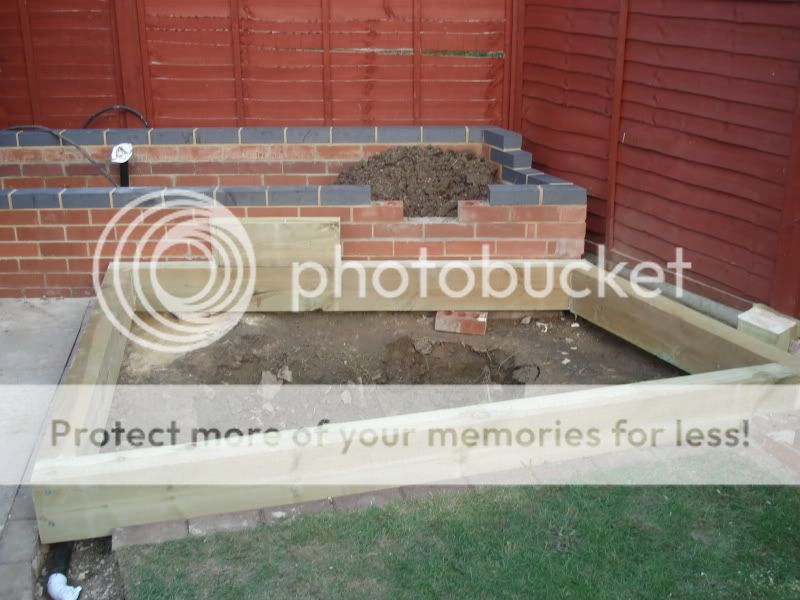
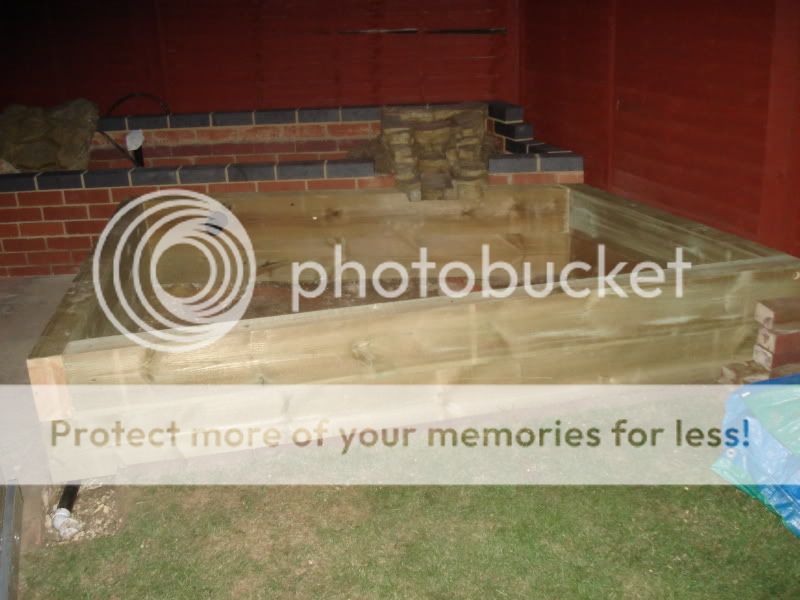
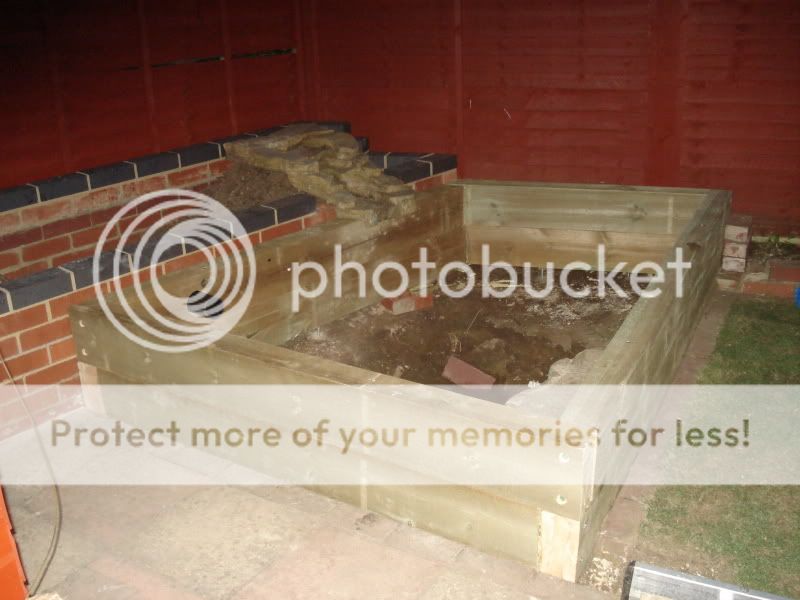
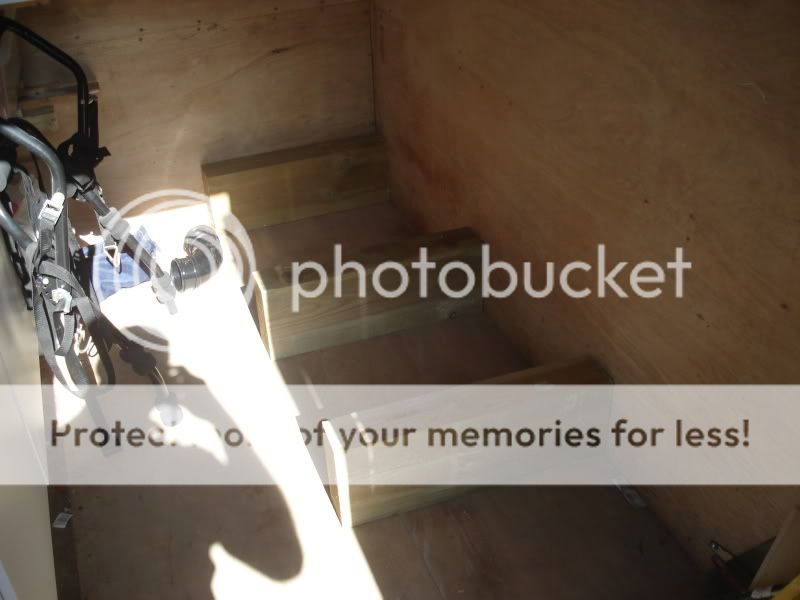
The plan is to have a part raised, part sunk pond. The raised part is going to be done with railway sleepers, which i have already purchased these are new, The raised part will be 400mm high and i hope to dig down a metre from ground level. The width of the pond will be about 1.4 metres and 2.4 metres long. Not a massive pond by any means but still will be nice. The water fall will be going back in.

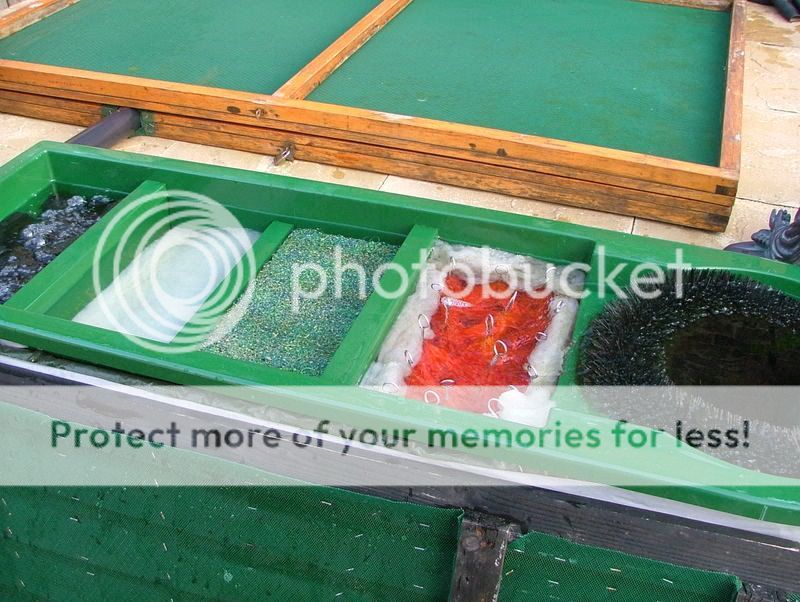
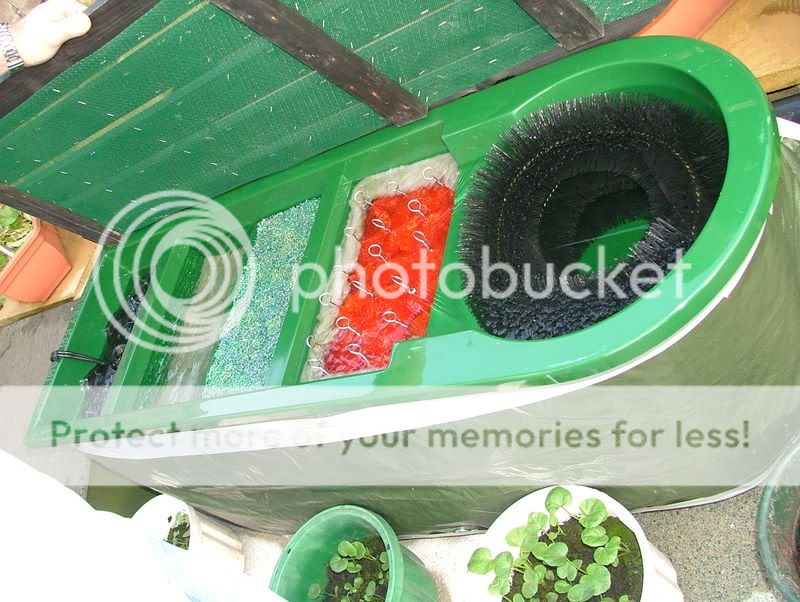
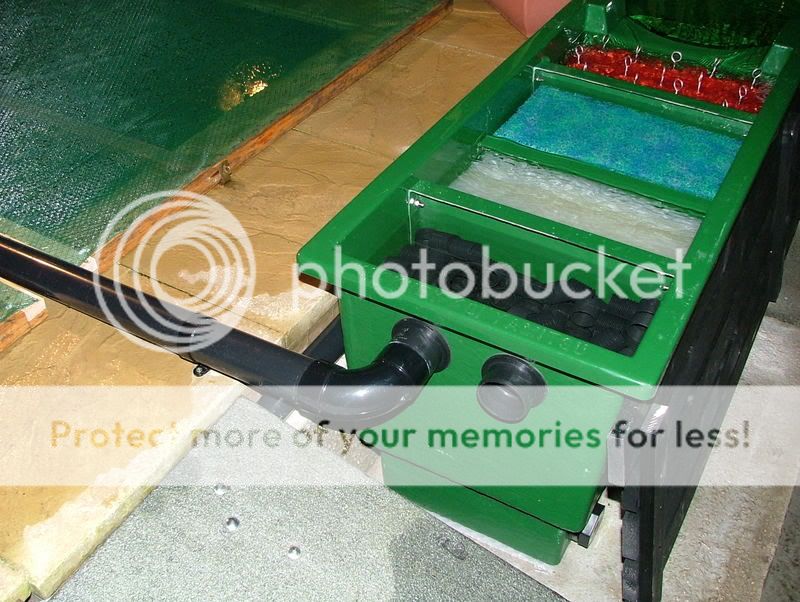
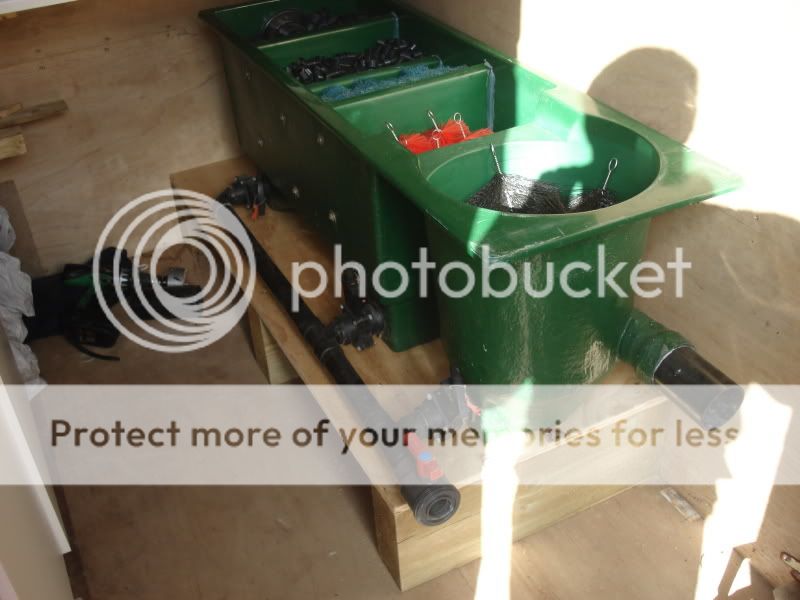
I have also purchased a Kockney Koi 5000v filter, A 30 watt Kockney Koi UV and a Oase Aquamax 5500 all is second hand kit.

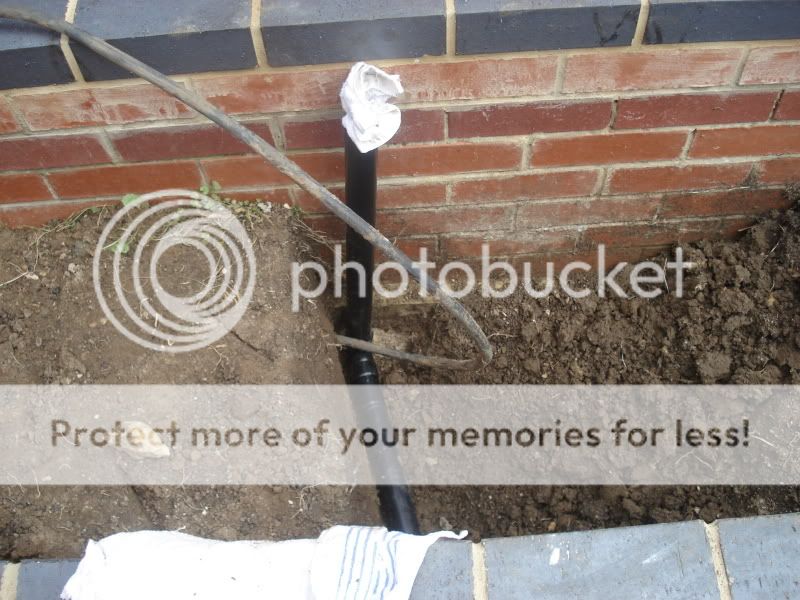
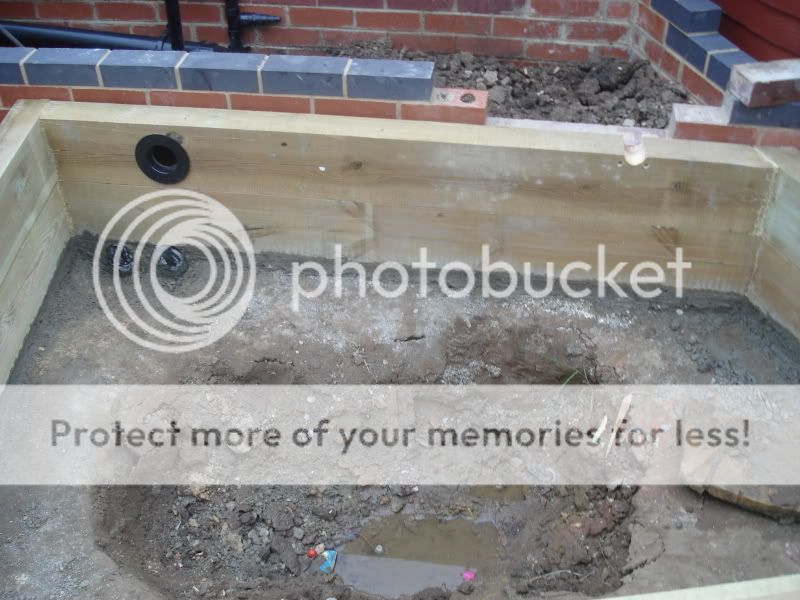
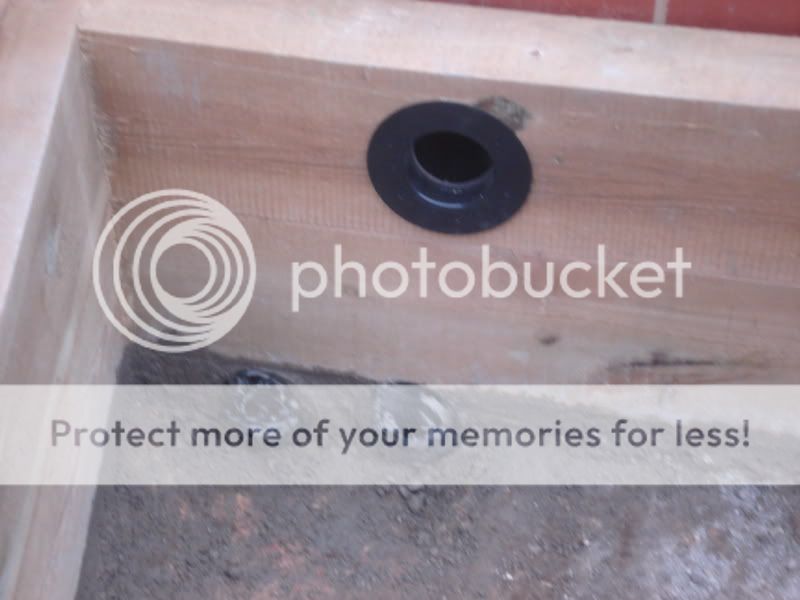
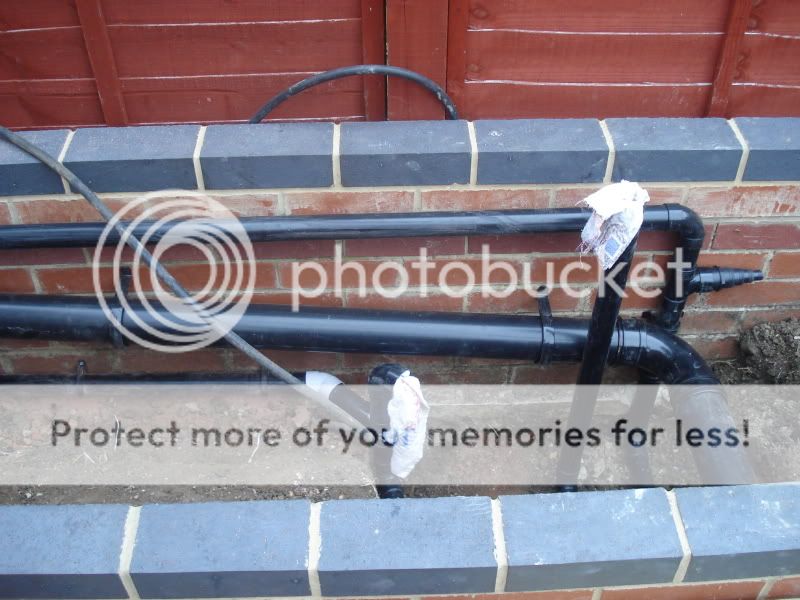
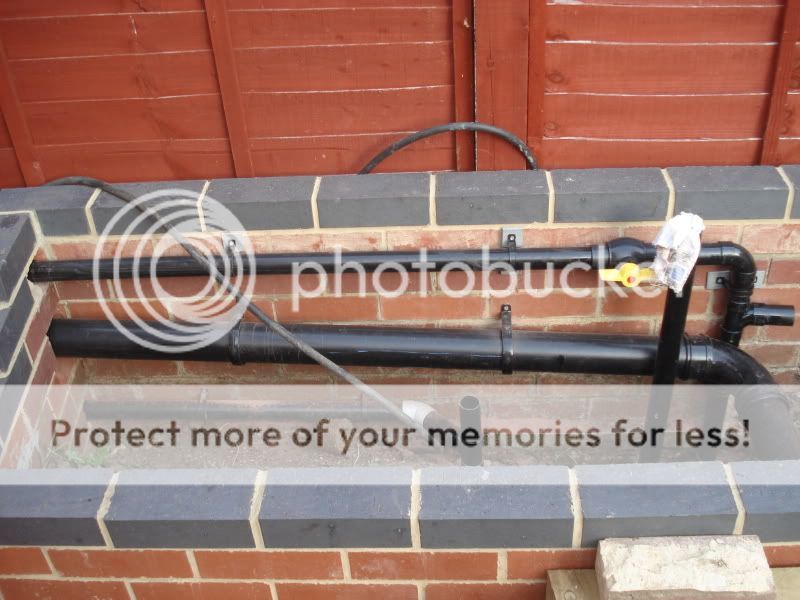
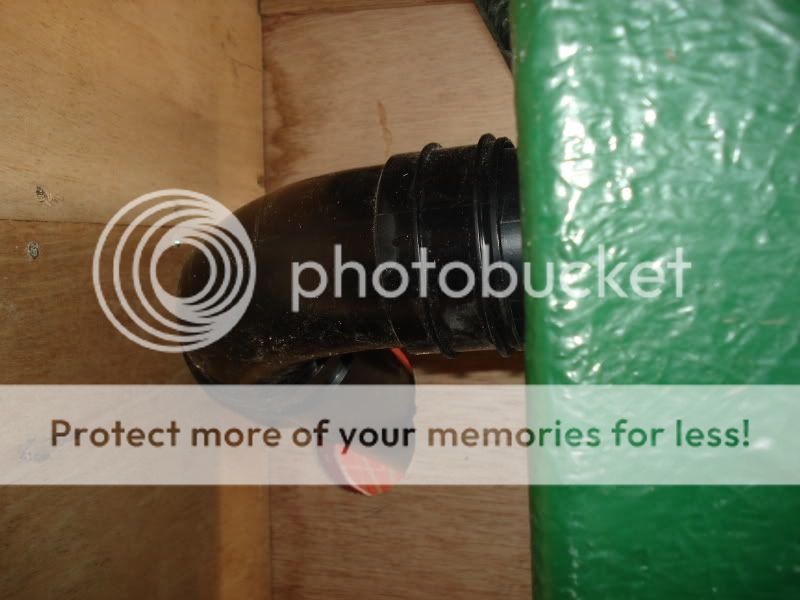
Will update with more pics soon, as the railway sleepers are now in and some of the pipework has been done.

Cheers Gordon.
 
keep the pics coming i love watching how other people ponds develope :good:
 
As requested some more pics.

This was the progress 3 and half weeks ago of the build after a fairly busy and hard day.


DSC00700.jpg


The above pic shows the brick work finished. The place where the brick has been left out on the right is where the waterfall will be going.

DSC00701.jpg


The work in the above pic took place the following weekend to that of the first pic.
The above pic shows the drain water pipe in place where my overflow and drain from the filter will connect to, and eventually end up at a waste drain point. This was the first job of the day.

DSC00702.jpg


This pic shows where the drain water pipe will tee off, to the left will come from the filter, to the right will go to the pond overflow.

DSC00703.jpg


Here you can see the first row of sleepers in place. These were screwed and glued, to set overnight. At the back i have rested an off cut, this will be the final height of the pond. On the left on the back sleeper you can see 2 holes drilled through the wall foundation. One is for the filter supply pipe, and the other for the cable from the pond pump.

DSC00704.jpg


The above pic were after another days work. The second row of sleepers have now been completed. The next job is to sort out the pipework, and to start the digging.

DSC00705.jpg


From a different angle. You can also see the 3 inch return from the filter.

Cheers Gordon.
 
Thanks Guys and gals.

Here some more for you.

Well the following was done last weekend. Got some of the pipework in, and concreted under the sleepers. It was slow going though at the weekend, but once the concrete has set i can start digging.

DSC00707.jpg


In the above pic you can see the concrete under the sleepers, The return pipe top left, and the two inch and half pipes, one for the flow and one for the pump cable. The half circle cut out on the right is where the overflow pipe will be.

DSC00708.jpg


Here is a closer look at the return, flow and cable entry points.


DSC00709.jpg


The above pic shows the pipework so far, the top one is the flow to the filter and waterfall. Where the tee is you can see a hosetail there will be a valve fitted between the tee and that hosetail. (hosetail not glued yet) After the bend on the flow pipe will be another valve which will then go to the filter. The middle pipe is the return from the filter. The bottom pipe is the waste, still have to finish off the overflow plumbing. The pipe you see coming up in front of the 3 inch pipe is the one for the pond pump cable, this will finish above water line for the cable to exit.

DSC00710.jpg


And here you can see the pipes disappear behind the shed. The filter will be in the shed.

Cheers Gordon.
 
Thanks every one. Been quite a while since i have managed to get any thing more done on the build, but did get some more done last weekend. First thing to do on Saturday afternoon was to clear some space in the shed for the filters new home. So about 4 hours later and a trip to the local recycling centre this little task was all done.

DSC00721.jpg


So on Sunday morning the first job was to do a little more on the plumbing, the flow to the filter was sorted out a bit more, valve fitted on the flow to the filter and all glued up. Plus some of the 3 inch return pipe was glued up.

DSC00727.jpg


Next was to make a base plinth for the filter to sit on, i cut 3 bearers from some off cuts from the sleepers i had.

DSC00722.jpg


Then some 18mm thick plywood was cut.

DSC00723.jpg


I am thinking it may be a good idea to waterproof the filters plinth and the shed walls where the filter is. I'm not sure what could be used that would be safe for livestock, I'm sure i have read some where that sadolin is ok? Any one know what else could maybe used?

Next the filter was placed in its new home.

DSC00724.jpg


I then had to drill some holes through the shed walls for the pipework, first was the 3 inch for the return.

DSC00725.jpg


The holes for the waste and flow have been drilled but no, pipework for these have been completed as yet. I'm hoping to get that all sorted this weekend, including the U.V, all plumbed in. Now time is running out before winter sets in, but i do need to take some holidays from work before Xmas so may take a week off soon, and get a skip in and get the hole dug.

Cheers Gordon.
 
basically a kockney koi 5000v :good: good choice (tip i know this sound daft and you have probably already done it but make sure the filter is level, i know someone who didnt check and as the filter became blocked the filter over flowed on the lower part :crazy: no it wasnt me :blink:)

have you still got your old filter up and runnin? if so put that mature filter media in the last two bays with the new media to speed up cycling

lay the jap mat flat not on its edges and put an airstone in the last bay, filter bacteria like oxygen plus you get more air returning to your pond :good:

you can get at least 18 red brushes in that second bay lol get a blackknight vortex brush for the vortex best bit of kit i bought for the filter plus it doesnt effect the flow of the vorex like other brushes/medias

p2 sealer, yacht varnish,Ronsealvarnish,sadolin classic varvish all these have been used around ponds with no ill effect
p2 not cheap
<a href="http://www.koicarp.net/pond_construction/p...wood_stain.html" target="_blank">http://www.koicarp.net/pond_construction/p...wood_stain.html</a>
 
Hi Saph,

Thanks for a very informative reply. Yes its a kockney koi 5000v, brought second hand.

I dont have an old filter as the preforformed liner pond never got finished, lol

Not too sure what you mean about laying the jap mat flat, and i will have a look for one of those blackknight vortex brushes, if you have any pics of your filter set up it well may help out, as it sounds like you have the same filter.

Like i said above many thanks for all the tips. :good:

Cheers Gordon.
 
hi gordon

right is your media second had to?
if so sterlize it in some stuff called potassium permanganate mix a few crystal to make a purple strong solution sink yor media in it leave for 24 hours and then rinse off and put it in filter you cane do the same with the filter (carefull becuase this stuff can stain)

i have a kockney koi yamitsu 5000v
i have a vortex brush
18 brushes and a bit of filter wool'
jap mat
flocur ,oyster shells and filter wool,
the flocur and 2 airstones
DSCF9527.jpg

DSCF7741.jpg

lay your jap mat in the fine molded side not the rough cut edges(if you have pieces lay them flatbut it would be better if you had a slab of jap mat so you can lay it as its suposed to be)
DSCF4838.jpg

jap.jpg


hope this helps
saph
 

Most reactions

trending

Staff online

Back
Top